
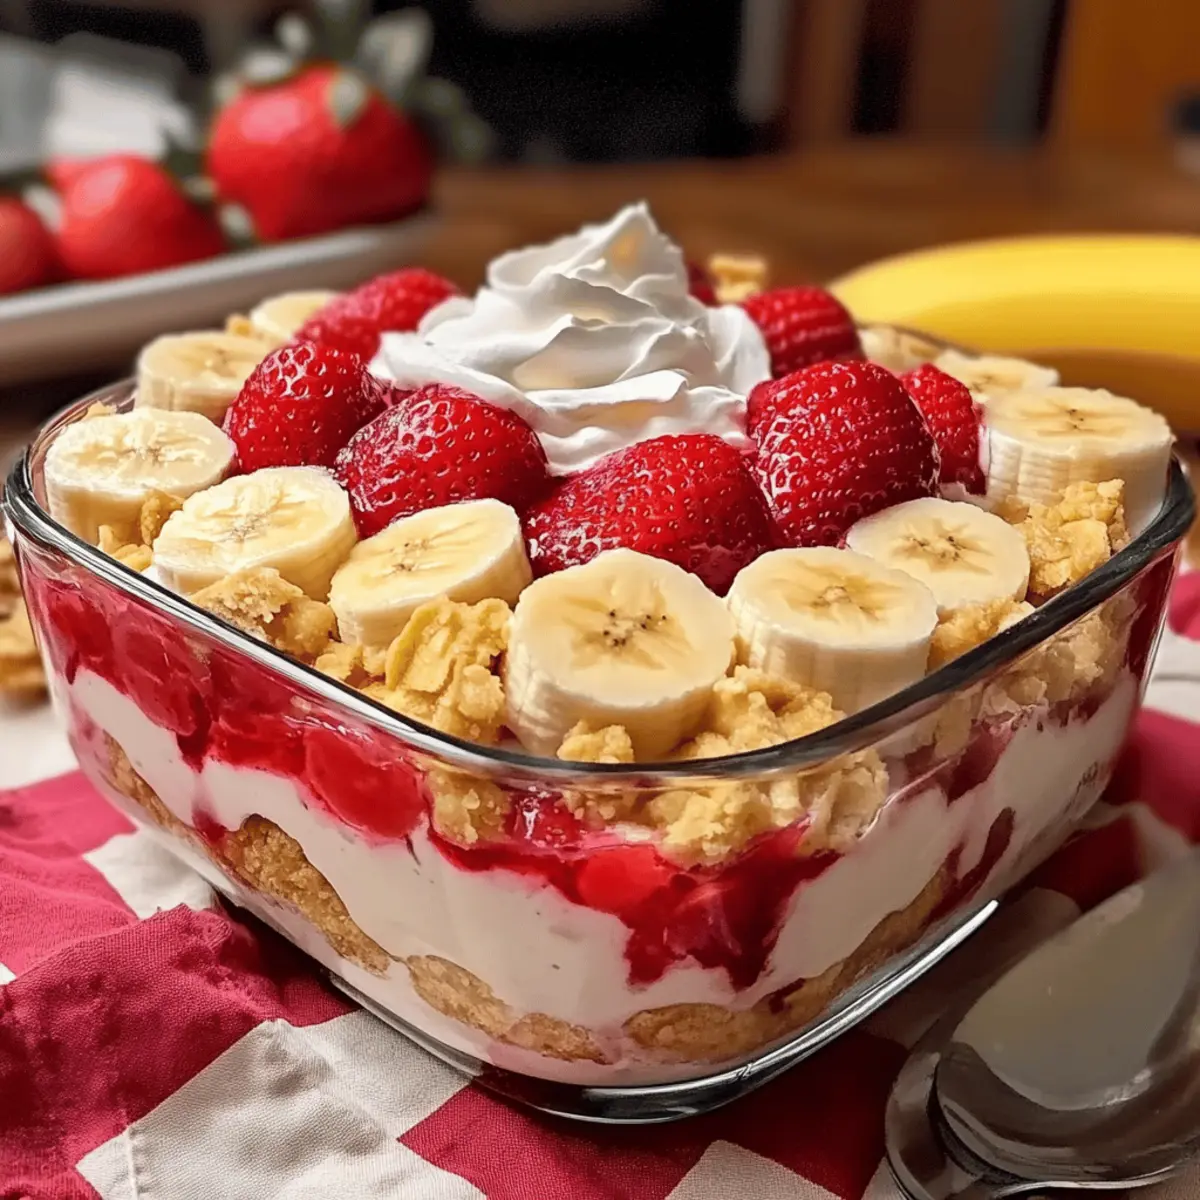
As summer’s warmth wraps around us, I can’t help but think about the sweet moments shared over dessert. That’s why I’m excited to share my No-Bake Strawberry Banana Pudding Dream, a delightful treat that captures the essence of sunshine in every layered bite. This easy, no-bake recipe comes together in just 20 minutes and is perfect for those busy days when you crave something refreshing and satisfying. Not only does it whisk you away to blissful summer picnics, but it’s also a gluten-free option for everyone to enjoy! So, who’s ready to indulge in a creamy, fruity dream that will surely impress family and friends? Let’s dive in!
Why is this dessert a must-try?
Delicious Layers: The combination of fresh strawberries and creamy bananas creates a mouthwatering flavor explosion in every bite.
No-Bake Ease: Perfect for busy lifestyles, this dessert comes together in just 20 minutes without the need for baking—ideal for last-minute gatherings!
Gluten-Free Option: Easily customizable, you can swap in gluten-free wafers without sacrificing taste.
Crowd-Pleasing Treat: Everyone loves a dessert that feels indulgent yet is light and refreshing, making it perfect for summer picnics or family gatherings.
Versatile Recipe: With options to substitute fruits or add layers of cookies and nuts, this recipe offers endless creative possibilities. Want more sweet inspiration? Check out our Berrylicious Strawberry Crunch or try the comforting Banana Baked Oatmeal for more fruity goodness!
Strawberry Banana Pudding Dream Ingredients
-
For the Pudding
• French Vanilla Pudding Mix – This acts as the base thickening agent in the pudding; no direct substitutes suggested.
• Milk (2 cups) – Hydrates and combines the pudding mixture; you can use dairy or plant-based milk for versatility.
• Sweetened Condensed Milk (14 oz. can) – Adds sweetness and smoothness; no substitutes, but consider a homemade version for less sugar.
• Cream Cheese (8 oz.) – Creates a rich, creamy texture; Greek yogurt or dairy-free cream cheese can lighten this up. -
For the Fruit Layers
• Bananas – Adds natural sweetness and creaminess; use ripe bananas for best flavor and texture.
• Strawberries – Contributes fresh, fruity flavor and vibrant color; fresh berries are best, but thawed frozen strawberries work in a pinch. -
For the Crunch
• Vanilla Wafers – Provides structure and a crunchy texture; substitute gluten-free wafers for a gluten-free option. -
For the Topping
• Whipped Topping (12 oz. container) – Offers a light, fluffy finish; a dairy-free whipped topping can be used for those with dietary needs.
Now that you have all the ingredients ready, let’s whip up this delightful Strawberry Banana Pudding Dream that’s sure to become a family favorite!
Step‑by‑Step Instructions for Strawberry Banana Pudding Dream
Step 1: Beat the Base
In a large mixing bowl, beat together 8 oz. of cream cheese and a 14 oz. can of sweetened condensed milk using an electric mixer on medium speed for about 2 minutes, or until the mixture is smooth and creamy. Make sure no lumps remain, creating a luscious base for your Strawberry Banana Pudding Dream.
Step 2: Combine the Pudding
Add one 5 oz. box of French Vanilla pudding mix and 2 cups of milk to the cream cheese mixture. Blend everything together at a low speed for another 2 minutes until fully combined. The mixture should thicken slightly, ensuring a rich consistency that will hold up beautifully in your dessert layers.
Step 3: Layer the Dish
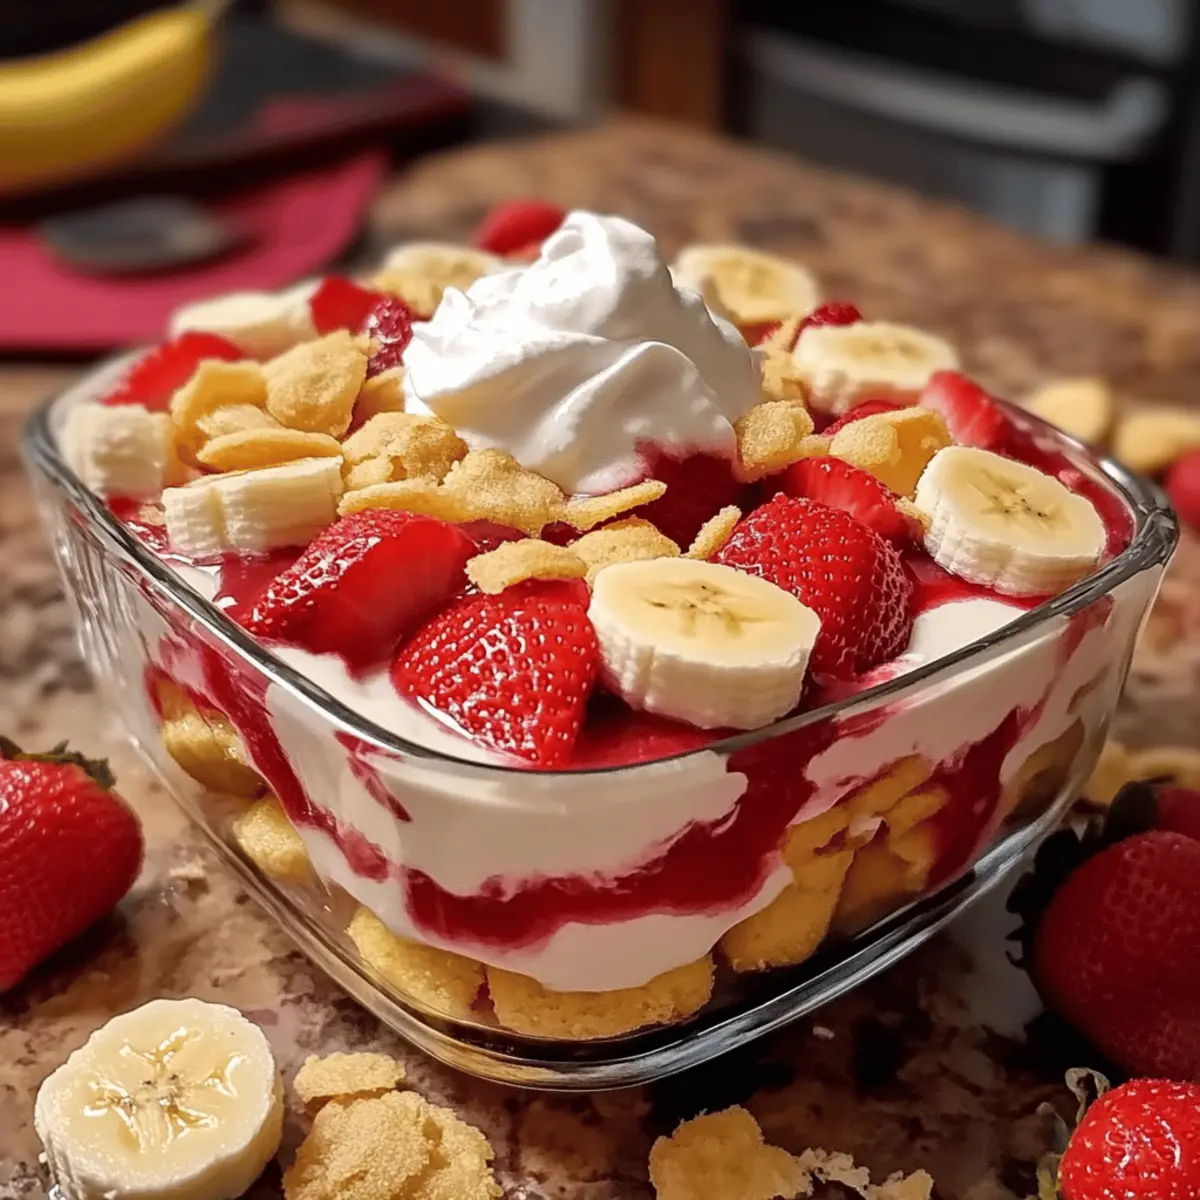
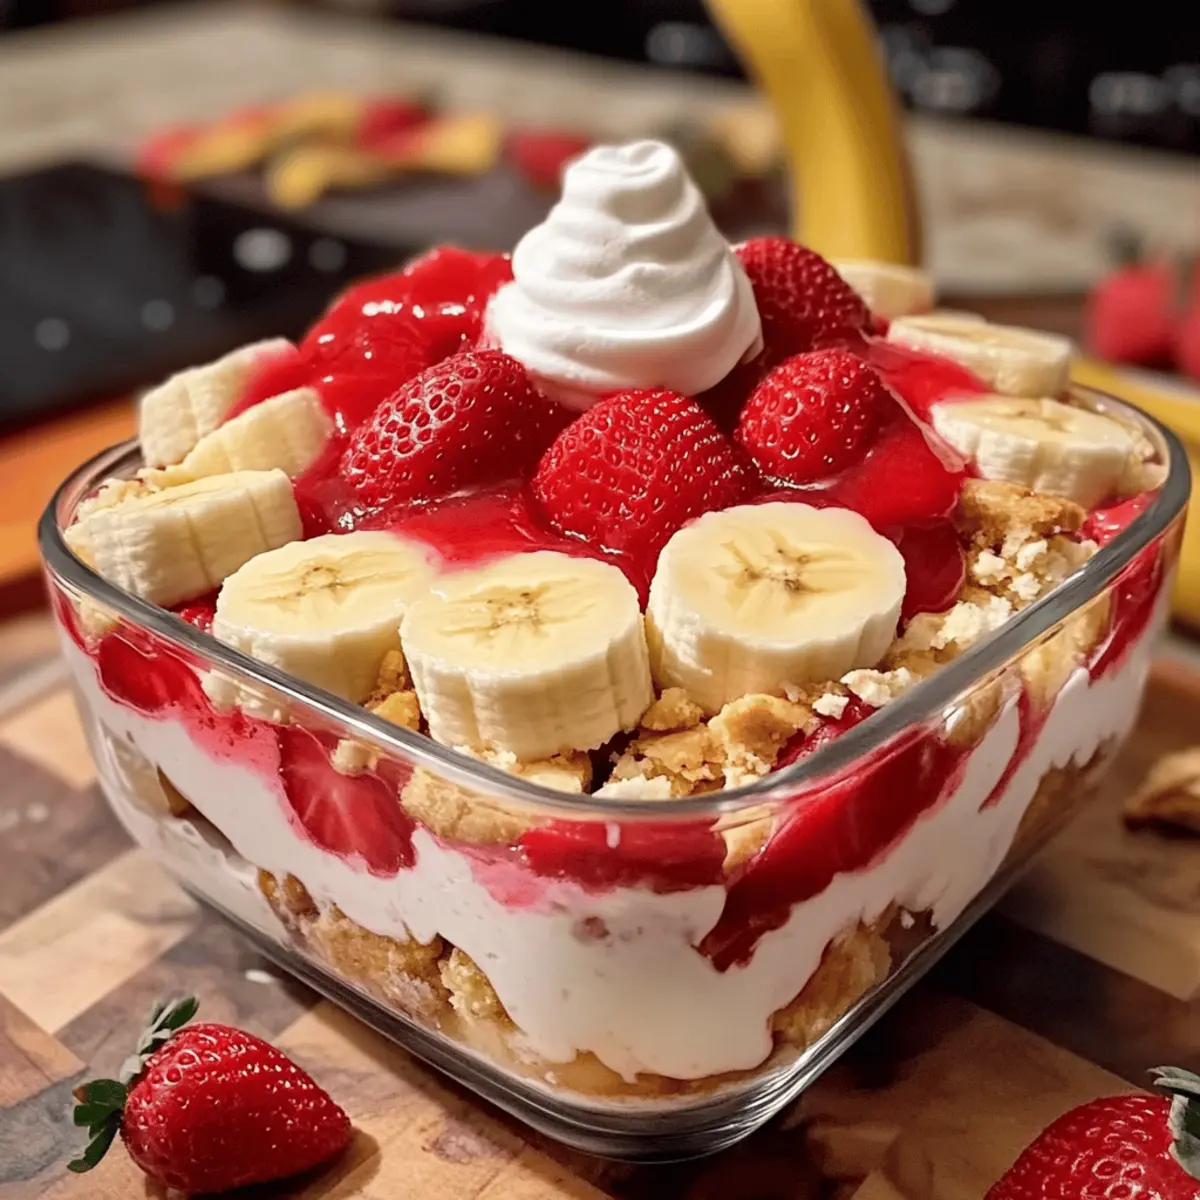
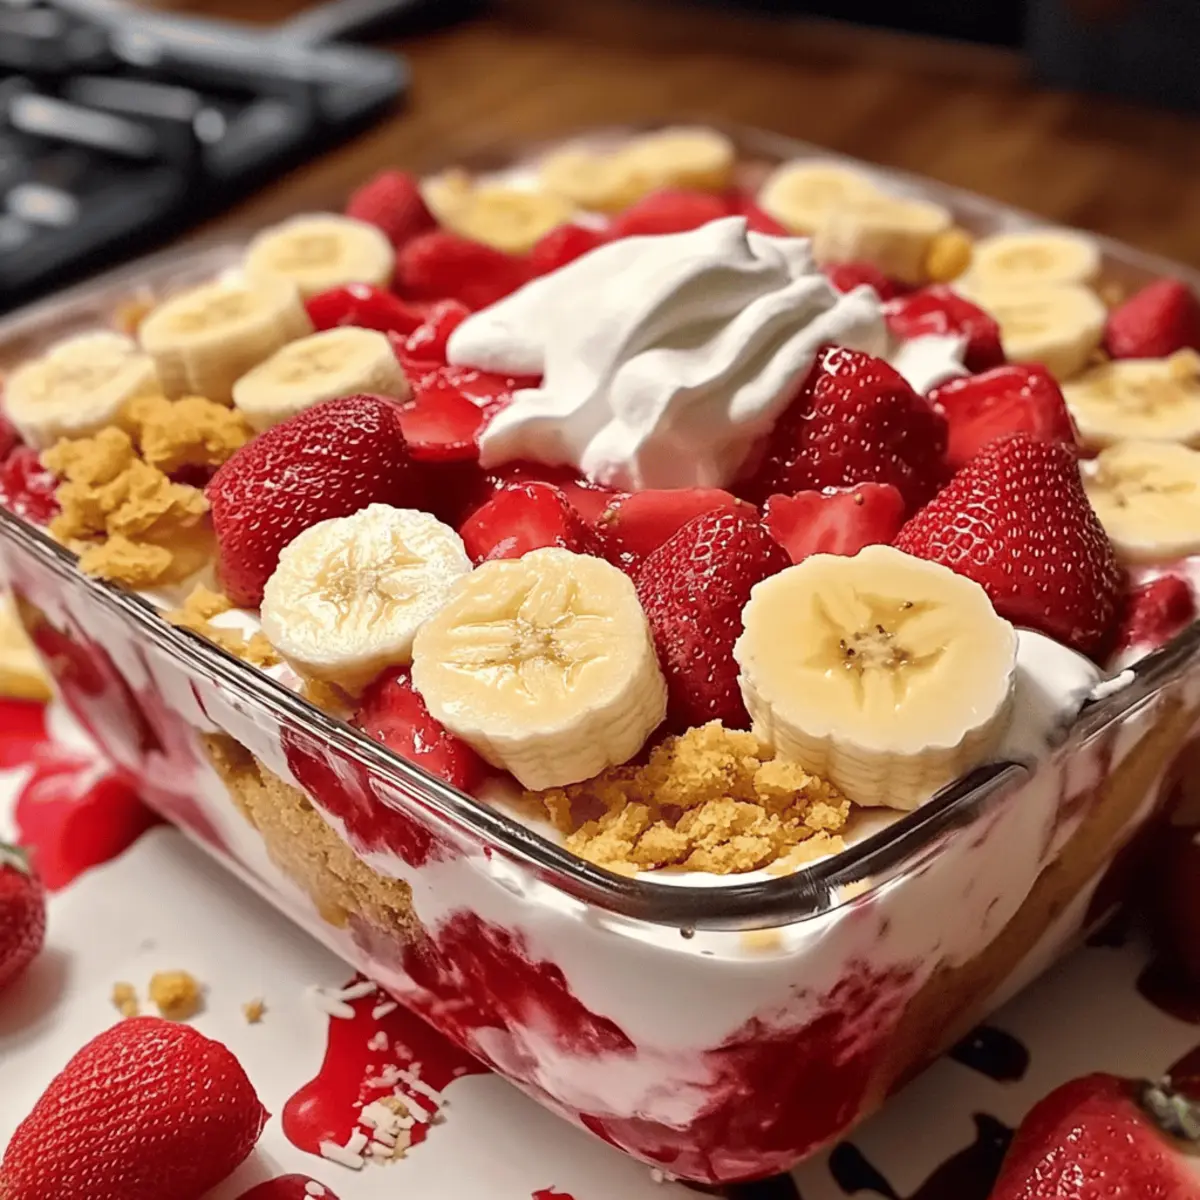
In a large serving dish, begin layering the foundation of your pudding dream. Start with a layer of vanilla wafers, evenly spreading them across the bottom, followed by sliced ripe bananas and fresh strawberries. Use about half of your fruit to create a colorful and enticing base that will soak up the creamy goodness.
Step 4: Add the Creamy Mixture
Pour half of the creamy pudding mixture over the first layer of wafers and fruits, ensuring even coverage. The silky cream should cascade smoothly over the bananas and strawberries, sealing in the freshness below. Use a spatula to spread it gently, making sure every morsel is blanketed in that delicious pudding.
Step 5: Repeat the Layers
Repeat the layering process with the remaining vanilla wafers, sliced bananas, and strawberries. As you build your Strawberry Banana Pudding Dream, check that the layers are consistent and visually appealing, creating a delightful treat that everyone will be eager to dig into. Top once again with the rest of the creamy pudding mixture to crown your creation.
Step 6: Finish with Topping
Spread 12 oz. of whipped topping evenly across the top layer of pudding, creating a light and fluffy finish. Grab a spatula and create a smooth surface or add swirls for a decorative touch. When finished, cover the dish tightly with plastic wrap, ensuring it stays fresh as it chills.
Step 7: Chill to Perfection
Refrigerate the assembled Strawberry Banana Pudding Dream for at least 4 hours, allowing the flavors to meld beautifully. The chilling step is crucial; it not only helps the pudding set but also enhances the overall flavor. When ready to serve, you’ll have a refreshing dessert that’s bursting with sweetness and perfect for any gathering.
Strawberry Banana Pudding Dream Variations
Feel free to get creative with this delightful dessert and make it your own!
-
Fruit Swap: Try using peaches or blueberries for a seasonal twist, giving your pudding a fresh flavor profile.
-
Add Crunch: Incorporate layers of crushed cookies or nuts for an extra texture boost. This adds a delightful contrast to the creamy pudding!
-
Yogurt Twist: Substitute flavored yogurt for cream cheese, infusing your pudding with unique flavors like vanilla or strawberry for a lighter touch.
-
Dairy-Free Delight: Use almond milk instead of regular milk and a dairy-free whipped topping to create a completely dairy-free version everyone can enjoy.
-
Citrus Burst: Add a splash of orange juice or a sprinkle of zest between the layers for a zesty kick that complements the fruits perfectly.
-
Chocolate Layer: Drizzle melted dark chocolate or add chocolate wafers for a touch of indulgence that adds richness to every bite.
-
Nut Butter Cream: Mix in peanut or almond butter into the pudding mixture for a nutty flavor that brings a new layer of deliciousness.
-
Heated Up: For a warm twist, try serving the pudding slightly heated in individual bowls topped with whipped cream for a cozy dessert experience.
Looking for more sweet inspiration? Indulge in our Cherry Amaretto Tiramisu for a treat with a twist or whip up a scrumptious Banana Baked Oatmeal to complement your newfound pudding creation!
Make Ahead Options
These Strawberry Banana Pudding Dream layers are perfect for busy home cooks looking to save time! You can prepare the creamy pudding mixture and layer the vanilla wafers, bananas, and strawberries up to 24 hours in advance. Simply follow the initial steps and assemble the layers in your serving dish, leaving off the whipped topping. Cover the dish tightly and refrigerate it. To maintain the quality, be sure to slice the bananas just before layering to prevent browning. When you’re ready to serve, simply add the whipped topping and chill for an additional 4 hours to allow the flavors to meld, giving you a refreshing dessert that’s just as delicious as if you’d made it fresh!
How to Store and Freeze Strawberry Banana Pudding Dream
- Fridge: Store leftover Strawberry Banana Pudding Dream in an airtight container in the refrigerator for up to 3 days. Make sure it’s well covered to maintain moisture and freshness.
- Freezer: Although freezing is not recommended due to the texture of the pudding and fruits, you can freeze individual servings in freezer-safe containers for up to 1 month. Thaw in the fridge before serving.
- Reheating: If you’ve frozen it, let it thaw in the fridge overnight. Avoid reheating in the microwave as it can change the texture of the pudding.
- Serving Tips: For best flavor, serve chilled and enjoy within a few days of preparation for maximum freshness and taste.
What to Serve with Strawberry Banana Pudding Dream
Nothing pairs better with my Strawberry Banana Pudding Dream than these delightful accompaniments that elevate your dessert experience.
-
Fresh Fruit Salad: A mix of seasonal fruits brings a burst of color and freshness to your meal, balancing the creamy pudding with bright flavors. Not only is it refreshing, but it also enhances the fruity theme.
-
Chocolate Chip Cookies: Their chewy texture and rich chocolate flavor create a perfect contrast with the light pudding layers, adding a touch of indulgence.
-
**Whipped Cream: **Increase the fluffiness topped on your dessert. A dollop on each serving makes it visually appealing and gives every bite a creamy finish.
-
Coffee or Iced Tea: A warm cup of coffee or a refreshing glass of iced tea can round out your dessert nicely, cleansing the palate between bites. The slight bitterness of coffee harmonizes with the sweetness of the pudding.
-
Caramel Sauce: Drizzling warm caramel on top adds an irresistible sweetness and a decadent touch that complements the strawberries and bananas perfectly. It adds a gooey, luscious layer of flavor that transforms each mouthful.
-
Mini Cheesecakes: For a sophisticated touch, serve delightful mini cheesecakes as a complementary dessert. Their rich flavor and creamy texture pair beautifully with the fruity pudding, making for a delightful dessert trio.
Whether it’s a family gathering or a casual picnic, these serving suggestions will elevate your Strawberry Banana Pudding Dream into a bright and memorable meal.
Expert Tips for Strawberry Banana Pudding Dream
-
Perfect Bananas: Use ripe bananas for natural sweetness. If using overripe bananas, add a touch of lemon juice to prevent browning and improve presentation.
-
Whipped Topping Alternatives: Feel free to swap regular whipped topping with dairy-free options to cater to dietary preferences without losing that fluffy finish.
-
Layering Technique: When layering, pat down each layer slightly to prevent air pockets. This ensures each bite of your Strawberry Banana Pudding Dream is consistently creamy and flavorful.
-
Chill Time Importance: Don’t rush the chilling process! Refrigerate for at least 4 hours (or overnight) for best flavor blending and pudding structure.
-
Adaptable Recipe: Experiment with different fruit combinations like peaches or blueberries for seasonal twists. This keeps your dessert fresh and exciting!
Strawberry Banana Pudding Dream Recipe FAQs
What type of bananas should I use for the best flavor?
Absolutely! Always opt for ripe bananas as they offer the sweetest flavor and the creamiest texture that complements the pudding beautifully. Look for bananas that are slightly speckled with brown spots, indicating they’re perfectly sweet. Avoid overly brown or mushy bananas, as they may not provide the desired flavor and can affect the overall texture of your dessert.
How long can I store leftover Strawberry Banana Pudding Dream in the fridge?
Leftovers are best enjoyed fresh, but you can store your Strawberry Banana Pudding Dream in an airtight container in the refrigerator for up to 3 days. Just make sure to wrap it well to keep it from drying out and to maintain its delicious flavor.
Can I freeze Strawberry Banana Pudding Dream?
While freezing the entire dessert isn’t recommended due to potential changes in texture, you can freeze individual servings in freezer-safe containers for up to 1 month. When you’re ready to enjoy, simply thaw it in the refrigerator overnight. Avoid microwaving, as it can lead to a grainy texture in the pudding.
How can I prevent bananas from browning in the dessert?
To keep your bananas looking fresh and appealing, slice them just before layering them in your pudding. If you do need to slice them ahead of time, a light squeeze of lemon juice can help inhibit browning. The citric acid in lemon works wonders to preserve the color and taste of your bananas.
What adjustments can I make if I have dietary restrictions?
Very! You can easily adapt this recipe to suit various dietary needs. For a gluten-free option, simply use gluten-free vanilla wafers. If you’re looking to reduce dairy, try substituting cream cheese with dairy-free cream cheese and using a plant-based whipped topping. Make sure your pudding mix is gluten-free by checking the label as well!
What should I do if my pudding mixture doesn’t thicken properly?
If your pudding mixture isn’t thickening as expected, check that you’ve fully combined the pudding mix with the liquids. Mix on low speed for an additional minute or until all lumps are gone. If it still seems runny, give it a little more chilling time in the refrigerator; sometimes, it just needs to cool down to set perfectly.
Strawberry Banana Pudding Dream That's a No-Bake Delight
Ingredients
Equipment
Method
- In a large mixing bowl, beat together cream cheese and sweetened condensed milk using an electric mixer on medium speed for about 2 minutes, until smooth and creamy.
- Add the French Vanilla pudding mix and milk to the cream cheese mixture and blend at low speed for another 2 minutes until fully combined.
- Layer the base of your pudding dream, starting with vanilla wafers, then sliced bananas and strawberries, using about half of your fruit.
- Pour half of the creamy pudding mixture over the first layer of wafers and fruits, ensuring even coverage.
- Repeat the layering process with the remaining vanilla wafers, bananas, and strawberries, then top with the rest of the creamy pudding mixture.
- Spread whipped topping evenly across the top layer of pudding and cover tightly with plastic wrap.
- Refrigerate for at least 4 hours to allow flavors to meld beautifully.
Leave a Reply