
As I stood in my kitchen, the aroma of toasting bread mingled with the anticipation of a zesty breakfast treat. These Egg and Cheese Toasts have become my go-to quick snack that pairs perfectly with a side of fresh greens or a warm bowl of soup. Within just 20 minutes, you can whip up this delightful blend of fluffy eggs and creamy cheese that will elevate your morning routine or satisfy those midday cravings. Plus, the beauty of this recipe lies in its versatility—feel free to experiment with different cheeses or add your favorite toppings to make them your own. Ready to transform your kitchen into a cozy haven? Join me on this delicious journey!
What Makes These Toasts So Irresistible?
Versatility: The beauty of these Egg and Cheese Toasts lies in their endless customization options; swap out cheeses or add toppings like sautéed spinach or hot sauce for a unique spin.
Quick and Easy: Perfect for busy weekdays, this recipe comes together in under 20 minutes, so you can enjoy a warm, satisfying snack without the wait.
Crowd-Pleasing Flavor: A delightful combination of gooey cheese and fluffy eggs creates a taste sensation that everyone will love, making it a hit at breakfast or brunch gatherings.
Nourishing Goodness: With protein-packed eggs and rich, melty cheese, these toasts offer a wholesome snack that will keep you energized throughout the day.
Looking for more quick recipes? Try out these delicious ideas: Grilled Cheese Burrito or for something lighter, how about a bowl of Wholesome Summer Chowder?
Egg and Cheese Toasts Ingredients
For the Toasts
• Sliced Bread – Choose sturdy breads like sourdough or whole wheat for optimal support to hold the egg mixture.
• Large Egg – The star of the show, delivering protein and creaminess; fresh eggs will yield the best results.
For the Cheese Topping
• Grated Cheese (cheddar, pepper jack, gruyere) – Each offers a unique flavor profile; feel free to mix and match for your own Egg and Cheese Toasts twist.
For Extra Flavor
• Fresh Herbs (optional, e.g., thyme, rosemary) – Fresh herbs will elevate your toasts; dried herbs can be a quick substitute if you’re short on time.
• Salt and Black Pepper – Essential for seasoning; adjust to your taste for the perfect balance.
• Cayenne (optional) – Adds a touch of heat and a pop of color, making your toasts visually appealing.
These ingredients come together to create scrumptious Egg and Cheese Toasts that are perfect for a quick snack or light meal!
Step‑by‑Step Instructions for Egg and Cheese Toasts
Step 1: Toast the Bread
Start by toasting your sliced bread in a toaster or under the broiler for 1 to 2 minutes on each side until it’s slightly crisp and golden. This initial toasting helps prevent the bread from becoming soggy when you add the egg mixture. Keep an eye on it to avoid burning, and prepare your baking sheet lined with parchment paper while you toast.
Step 2: Preheat Oven
Preheat your oven to 400°F (or 340°F for an air fryer) to ensure it reaches the right temperature as you prepare the Egg and Cheese Toasts. If you’re using a toaster oven, make sure to place the rack at the bottom and select the BAKE setting. This step is essential for achieving that perfect golden-brown finish.
Step 3: Prepare Egg Mixture
In a mixing bowl, beat a large egg until it’s frothy, then gently fold in your choice of grated cheese, a pinch of salt, black pepper, and any fresh herbs you desire. If you like a little extra kick, a sprinkle of cayenne can really enhance the flavor. Mix thoroughly until combined, creating a rich filling that captures all the delicious elements of your Egg and Cheese Toasts.
Step 4: Assemble the Toasts
Spread the egg and cheese mixture evenly over each slice of toasted bread, ensuring you cover them edge to edge for a fabulous finished product. Use a spoon or spatula to create an even layer, making sure not to leave any dry spots. This will help the mixture cook evenly, resulting in a fluffy, cheesy topping once baked.
Step 5: Bake
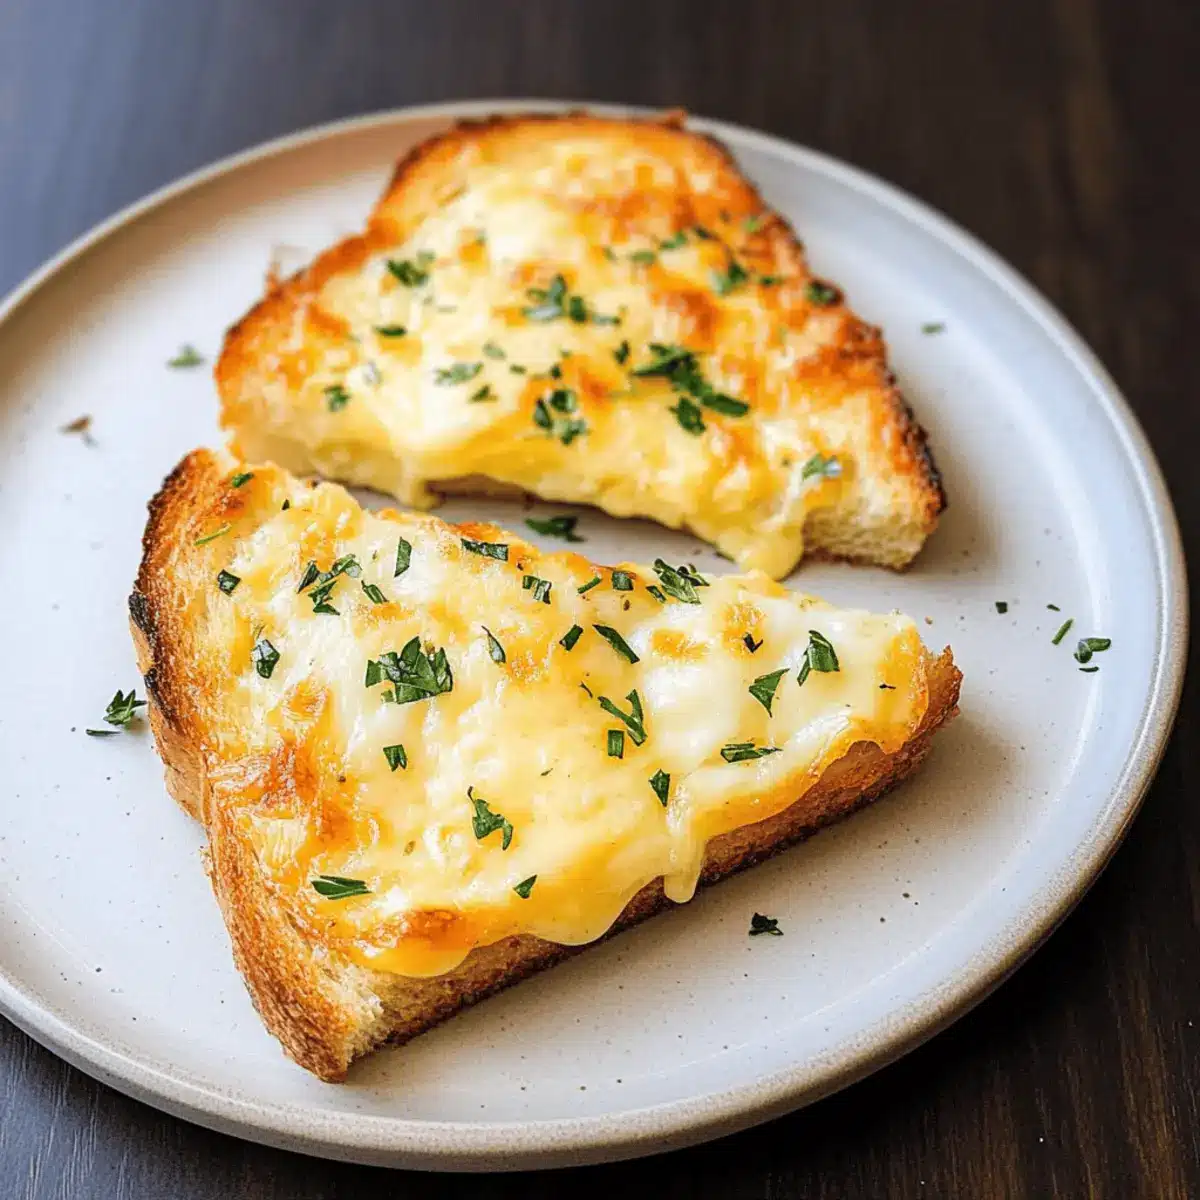
Place the prepared toasts in your preheated oven and bake for 10 to 12 minutes. Look for the egg and cheese to become puffed, bubbly, and beautifully golden brown as they cook. Keep a close watch towards the end of the baking time to prevent them from burning and to achieve that perfect visual appeal for your Egg and Cheese Toasts.
Step 6: Serve Warm
Once baked to perfection, remove the toasts from the oven and let them cool for a minute before serving. The Egg and Cheese Toasts are best enjoyed warm and can be paired with fresh greens or a warm bowl of soup to complement the delightful flavors. Dive right in and enjoy this quick, comforting snack!

Expert Tips for Egg and Cheese Toasts
Check for Doneness: Regularly check the toasts while baking to prevent burning, especially if using a smaller toaster oven.
Experiment with Cheeses: Mix and match different cheeses like mozzarella and parmesan to discover new flavor combinations for your Egg and Cheese Toasts.
Fresh Ingredients Matter: Always use fresh eggs and herbs when possible; they significantly enhance the taste and texture of your toasts.
Don’t Rush the Toasting: Ensuring your bread is adequately toasted first prevents it from becoming soggy, allowing the egg mixture to sit perfectly on top.
Mind the Portion Size: Avoid overloading the bread with the egg mixture; sticking to the recipe will ensure they’ll bake beautifully without spilling over.
What to Serve with Egg and Cheese Toasts
Enhance your Egg and Cheese Toasts experience with delectable sides that perfectly balance flavors and textures.
- Fresh Green Salad: Adds a crisp, refreshing contrast to the warmth of the toasts. Toss in some cherry tomatoes and a light vinaigrette for a delightful crunch.
- Creamy Tomato Soup: The rich, tangy flavors in a cozy bowl of tomato soup are perfect for dipping, making every bite of your toasts a soothing treat.
- Sautéed Spinach: The slight bitterness of sautéed spinach provides a wonderful savoriness that complements the cheesy goodness of the toasts. A dash of garlic can elevate this side even further.
- Roasted Cherry Tomatoes: Their sweet burst of flavor marinated in olive oil pairs beautifully with the rich cheese, adding a gourmet touch to your meal.
- Avocado Slices: Creamy avocado on the side delivers a smooth texture that balances the crispy toasts. Sprinkle with sea salt and red pepper flakes for a boost.
- Fruit Salad: A vibrant assortment of seasonal fruits can cleanse the palate and add a touch of sweetness. Think berries, melon, and citrus for a refreshing finish.
- Sparkling Lemonade: For a light and zesty drink option, sparkling lemonade adds a citrusy sparkle that brightens up the entire meal experience.
- Homemade Applesauce: The natural sweetness of homemade applesauce contrasts nicely with the savory flavors of the toasts, making it a delightful side choice.
Egg and Cheese Toasts Variations
Feel free to get creative with your Egg and Cheese Toasts, enhancing flavors and textures to make them even more delightful!
-
Gluten-Free: Use gluten-free bread to make this dish accessible to those with dietary restrictions. It’s just as satisfying and can be enjoyed by everyone at the table!
-
Spicy Kick: Add diced jalapeños or a splash of your favorite hot sauce to the egg mixture for a zesty and fiery flavor that packs a punch.
-
Herb Infusion: Mix in a variety of fresh herbs like chives or cilantro to brighten the toasts with aromatic notes. The freshness elevates the creamy and savory elements beautifully.
-
Creamy Avocado: Top your toasts with sliced or smashed avocado after baking for extra creaminess and healthy fats that will keep you full longer.
-
Savory Veggie Boost: Incorporate sautéed mushrooms, diced bell peppers, or spinach into the egg mixture for added nutrition and a pop of color. You’ll transform each bite into a nourishing experience!
-
Rich & Decadent: Opt for a richer flavor by using aged cheddar or gouda, which melt beautifully and bring a deeper taste to the toasts. Don’t hesitate to indulge a little!
-
Sweet and Savory: Try a sprinkle of caramelized onions atop the cheesy mixture before baking for a sweet note that complements the savory flavors perfectly.
-
Cheesy Trio: Combine different cheeses like mozzarella, feta, and parmesan for a delightful triplet of flavors that creates a gooey, savory topping. It’s a cheese lover’s dream!
As you explore these variations, keep in mind the flexibility of this recipe. If you’re in the mood for something lighter, consider pairing your toasts with a fresh bowl of Wholesome Summer Chowder. Or, if you’re craving something fun and unique, the Grilled Cheese Burrito showcased on-site is another fantastic option for a quick meal. Enjoy creating your perfect Egg and Cheese Toasts!
Make Ahead Options
These Egg and Cheese Toasts are perfect for meal prep enthusiasts! You can prepare the egg and cheese mixture up to 24 hours in advance by mixing the beaten egg with your choice of cheese, salt, pepper, and herbs, then refrigerating it in an airtight container to maintain freshness. When you’re ready to serve, simply toast the bread, spread the egg mixture on top, and bake as instructed. Storing the mixture separately helps to prevent the bread from becoming soggy before cooking, ensuring that your toasts are just as delicious and satisfying as ever. Enjoy the time-saving benefits of prepping ahead, making your busy weeknights a breeze!
How to Store and Freeze Egg and Cheese Toasts
Fridge: Store leftover Egg and Cheese Toasts in an airtight container in the refrigerator for up to 2 days. This helps maintain their flavor and texture.
Freezer: For longer storage, flash freeze the toasts on a baking sheet until solid, then transfer them to a freezer-safe bag for up to 1 month.
Reheating: To reheat, place the frozen or refrigerated toasts in a toaster oven at 350°F until warmed through, about 10-15 minutes. Enjoy them warm for the best taste!

Egg and Cheese Toasts Recipe FAQs
What kind of bread works best for Egg and Cheese Toasts?
Any sturdy bread like sourdough or whole wheat works wonders! Just make sure to avoid overly holey bread, as it might cause the egg mixture to seep through.
How long can I store Egg and Cheese Toasts in the fridge?
Absolutely! You can keep leftover toasts in an airtight container in the refrigerator for up to 2 days. Just remember to reheat them in a toaster oven for that delightful crispiness!
Can I freeze Egg and Cheese Toasts?
Definitely! To freeze, first flash freeze the toasts on a baking sheet until they’re solid. Then, transfer them to a freezer-safe bag for up to 1 month. For reheating, pop them into a toaster oven at 350°F until they’re warmed through, which should take about 10 to 15 minutes.
What if my egg and cheese mix is too runny?
Not to worry! If your mixture seems too runny, try adding a bit more cheese or a second egg to achieve a thicker consistency. This will help them hold together better during baking.
Are Egg and Cheese Toasts suitable for children or as a snack for pets?
Egg and Cheese Toasts are a great snack for children! However, be cautious with pets; the combination of cheese and eggs isn’t harmful, but dogs and cats can be sensitive to dairy. Always check with your vet if you’re unsure.
How can I enhance the flavor possibilities with Egg and Cheese Toasts?
Very! To personalize your toasts, experiment by substituting different cheeses or adding toppings like sautéed spinach, diced tomatoes, or even fresh herbs for an added burst of flavor. Enjoy the creative process of making these toasts your own!

Savory Egg and Cheese Toasts: Quick Comfort Food Bliss
Ingredients
Equipment
Method
- Start by toasting your sliced bread in a toaster or under the broiler for 1 to 2 minutes on each side until it's slightly crisp and golden.
- Preheat your oven to 400°F (or 340°F for an air fryer).
- In a mixing bowl, beat a large egg until it’s frothy, then gently fold in your choice of grated cheese, a pinch of salt, black pepper, and any fresh herbs.
- Spread the egg and cheese mixture evenly over each slice of toasted bread.
- Place the prepared toasts in your preheated oven and bake for 10 to 12 minutes.
- Once baked to perfection, remove the toasts from the oven and let them cool for a minute before serving.
Leave a Reply