
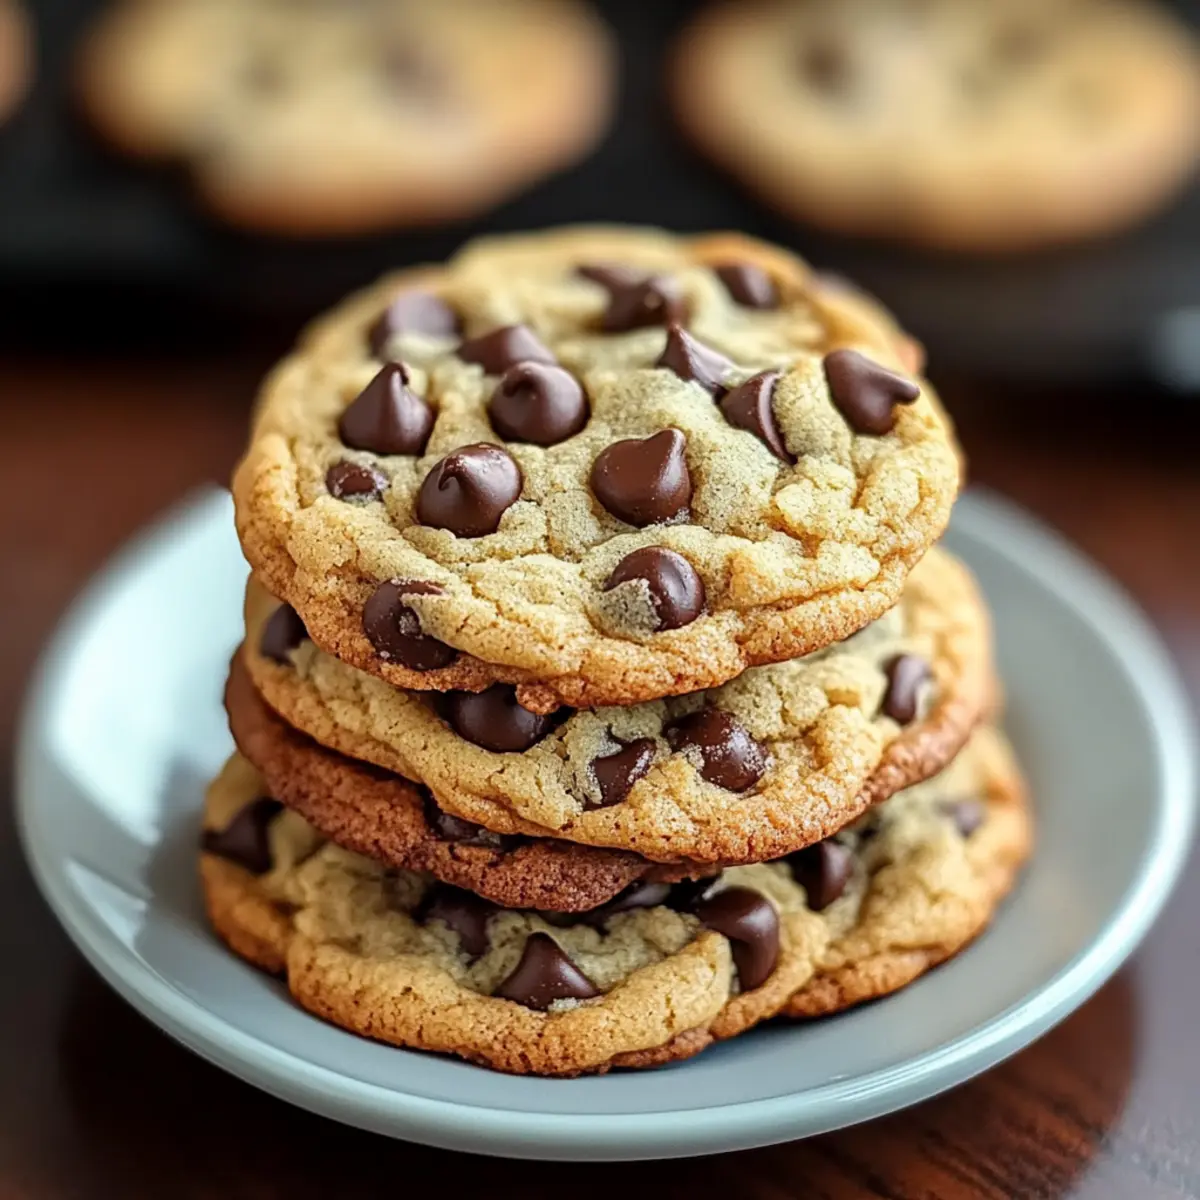
As the aroma of freshly baked Chewy Chocolate Chip Cookies wafts through my kitchen, I can almost hear the delightful giggles of family and friends gathering around the table, eager for a taste. These cookies, with their perfect combination of crisp edges and soft, gooey centers, are the ultimate comfort food that never fails to evoke warm memories. With just a handful of simple ingredients, you’re only a few easy steps away from enjoying a classic dessert that satisfies both sweet cravings and nostalgia. Whether you’re whipping them up for a cozy night in or bringing them to a gathering, these chewy cookies are not just treats; they’re an experience that makes everyone feel at home. So, what will you add to your batch—some flaky sea salt for that sweet and salty finish, or a handful of nuts for a bit of crunch? Keep reading to discover the magic behind these irresistible cookies!
Why are these cookies so irresistible?
Simple Ingredients: The beauty lies in the minimal, everyday ingredients—no fancy gadgets required! Quick to Make: With just a few easy steps, you’ll have fresh cookies in under 30 minutes. Ultimate Comfort: Each bite delivers the perfect balance of chewy centers and crisp edges, encapsulating the essence of a beloved classic. Customization: Feel free to experiment—add nuts, swap chocolate types, or sprinkle some sea salt for a personal twist. Whether it’s a cozy night or a festive gathering, these Chewy Chocolate Chip Cookies are sure to delight everyone and become a staple in your home.
Chocolate Chip Cookies Ingredients
• Here’s everything you need for these delightful treats!
For the Batter
- All-purpose flour – Provides the base structure that holds these chewy cookies together; you can use a gluten-free blend for a gluten-free option.
- Baking soda – Acts as a leavening agent, ensuring each cookie rises beautifully to achieve that perfect chewy texture.
- Salt – Enhances overall flavor, balancing the sweetness, making it a crucial component of the recipe.
- Unsalted butter (softened) – Adds richness and moisture to the dough; substitute with margarine for a dairy-free option.
- Packed brown sugar – Infuses sweetness and moisture, contributing significantly to the chewiness; coconut sugar can be used for a different taste.
- Granulated sugar – Offers sweetness and helps in creating a lovely cookie texture; try using Stevia for a lower-calorie alternative.
- Eggs – Act as a binding agent, providing moisture and aiding in the rise; flax eggs serve as a great vegan substitute.
- Vanilla extract – A must for richness and depth of flavor—choose high-quality vanilla for the best results.
- Semi-sweet chocolate chips – The star of these cookies, adding sweetness and richness; dark chocolate is a scrumptious substitute if you prefer a less sweet flavor.
Optional Toppings
- Flaky sea salt – Sprinkling this on top before baking creates a delightful sweet and salty contrast that elevates the cookies.
- Chopped nuts – Incorporating walnuts or pecans adds a delicious crunch and enhances the cookie’s texture.
With these ingredients, your Chocolate Chip Cookies adventure is set to be a delightful success!
Step‑by‑Step Instructions for Chewy Chocolate Chip Cookies
Step 1: Cream the Butter and Sugars
In a large mixing bowl, use an electric mixer to cream together 1 cup of softened unsalted butter, 3/4 cup of packed brown sugar, and 1/2 cup of granulated sugar. Beat the mixture for 2-3 minutes until it becomes light and fluffy, creating a wonderful base for your Chewy Chocolate Chip Cookies. The texture should be airy and pale in color, indicating it’s ready for the next step.
Step 2: Add the Eggs and Vanilla
Slowly add 2 large eggs, one at a time, to your creamed mixture, ensuring you beat well after each addition. Then, pour in 1 teaspoon of high-quality vanilla extract. Continue mixing on medium speed until everything is smoothly combined. This addition of eggs and vanilla enriches the dough, providing moisture and flavor that elevates the taste of your cookies.
Step 3: Combine Dry Ingredients
In a separate bowl, whisk together 2 1/4 cups of all-purpose flour, 1 teaspoon of baking soda, and 1/2 teaspoon of salt until well combined. This step ensures that the leavening agent is evenly distributed, which is crucial for achieving the perfect texture in your Chewy Chocolate Chip Cookies. The flour should be light and airy, ready to be mixed into the wet ingredients.
Step 4: Mix Dry Ingredients with Wet
Gradually add the dry flour mixture to the wet ingredients, pulsing on low speed. Do this in three parts, mixing just until incorporated without overworking the dough. The dough should remain slightly shaggy but combined. As you see the ingredients come together, it’s time to prepare for the delicious addition of chocolate.
Step 5: Fold in the Chocolate Chips
Gently fold in 2 cups of semi-sweet chocolate chips using a spatula or wooden spoon. This step allows for better distribution of chocolate throughout the dough, ensuring that every bite of your Chewy Chocolate Chip Cookies is bursting with sweet chocolate goodness. The cookie dough should look thick and chocolate-studded, ready to be shaped.
Step 6: Prepare for Baking
Preheat your oven to 375°F (190°C), allowing it to come to temperature while you prepare your baking sheets. Line two baking sheets with parchment paper. Use a cookie scoop or spoon to drop equal portions of dough, about 2 tablespoons each, onto the prepared sheets, leaving enough space between them to allow for spreading while baking.
Step 7: Bake the Cookies
Carefully place your cookie sheets into the preheated oven and bake for 9-11 minutes, or until the edges are golden brown while the centers remain slightly underbaked. This ensures that your Chewy Chocolate Chip Cookies have the perfect texture. Once baked, remove the sheets from the oven and let them rest for 5-10 minutes to firm up before transferring them to wire racks for cooling.
Expert Tips for Chewy Chocolate Chip Cookies
-
Creaming Matters: Thoroughly cream the butter and sugars for a light, fluffy texture; this is key to achieving perfect Chewy Chocolate Chip Cookies.
-
Avoid Overmixing: Mix the dough just until combined after adding the dry ingredients. Overmixing can lead to tough cookies!
-
Monitor Baking Time: Keep an eye on the cookies while baking; they will continue to cook slightly after being removed from the oven, so aim for slightly underbaked centers.
-
Perfect Dough Chilling: For even chewier cookies, chill the dough for at least 30 minutes before baking. This helps flavor development and controls spread.
-
Flavor Enhancements: Don’t hesitate to sprinkle flaky sea salt on top before baking or experiment with mix-ins like nuts for added texture.
-
Storage Savvy: Store baked cookies in an airtight container to maintain freshness or freeze unused dough to bake later for that fresh-out-of-the-oven goodness anytime!
Make Ahead Options
These Chewy Chocolate Chip Cookies are perfect for meal prep aficionados! You can make the cookie dough up to 3 days in advance. Simply prepare the dough as instructed, then wrap it tightly in plastic wrap and refrigerate. Alternatively, for longer storage, you can scoop the dough onto a baking sheet and freeze it for up to 3 months; once frozen, transfer the dough balls to a freezer-safe bag. When you’re ready to bake, there’s no need to thaw—just pop the frozen dough straight into the oven, adding an extra minute to the baking time. This method ensures your cookies emerge just as delicious, saving you precious time on busy weeknights without sacrificing freshness!
Chocolate Chip Cookies Variations
Feel free to elevate your chocolate chip cookies with these exciting twists that can enhance flavor and texture!
-
Sea Salt:
A sprinkle of flaky sea salt on top before baking adds a delightful salty contrast to the sweetness. It’s a simple but impactful addition! -
Nuts:
Add chopped walnuts or pecans for a crunchy texture that complements the soft, chewy centers of your cookies. The nutty flavor creates a delicious contrast with the rich chocolate. -
Different Chocolate:
Experiment with dark, milk, or even butterscotch chips to give your cookies a new flavor profile. Mixing chocolate types can create a unique sweet treat each time! -
Oats:
For a heartier cookie, fold in a cup of rolled oats, which provide delightful chew and added fiber. It’s a wholesome twist that feels both satisfying and indulgent. -
Coconut:
Incorporate shredded coconut for a tropical flair. The sweet coconut will add an unexpected twist while enhancing the overall chewy goodness. -
Chili Powder:
If you love a little kick, try adding a pinch of chili powder to your dough. This creates a daring flavor contrast that can surprise and delight adventurous eaters. -
Vegan:
Substitute eggs with flax eggs (1 tablespoon flaxseed meal + 2.5 tablespoons water per egg) and use dairy-free chocolate chips for a delicious vegan version. These cookies remain just as delectable! -
Cinnamon Sugar:
Roll the dough balls in a mixture of cinnamon and sugar before baking to add a fragrant and flavorful crust. This spin will elevate your cookies to the next level!
For a delightful dessert that truly warms your heart, don’t forget to pair these cookies with a refreshing glass of milk or some creamy vanilla ice cream. They’re bound to become a treasured favorite, just like our Pumpkin Smores Cookies and other cherished recipes!
How to Store and Freeze Chocolate Chip Cookies
Room Temperature: Store baked cookies in an airtight container at room temperature for up to 3 days to keep them fresh and chewy.
Fridge: If you want them to last longer, you can refrigerate the cookies for up to a week, but they may lose some of their initial softness.
Freezer: For longer storage, freeze the baked cookies in a single layer, then transfer to a freezer-safe bag or container for up to 3 months.
Reheating: To enjoy warm cookies later, reheat in the microwave for about 10-15 seconds or in a preheated oven at 350°F (175°C) for 5-8 minutes. These tips will help you keep your Chocolate Chip Cookies delightful and ready to share!
What to Serve with Chewy Chocolate Chip Cookies
Indulging in delicious treats doesn’t stop at cookies; let’s elevate your dessert experience with the perfect pairings!
-
Cold Glass of Milk: The classic pairing of milk with cookies enhances the flavors and adds a nostalgic touch to every bite.
-
Vanilla Ice Cream: Top your warm cookies with a scoop of creamy vanilla ice cream for an irresistible dessert that melts in your mouth.
-
Fresh Berries: The natural sweetness and tartness of strawberries or raspberries provide a delightful contrast to the rich chocolate.
-
Hot Chocolate: A warm cup of hot chocolate brings an extra layer of comfort, making it a cozy combo for chilly days.
-
Caramel Sauce: Drizzle some luscious caramel over your cookies for a decadent twist that adds a sweet, gooey richness.
-
Coffee or Latte: Pairing your cookies with a rich coffee or frothy latte creates a fantastic flavor balance, perfect for an afternoon treat.
-
Nutty Biscotti: For some extra crunch and flavor, serve alongside nutty biscotti that complements the chocolate beautifully.
Mix and match these pairings to create a delightful spread that turns your Chewy Chocolate Chip Cookies into an unforgettable dessert experience!
Chewy Chocolate Chip Cookies Recipe FAQs
How do I know if my chocolate chips are the right type?
Absolutely! For chewy chocolate chip cookies, semi-sweet chocolate chips are ideal as they complement the sweetness of the sugars without being overly sweet themselves. However, feel free to swap them with dark chocolate if you prefer a richer taste or even white chocolate for a different flavor profile. Just ensure they melt well and blend nicely with the dough!
What’s the best way to store my cookies to keep them fresh?
To keep your Chewy Chocolate Chip Cookies perfectly soft and chewy, store them in an airtight container at room temperature for up to 3 days. If you want them to last longer, you can refrigerate them for about a week, but note that they might lose some of their freshness. Always make sure they’re completely cooled before storing to maintain their texture!
Can I freeze the cookie dough?
Of course! Freezing cookie dough is a fantastic way to have freshly baked cookies without all the fuss. To do this, scoop the dough onto a parchment-lined baking sheet and freeze until solid. Once frozen, transfer the dough balls into a freezer-safe bag or container. They can be stored for up to 3 months. When you’re ready to bake, just place the frozen dough on a baking sheet and bake for an extra minute or two.
What should I do if my cookies are spreading too much while baking?
Very commonly, cookie spread can be a little frustrating! If your cookies are overly flat, it may be due to using melted butter or not chilling the dough long enough. For best results, ensure your butter is softened but not melted and consider chilling the dough for at least 30 minutes before baking. You could also slightly increase the amount of flour, but remember not to overmix once it’s added!
Are there any allergy considerations for this recipe?
Absolutely! The classic chocolate chip cookie recipe does contain common allergens like eggs, wheat, and dairy. If you’re baking for someone with allergies, consider using flax eggs instead of regular eggs, gluten-free flour for a GF option, and margarine or vegan butter to replace the dairy. For nut allergies, simply avoid adding nuts or use nut-free chocolate chips. Enjoy baking safely!
Irresistibly Chewy Chocolate Chip Cookies for Pure Delight
Ingredients
Equipment
Method
- Cream together softened butter, brown sugar, and granulated sugar until light and fluffy.
- Add eggs one at a time, followed by vanilla extract, mixing well after each addition.
- Whisk together flour, baking soda, and salt in a separate bowl.
- Gradually mix dry ingredients into wet ingredients until just combined.
- Fold in chocolate chips until evenly distributed.
- Preheat oven to 375°F (190°C) and prepare baking sheets with parchment paper.
- Drop equal portions of dough onto baking sheets and bake for 9-11 minutes.
- Let cookies rest for 5-10 minutes before transferring to cooling racks.
Leave a Reply