
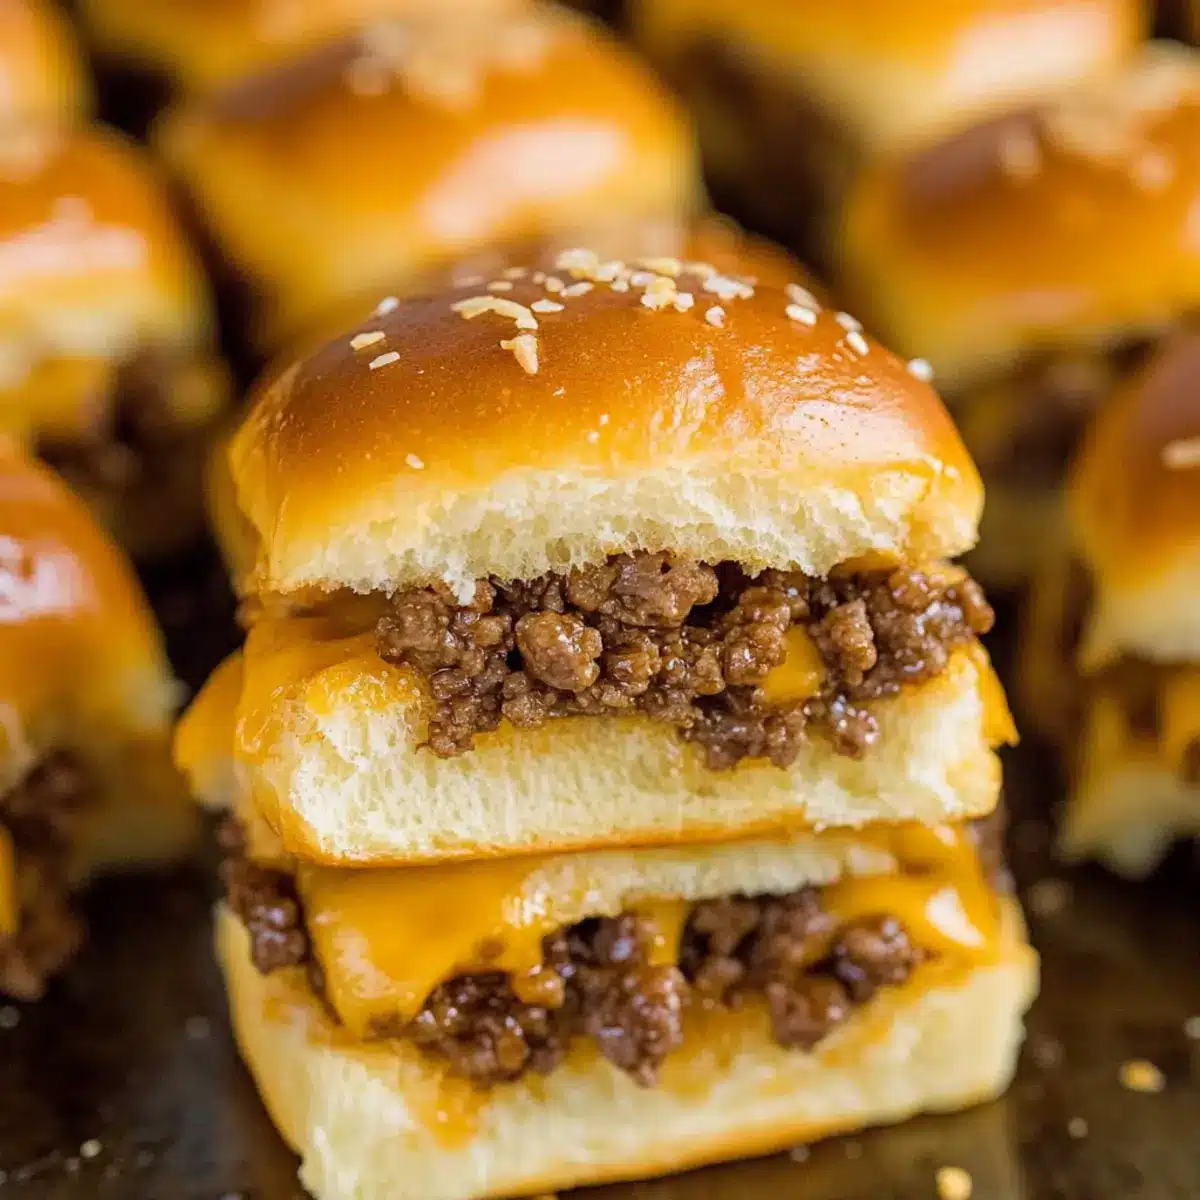
Amid the hectic rush of daily life, the allure of a delicious cheeseburger emerges like a warm hug on a chilly evening. These Easy 30-Minute Cheeseburger Sliders combine all the classic flavors I adore, transforming them into perfectly sized morsels that anyone can enjoy. Not only are these sliders incredibly quick to whip up, but they’re also perfect for make-ahead meals, allowing you to reheat them anytime you crave something comforting. Whether you’re planning a laid-back game night or just want an effortless dinner, these sliders are the answer. Ready to discover how these little gems can become your go-to favorite? Let’s dive in!
Why are Cheeseburger Sliders so beloved?
Quick and Easy: With only 30 minutes from prep to plate, these sliders are ideal for busy weeknights or spontaneous gatherings.
Endless Customization: Make it your own! Switch out the beef for turkey or even a plant-based alternative for varied tastes and dietary needs.
Melt-in-Your-Mouth Goodness: Each bite delivers cheesy, gooey delight thanks to a perfect cheese blend, leaving friends and family craving more.
Crowd-Pleaser: Perfect for parties or casual dinners, these sliders are sure to impress guests and satisfy every pallate!
Make-Ahead Convenience: Preparing them in advance means you can whip out these delicious bites straight from the oven without a hassle. For even more ideas, check out our variation ideas!
Cheeseburger Slider Ingredients
For the Beef Mixture
• Lean Ground Beef – Main protein source, delivering juicy cheeseburger sliders; substitute with ground turkey for a lighter option.
• Olive Oil – Used for sautéing onions and ensuring beef remains moist; can be replaced with vegetable oil if needed.
• Salt – Essential for enhancing flavor; opt for sea salt for a more delicate taste.
• Black Pepper – Adds warmth and spice; white pepper can be used for a milder flavor profile.
• Garlic Powder – Contributes savory depth; fresh minced garlic can be a flavorful substitute.
• Yellow Onion – Adds natural sweetness and texture; substitute with finely diced shallots if preferred.
For the Creamy Base
• Mayonnaise – Provides creaminess and helps bind the beef; Greek yogurt offers a healthier alternative.
For the Cheesiness
• Medium Cheddar Cheese – Melts beautifully and enhances flavor; American cheese is a splendid substitute for a classic taste.
• Shredded Cheddar – Adds an extra cheesy layer; consider using pepper jack for a spicy twist.
For the Sliders
• Dinner Rolls – Acts as the slider base; Hawaiian rolls can be used for a sweeter flavor. For a gluten-free option, choose gluten-free rolls.
• Unsalted Butter – Brush the tops for browning and richness; oil can replace it for a dairy-free version.
• Sesame Seeds – Provides a nice crunchy topping; purely optional for an aesthetic touch.
Step‑by‑Step Instructions for Cheeseburger Sliders
Step 1: Preheat the Oven
Begin by preheating your oven to 350°F (175°C) and generously butter a rimmed baking sheet. This will help your Cheeseburger Sliders develop a delicious, golden crust as they bake. Ensure the butter is evenly spread over the entire surface for even browning, and set the baking sheet aside while you prepare the filling.
Step 2: Sauté the Onions
In a skillet, heat a drizzle of olive oil over medium-high heat. Once hot, add diced yellow onions and sauté for about 3 to 5 minutes until they become translucent and fragrant. This step enhances the flavor profile of your sliders, adding a sweet and savory element that perfectly complements the beef.
Step 3: Cook the Ground Beef
Add the lean ground beef to the skillet, breaking it apart with your spatula as it cooks. Season the beef with salt, black pepper, and garlic powder, ensuring each bite is well-seasoned. Cook for approximately 6 to 8 minutes until fully browned, then drain any excess fat to keep your Cheeseburger Sliders juicy and delicious.
Step 4: Mix in the Mayonnaise
Once the beef is cooked and drained, stir in mayonnaise until fully combined. This creamy addition binds the mixture and elevates the overall flavor of your Cheeseburger Sliders while keeping the meat moist. Set the mixture aside while you prepare the rolls and cheese.
Step 5: Prepare the Dinner Rolls
Take your dinner rolls and carefully cut them in half horizontally, separating the tops from the bottoms. Place the bottom halves on your prepared baking sheet, ensuring they’re close together but not overlapping. This makes it easy to assemble your Cheeseburger Sliders in one go without them falling apart, ready for the flavorful layer to come.
Step 6: Add the Cheese Layer
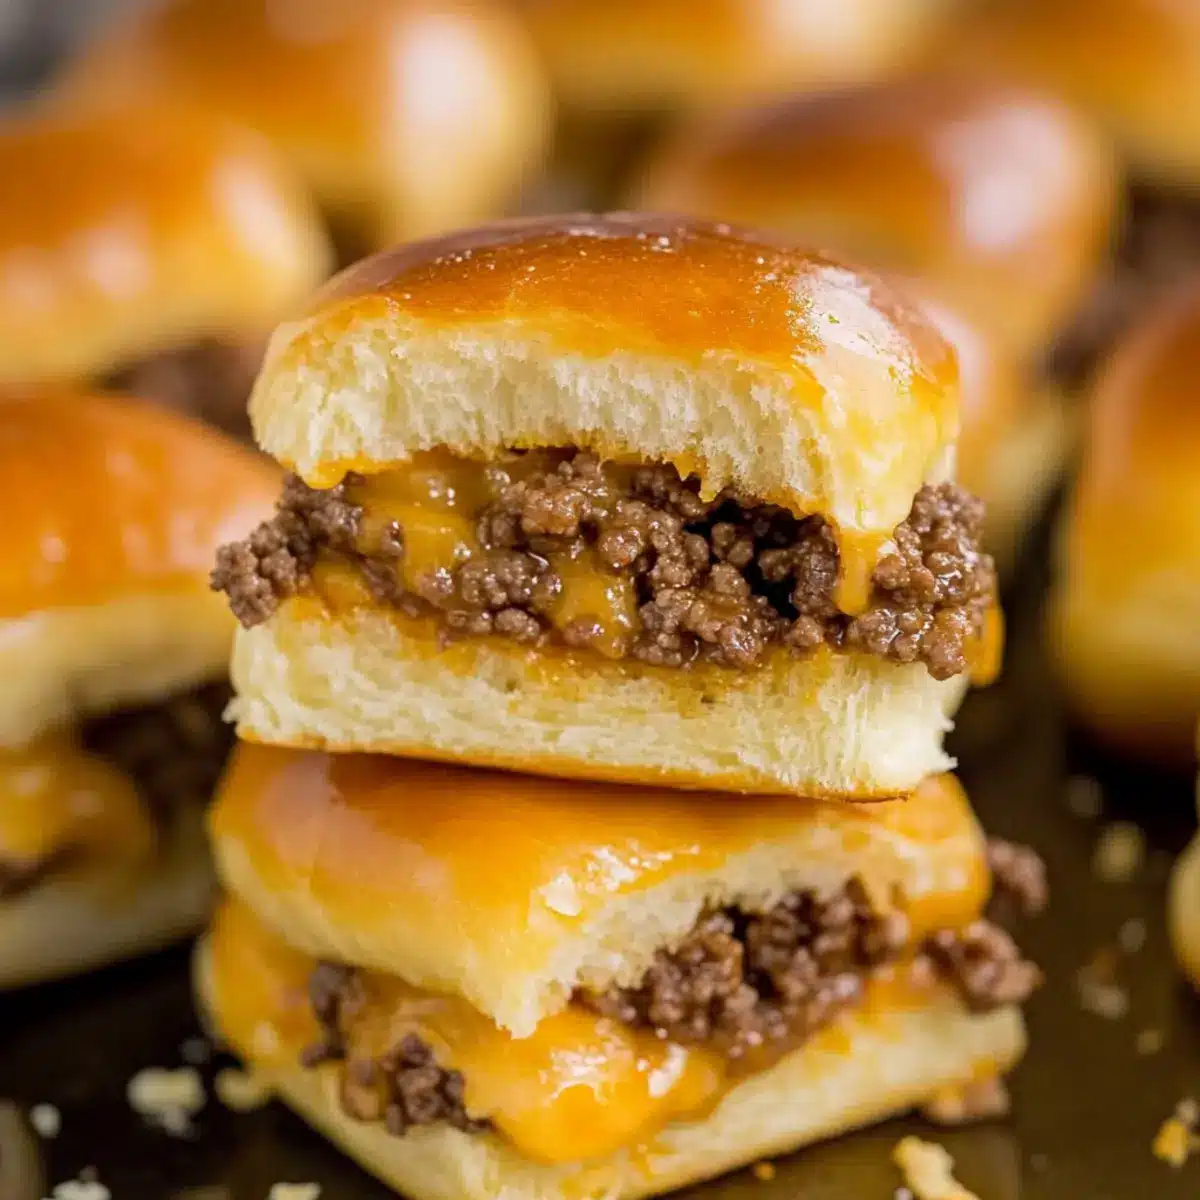
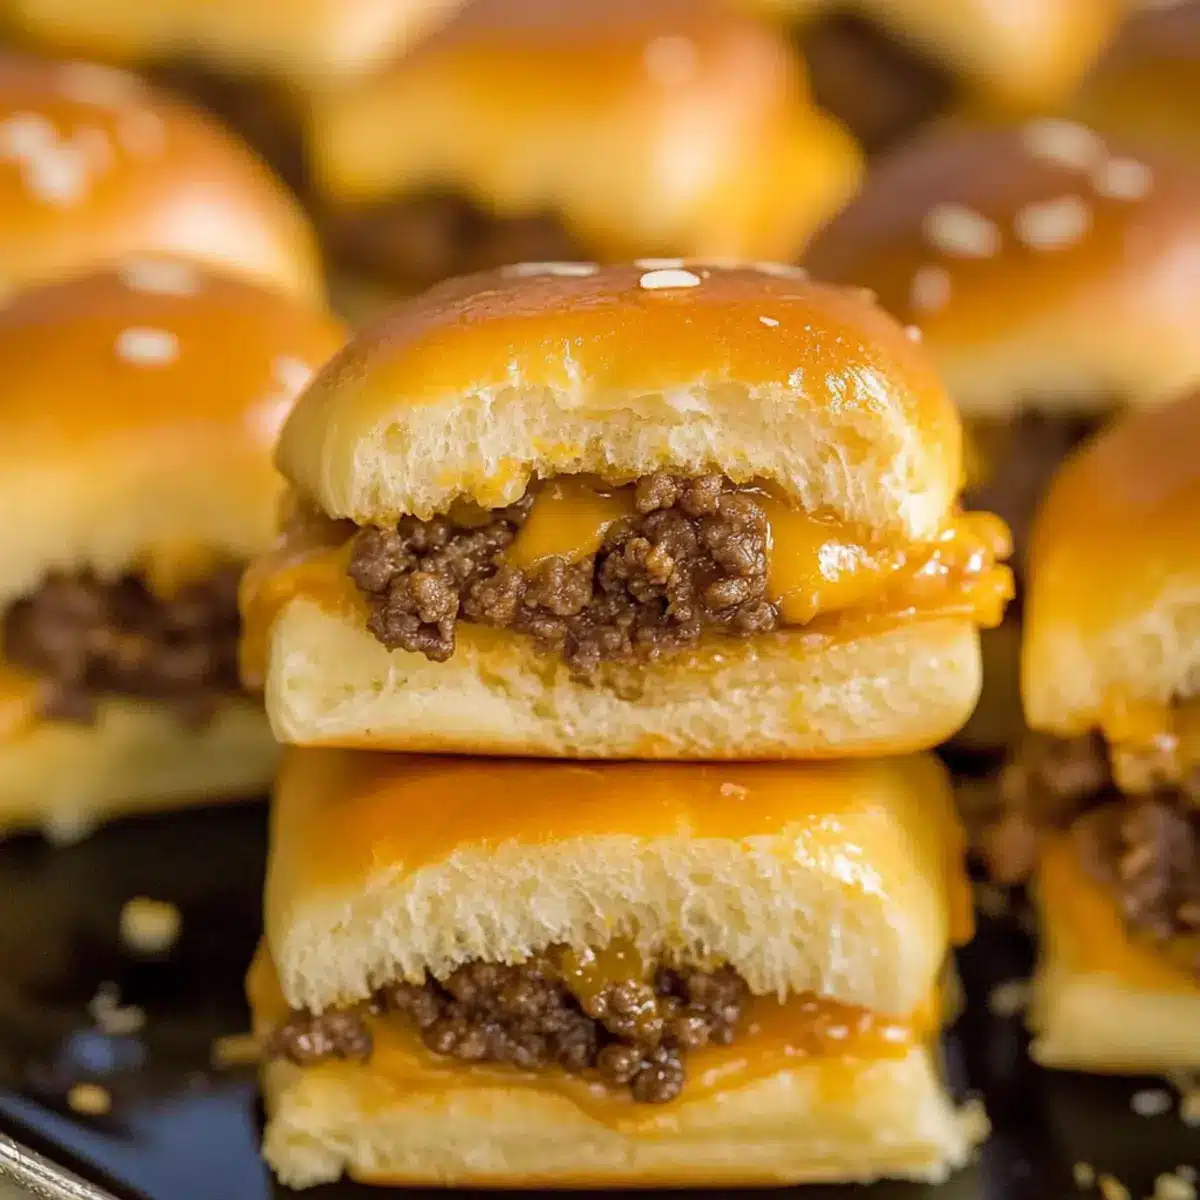
Layer the bottom halves of the rolls generously with slices of medium cheddar cheese. The cheese will melt beautifully, adding a gooey texture to your Cheeseburger Sliders. Be sure to cover as much of the bread as possible to maximize that cheesy goodness, creating a delightful base for the beef mixture.
Step 7: Spread the Beef Mixture
Evenly spread the beef mixture over the cheese layer, making sure to cover it fully for maximum flavor in each bite. After the beef, sprinkle a generous layer of shredded cheddar on top to add extra cheesiness to your sliders. This combination is sure to tempt taste buds with every glorious bite.
Step 8: Top and Bake
Place the top halves of the rolls on top of your assembled sliders. Brush the tops with melted unsalted butter for rich flavor and to ensure they turn golden brown while baking. Optionally, sprinkle sesame seeds for a delightful crunch. Bake in the preheated oven for 12-15 minutes or until the cheese is melted and the tops are perfectly golden.
Make Ahead Options
These Cheeseburger Sliders are perfect for meal prep enthusiasts looking to save time during busy weeknights! You can assemble the sliders up to 24 hours in advance by preparing the beef mixture and layering it between the rolls with cheese. After placing them in an airtight container, store in the refrigerator to maintain freshness. When you’re ready to bake, simply preheat your oven and bake from chilled, adding an extra 3-5 minutes to the baking time for just-as-delicious sliders. This way, you’ll have melty cheeseburger goodness ready to enjoy at a moment’s notice!
Cheeseburger Sliders: Endless Options
Embrace the freedom to make these scrumptious sliders uniquely yours through delightful substitutions and variations!
- Turkey Sliders: Swap ground beef for lean ground turkey to create a lighter version that’s just as tasty.
- Plant-Based Twist: Use a plant-based meat substitute for a delicious vegan option that doesn’t skimp on flavor or satisfaction.
- Spicy Kick: Mix in sliced jalapeños or diced green chilies for a zesty burst of heat that brings exciting flavor to every bite!
- Gourmet Cheese: Experiment with creamy gouda or tangy blue cheese to elevate the flavor profile and impress your guests.
- Sweet Rolls: Try Hawaiian or brioche rolls for a touch of sweetness that perfectly complements the savory beef.
- Herbed Bliss: Add fresh herbs like parsley or basil into the beef mixture for a vibrant flavor that brightens up your sliders.
- Crunchy Topping: Top with crispy fried onions instead of sesame seeds for a satisfying crunch that takes these sliders to the next level.
- Savory Sauce: Try a tangy barbecue sauce or zesty sriracha mayo drizzle inside before baking for an extra flavor boost.
For further inspiration on customization, check out our variation ideas and get creative in the kitchen!
What to Serve with Easy 30-Minute Cheeseburger Sliders
Imagine indulging in the juicy goodness of sliders, complemented by the perfect side dishes that elevate your meal experience.
- Crispy Baked Potato Wedges: Their crunchy exterior and fluffy interior add a delightful texture contrast to the soft sliders, making every bite satisfying.
- Fresh Caesar Salad: The crisp Romaine leaves and creamy dressing provide a refreshing balance to the richness of the sliders, ensuring a harmonious meal.
- Tangy Dill Pickles: Their sharp, vinegary bite cuts through the cheesiness, brightening the overall flavor profile of your cheeseburger sliders. These can also be served as a simple, no-fuss snack alongside your meal.
- Homemade Coleslaw: Creamy and slightly sweet, coleslaw offers a crunchy texture that pairs beautifully, making it a classic side that complements every bite.
- Sweet Potato Fries: Offering a sweet contrast to the savory sliders, these fries add a hint of sweetness and a wonderful crunch, making your platter colorful and enticing.
- Icy Cold Beer: A chilled lager enhances the rich flavors of the beef and cheese, providing a refreshing sip alongside your mouthwatering sliders. Consider trying different beer styles for a variety of taste experiences.
- Chocolate Chip Cookies: End your meal on a sweet note! Warm, gooey cookies are a nostalgic treat that perfectly rounds off your slider feast, satisfying any sweet tooth waiting in the wings.
- Classic Lemonade: Bright and zesty, this drink adds a refreshing twist that balances the rich flavors, perfect for warm gatherings and summer meals.
Expert Tips for Cheeseburger Sliders
• Choose Lean Beef: Opt for 90/10 lean ground beef to avoid greasy sliders; this helps keep your cheeseburger sliders juicy without excess fat.
• Prep Ahead: Assemble sliders in advance and refrigerate overnight. Just remember to add 3-5 minutes to baking time if baking chilled.
• Avoid Overcooking: Brown the beef just until fully cooked; it will continue to cook in the oven to prevent dry sliders.
• Use Quality Rolls: Soft, fresh dinner rolls are ideal—Hawaiian rolls add sweetness, while gluten-free rolls cater to dietary needs.
• Customize Your Cheese: Experiment with different cheeses like gouda or pepper jack for unique flavor profiles in your cheeseburger sliders.
How to Store and Freeze Cheeseburger Sliders
Fridge: Store leftover cheeseburger sliders in an airtight container for up to 3 days. This keeps them fresh while maintaining their delicious flavor.
Freezer: For longer storage, individually wrap sliders in plastic wrap and place them in a freezer-safe bag. They can be frozen for up to 2 months.
Reheating: When ready to enjoy, reheat in the microwave for 1-2 minutes or bake in a preheated oven at 350°F (175°C) for 10-15 minutes until heated through.
Make-Ahead Tip: Assembling cheeseburger sliders in advance is a great idea—just bake them right before serving for warm, gooey goodness!

Cheeseburger Sliders Recipe FAQs
What kind of ground beef should I use for my sliders?
Absolutely! I recommend using 90/10 lean ground beef for the perfect balance of flavor and moisture. It keeps your cheeseburger sliders juicy without being greasy. If you’re looking for a lighter option, you can easily substitute with ground turkey or even a plant-based meat alternative.
How do I properly store leftover sliders?
Very easy! Store your leftover cheeseburger sliders in an airtight container in the fridge for up to 3 days. This method helps maintain their delicious flavor and ensures they stay fresh. You can quickly reheat them in the microwave for about 1-2 minutes or pop them in a preheated oven at 350°F (175°C) for about 10-15 minutes till they’re warmed through again.
Can I freeze cheeseburger sliders?
Of course! Freezing cheeseburger sliders is a fantastic way to make them last longer. To do this, individually wrap each slider in plastic wrap and place them in a freezer-safe bag. They can be kept in the freezer for up to 2 months. When you’re ready to enjoy them, just reheat in the microwave or bake them, and they’ll taste just as good!
What should I do if my sliders turn out dry?
If your cheeseburger sliders come out a little dry, don’t worry! This can happen if the beef is overcooked. Next time, make sure to brown the ground beef just until it’s fully cooked. Also, stirring in the mayonnaise helps to add moisture, so don’t skip that step! If you find they’re already cooked, consider adding a splash of beef broth or a dollop of your favorite condiments when reheating for extra juiciness.
Are these sliders suitable for anyone with dietary restrictions?
Absolutely! You can easily modify these cheeseburger sliders to cater to various dietary preferences. For those who are gluten-free, simply use gluten-free dinner rolls instead of traditional ones. If someone has dairy allergies, you can substitute butter with a non-dairy oil for the tops and use dairy-free cheese options. It’s all about making these sliders work for everyone!
Can I prepare cheeseburger sliders in advance?
Yes, indeed! Preparing cheeseburger sliders in advance is a fantastic time-saver. You can assemble them a day ahead and keep them in the fridge. Just remember to increase the baking time by about 3-5 minutes if you bake them straight from the fridge. This make-ahead method ensures you have warm, gooey goodness whenever you need it!
Irresistible Cheeseburger Sliders: Quick & Cheesy Goodness
Ingredients
Equipment
Method
- Preheat the oven to 350°F and butter a rimmed baking sheet.
- In a skillet, heat olive oil over medium-high heat and sauté diced onions until translucent.
- Add ground beef, season with salt, black pepper, and garlic powder; cook until browned.
- Stir in mayonnaise until fully combined, then set aside.
- Cut the dinner rolls in half horizontally; place the bottom halves on the baking sheet.
- Layer the rolls with slices of medium cheddar cheese.
- Spread the beef mixture over the cheese, then sprinkle with shredded cheddar.
- Top with the roll halves, brush with melted butter, and sprinkle sesame seeds if desired.
- Bake for 12-15 minutes until the cheese is melted and tops are golden brown.
Leave a Reply