
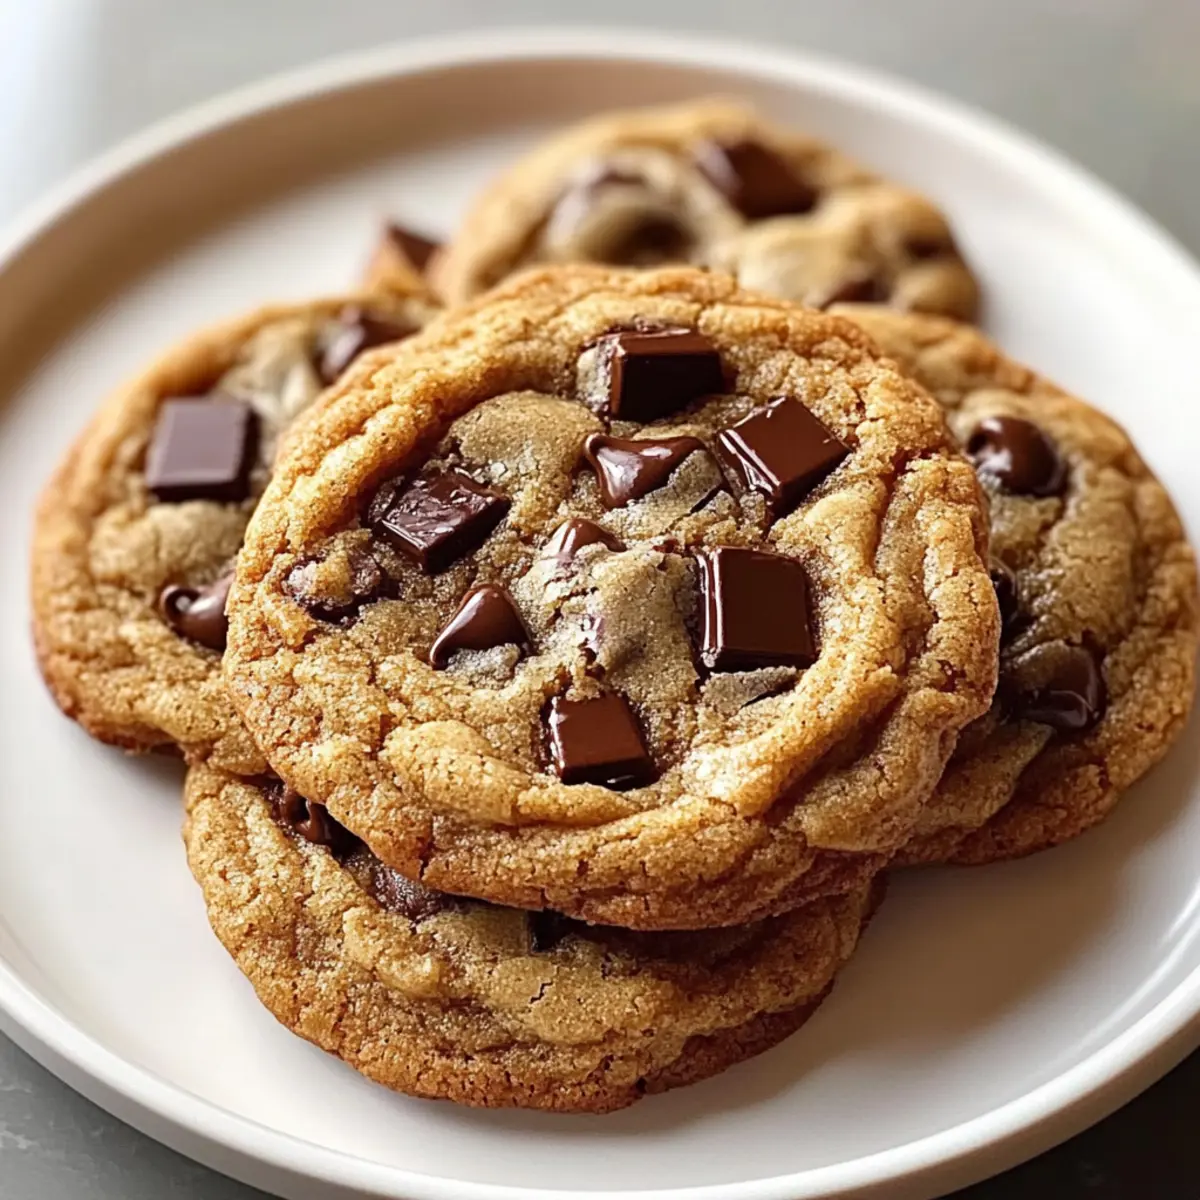
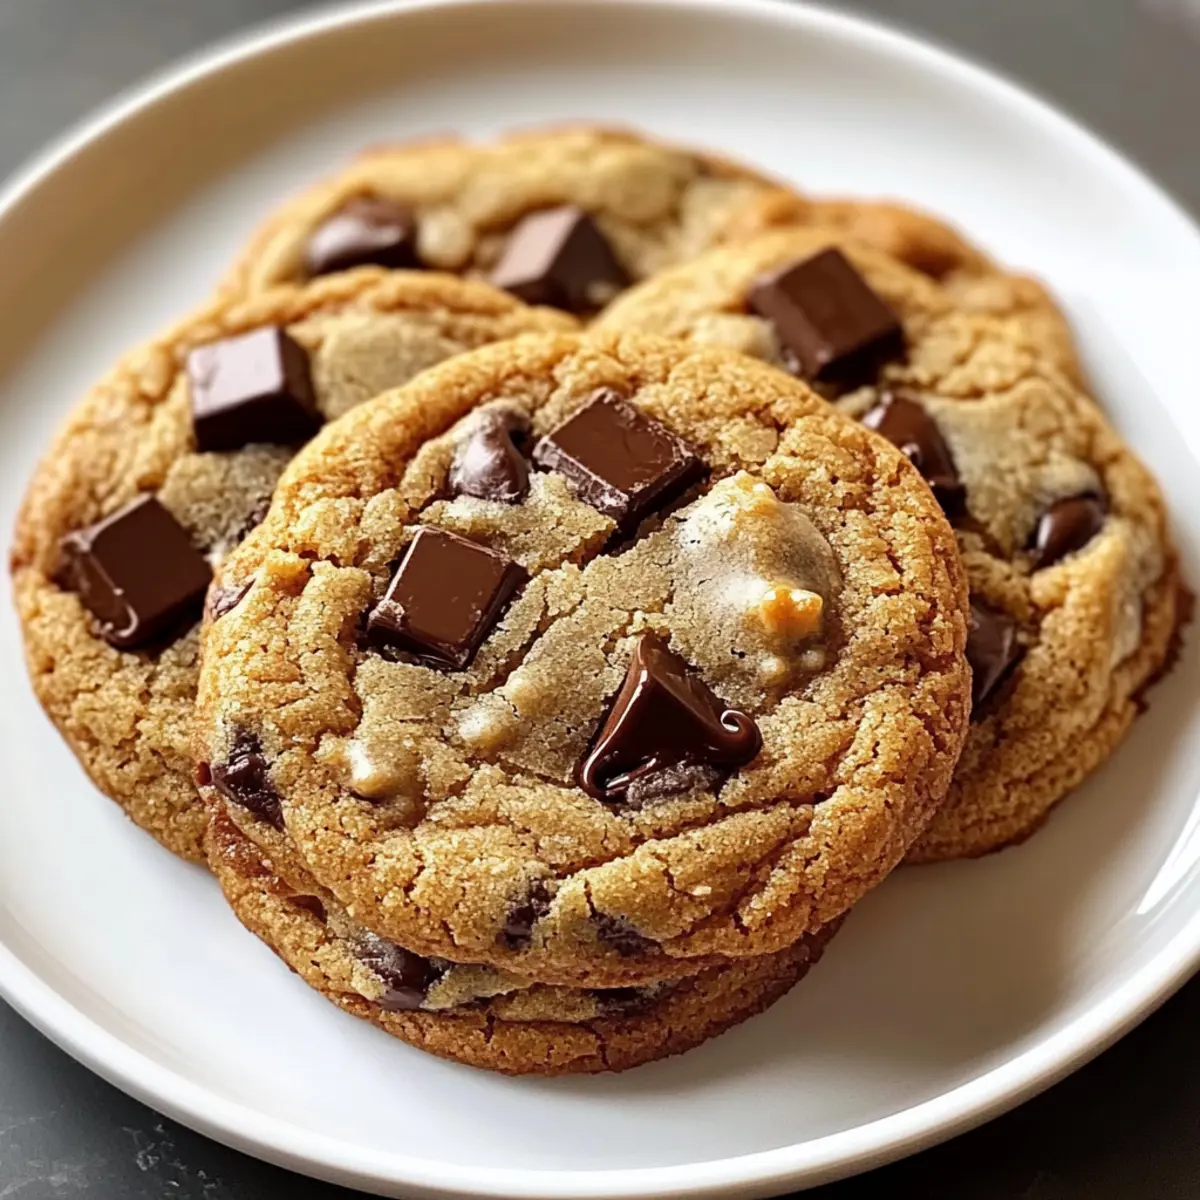
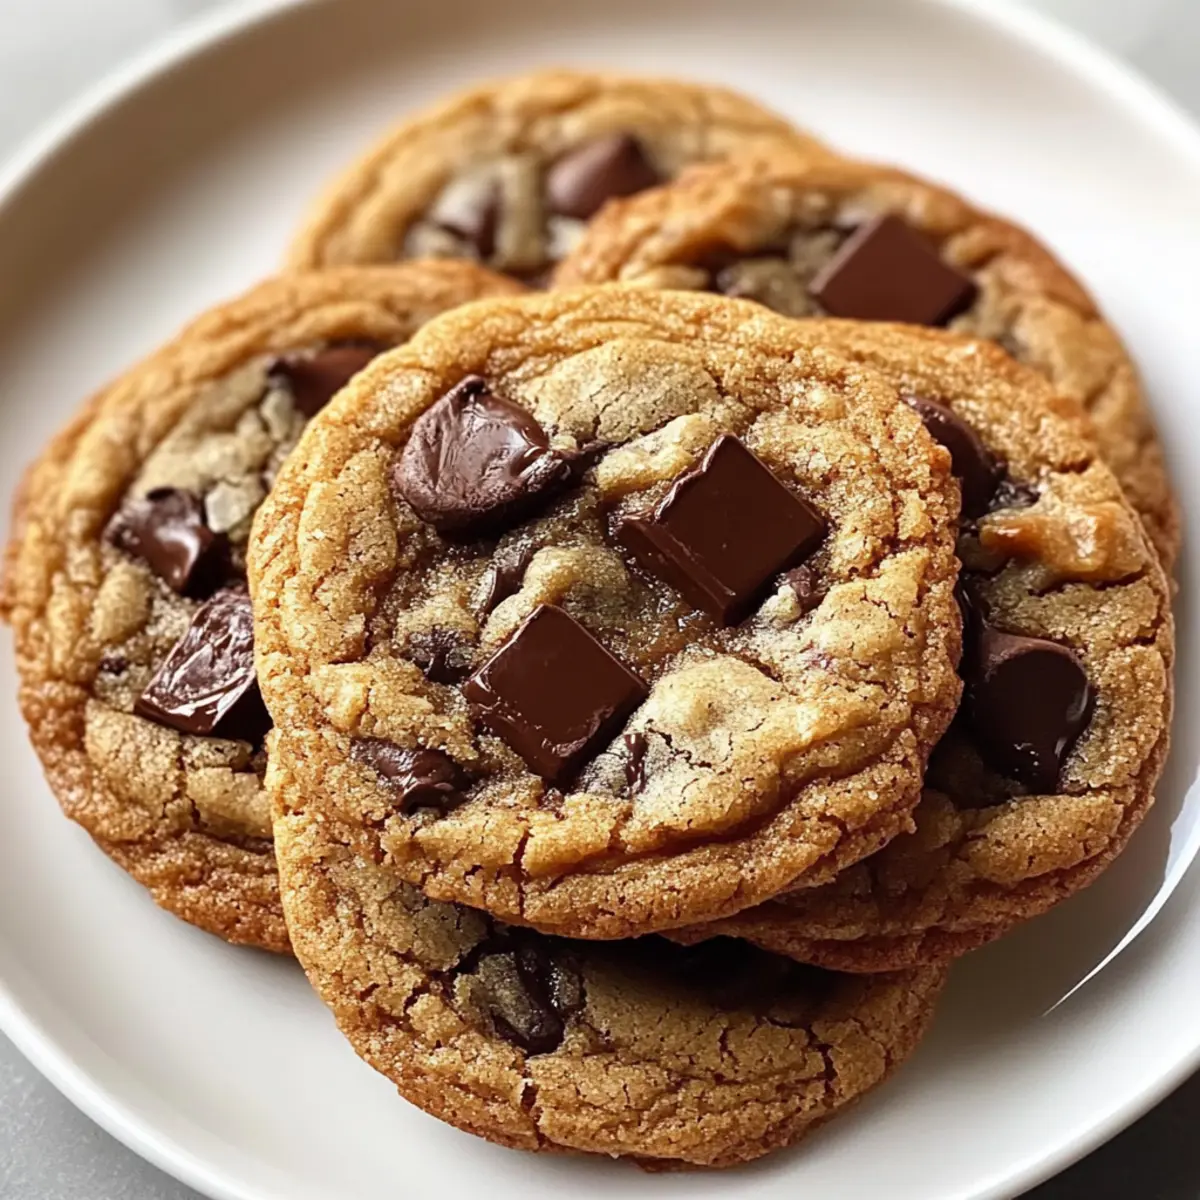
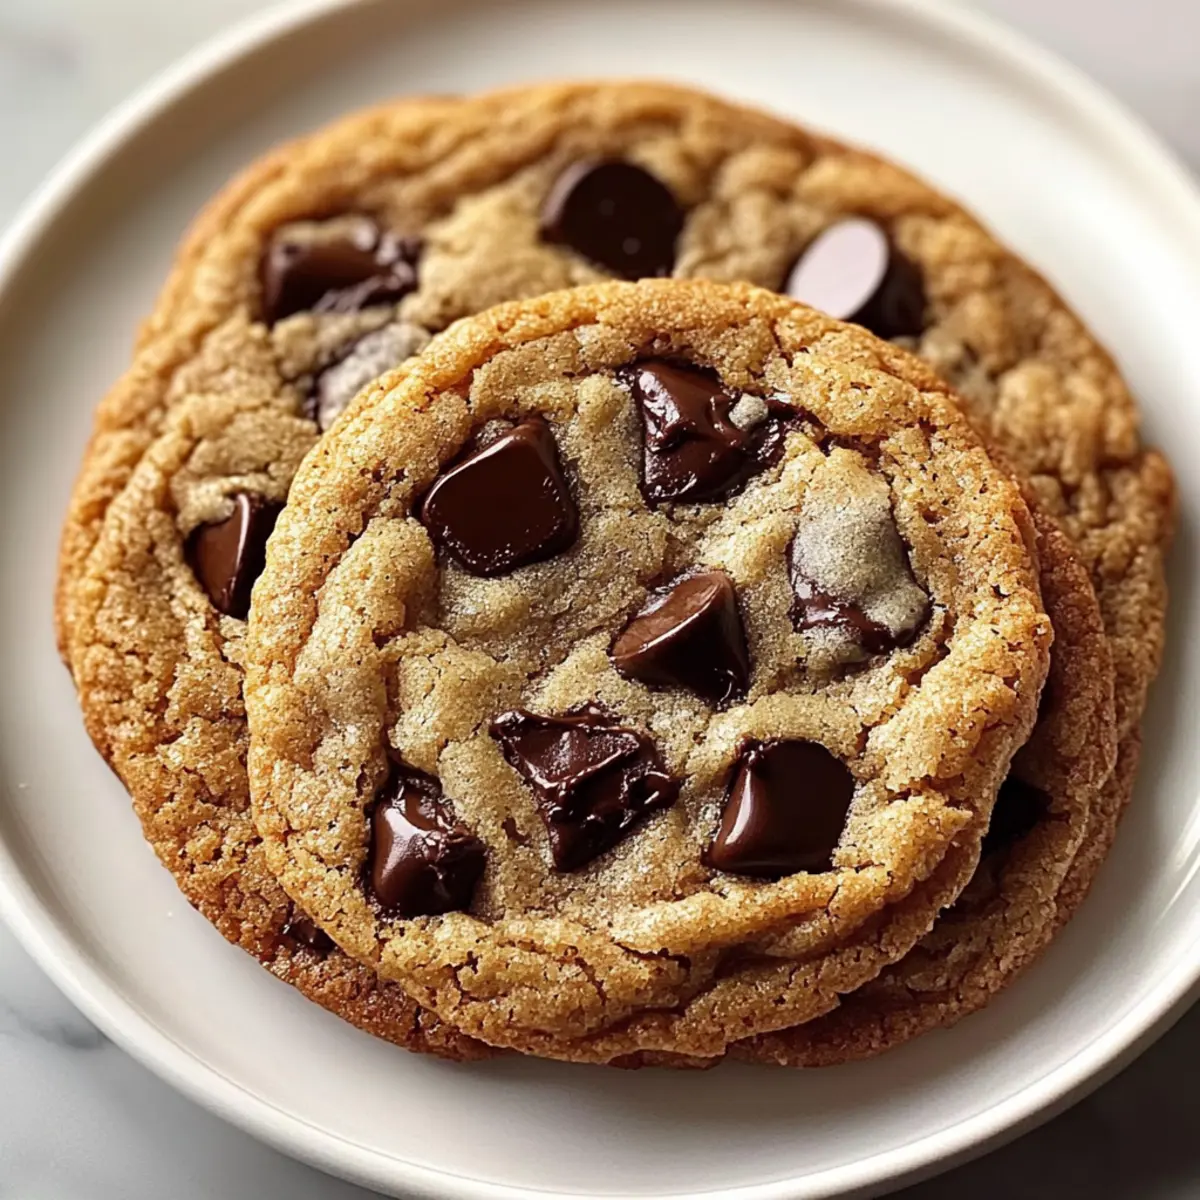
The aroma of freshly baked cookies wafting through the kitchen is enough to transport anyone back to their childhood. Today, I’m thrilled to share my secret to crafting the ultimate Brown Butter Chocolate Chip Cookies! This recipe not only elevates a classic treat with the nutty richness of brown butter but also takes just 30 minutes from start to finish, making it the perfect choice for a quick dessert fix or an impressive addition to your next gathering. With their golden edges and soft, chewy centers, these cookies are a guaranteed crowd-pleaser. Plus, they’re freezer-friendly—I always make a double batch to have sweet moments at the ready! Ready to indulge in a delightful blend of flavor and nostalgia? Let’s get baking!
Why are these cookies irresistible?
Decadent flavors come together in a perfect harmony that will make your taste buds dance! Quick and easy to whip up, these Brown Butter Chocolate Chip Cookies are perfect for beginners and seasoned bakers alike. Versatile options allow you to customize your batch with your favorite chocolate types or even nuts, ensuring everyone is satisfied. Fantastic for sharing, they make any gathering feel special, while their freezer-friendly nature means you can enjoy sweet moments anytime. Don’t miss out on the chance to elevate your dessert game—try pairing these cookies with a scoop of ice cream or serving them alongside a warm cup of coffee for the ultimate treat!
Brown Butter Chocolate Chip Cookie Ingredients
For the Dough
- Unsalted Butter – browning enhances flavor and adds richness to the cookies.
- Dark Brown Sugar – brings a chewy texture and a mild tangy sweetness that complements the chocolate.
- Granulated Sugar – balances the sweetness while allowing for a pleasant spread during baking.
- Eggs – contribute moisture and structure, perfecting the cookie’s texture.
- Vanilla Extract – amplifies the sweetness and rounds out the overall flavor profile.
- All-Purpose Flour – provides structural integrity without making the cookies too cakey.
- Baking Soda – ensures proper rise and spread, neutralizing the acidity from the brown sugar.
- Salt – brightens and balances all flavors; it is essential for enhancing the richness of the brown butter.
- Chocolate Chips (Semisweet or Dark) – offer sweet bursts of chocolate that contrast beautifully with the nuttiness of the brown butter.
Optional Mix-Ins
- Chopped Nuts (e.g., Walnuts or Pecans) – add a delightful crunch and enhance flavor depth.
- Different Chocolate Types (Milk or White Chips) – change the sweetness profile, making the cookies even more delightful.
Let’s get ready to bake these scrumptious Brown Butter Chocolate Chip Cookies!
Step‑by‑Step Instructions for Brown Butter Chocolate Chip Cookies
Step 1: Preheat and Prepare
Preheat your oven to 350°F (175°C) and line a baking sheet with parchment paper. This ensures easy removal of your cookies after baking and prevents sticking. Set the sheet aside, as you’ll need it once your dough is ready to bake.
Step 2: Brown the Butter
In a saucepan over medium heat, melt the unsalted butter, stirring continuously. Keep watching as it starts to foam, then turns a rich, deep amber color—this should take about 5-7 minutes. Once browned, remove it from heat and let it cool slightly while you gather the rest of your ingredients.
Step 3: Mix the Sugars
In a large mixing bowl, combine the warm brown butter with both dark brown sugar and granulated sugar. Whisk these ingredients together until they are smooth and well combined, creating a luscious base for your Brown Butter Chocolate Chip Cookies that will enhance the overall flavor.
Step 4: Incorporate the Eggs and Vanilla
Add the eggs to your sugar mixture one at a time, whisking thoroughly after each addition to ensure a smooth blend. Then, stir in the vanilla extract, which will elevate the flavor profile of your cookies. The mixture should be creamy and inviting, setting the stage for the dry ingredients.
Step 5: Combine Dry Ingredients
In a separate bowl, whisk together the all-purpose flour, baking soda, and salt. Gradually fold this dry mixture into the wet ingredients, mixing until just combined. Be careful not to overmix; you want your Brown Butter Chocolate Chip Cookies to remain tender and soft in the center.
Step 6: Add the Chocolate Chips
Gently fold in the semisweet or dark chocolate chips, making sure they are evenly distributed throughout the dough. The chocolate should provide nice sweet pockets of goodness in every bite, perfectly balancing the rich flavor of the brown butter.
Step 7: Scoop the Dough
Using a tablespoon or cookie scoop, portion out the dough and place it on the prepared baking sheet, making sure to leave about 2 inches between each cookie. This spacing helps them to spread evenly while baking, allowing for those beautiful golden edges.
Step 8: Bake to Perfection
Place the baking sheet in the oven and bake for 10-12 minutes. Keep an eye on them; they should be golden brown around the edges, with the centers looking set but still soft. This is the key to achieving that delightful chewy texture in your Brown Butter Chocolate Chip Cookies.
Step 9: Cool and Serve
Once baked, remove the cookies from the oven and let them cool on the baking sheet for about 5 minutes. This resting time allows them to firm up slightly. Then, transfer them to a wire rack to cool completely, ready for devouring or sharing with friends and family.
Brown Butter Chocolate Chip Cookies Variations
Feel free to get creative and tailor these delicious cookies to your personal taste!
-
Dairy-Free: Substitute unsalted butter with vegan margarine or coconut oil for a delightful dairy-free treat.
-
Nutty Twist: Fold in chopped nuts, like walnuts or pecans, for extra crunch and a boost of flavor that pairs wonderfully with chocolate.
-
Different Chocolate Types: Use milk or white chocolate chips instead of semisweet for a sweeter profile that kids and adults alike will adore.
-
Salted Caramel: Drizzle warm salted caramel on top before serving to add a rich, sweet, and salty contrast to the cookies.
-
Spiced Up: Add a pinch of cinnamon or nutmeg to the dough for a warm, comforting flavor that makes these cookies perfect for cozy gatherings.
-
Chewy Version: Chill the dough for at least an hour before baking to create thicker, chewier cookies that will leave you wanting more.
-
Fruity Addition: Toss in some dried cherries or cranberries for a sweet-tart bite that complements the chocolate beautifully.
-
Classic Remix: Grab some creamy peanut butter chips or toffee bits to elevate your cookies with new textures and flavors that will wow your friends and family.
With these variations, you’re sure to find inspiration to make your batch of Brown Butter Chocolate Chip Cookies even more enticing. And if you’re feeling adventurous, try pairing them with a scoop of ice cream or alongside a cup of coffee for a delightful treat experience!
What to Serve with Irresistible Brown Butter Chocolate Chip Cookies
Indulging in warm, freshly baked cookies is a moment beautifully savored, especially when you pair them with delightful accompaniments.
-
Vanilla Ice Cream: A scoop of creamy vanilla ice cream complements the warm, gooey cookies, creating a luscious contrast of textures and temperatures. The cold ice cream melts into the chewy cookie, making each bite utterly divine.
-
Fresh Berries: Juicy strawberries or raspberries add a refreshing tartness that perfectly balances the rich sweetness of the cookies. This bright pop of flavor helps to elevate your dessert experience.
-
Coffee or Espresso: A warm cup of coffee or a shot of espresso brings out the cookie’s nutty notes while cutting through the sweetness, enhancing the overall tasting adventure.
-
Milk: The classic cookie duo! A chilled glass of milk is perfect for dipping or washing down the rich chocolatey bites—every nostalgic bite feels blissfully familiar.
-
Caramel Sauce: Drizzling warm caramel over these cookies adds an extra layer of decadence. The sweet, buttery flavor harmonizes beautifully with the brown butter, creating an irresistible dessert experience.
-
Chocolate Milkshake: For the ultimate indulgence, serve these cookies alongside a thick chocolate milkshake. The combination of chocolatey goodness will surely delight every chocolate lover.
-
Peanut Butter: A dollop of creamy or crunchy peanut butter spreads over the cookies makes for a delicious twist. The salty, nutty flavor contrasts fabulously with the sweetness, enhancing your cookie enjoyment.
-
Sparkling Water: A refreshing bubbly drink like sparkling water or lemonade cuts through the richness, providing a palate-cleanser that keeps your tasting experience light and delightful.
Expert Tips for Brown Butter Chocolate Chip Cookies
-
Watch the Butter: Be diligent while browning the butter; it can go from perfectly toasted to burnt in seconds. Keep stirring and stay attentive!
-
Chill for Thickness: If you prefer thicker cookies, pop the dough in the fridge for an hour before baking. This helps them maintain their shape and chew.
-
Consistent Sizing: Use a cookie scoop or tablespoon to ensure uniformity in size. This allows for even baking, resulting in perfectly golden edges and soft centers.
-
Mind the Sugar: Adjust the balance between granulated and brown sugar according to taste; more brown sugar enhances chewiness while granulated sugar contributes crispness.
-
Don’t Overmix: Mix the dry ingredients into the wet just until combined. Overmixing can lead to tough cookies—aim for a soft, tender crumb in your Brown Butter Chocolate Chip Cookies.
Storage Tips for Brown Butter Chocolate Chip Cookies
-
Room Temperature: Store your Brown Butter Chocolate Chip Cookies in an airtight container at room temperature for up to one week. This keeps them fresh and chewy.
-
Fridge: If you prefer a firmer cookie, store them in the fridge for up to 10 days. Just make sure they are well-wrapped to prevent them from drying out.
-
Freezer: Raw cookie dough can be frozen for up to three months. Scoop into balls, flash freeze, then store in an airtight container. Bake from frozen, adding a few extra minutes to the baking time.
-
Reheating: For warm, gooey cookies, pop them in the microwave for about 10-15 seconds or reheat in a preheated oven at 350°F (175°C) for 5-7 minutes. Enjoy the melted chocolate goodness!
Make Ahead Options
These Brown Butter Chocolate Chip Cookies are perfect for busy home cooks who want to save time in the kitchen! You can prepare the dough up to 3 days in advance by mixing it and refrigerating it in an airtight container. This not only allows the flavors to deepen but also helps maintain the cookies’ soft texture when baked. Alternatively, you can freeze the raw dough by scooping out cookie portions onto a baking sheet and flash-freezing them for about an hour before transferring to a freezer-safe bag; this method keeps them fresh for up to 3 months. When you’re ready to indulge, simply bake directly from frozen, adding an additional minute or two to the baking time. Enjoy delicious homemade cookies with minimal wait!
Brown Butter Chocolate Chip Cookies Recipe FAQs
What type of butter should I use?
Absolutely use unsalted butter for the best flavor control! Unsalted allows you to regulate the saltiness in your cookies, enhancing the rich, nutty taste of the brown butter without overwhelming sweetness. If you only have salted butter, that’s fine, but consider reducing the added salt in the recipe by half.
How do I know if my butter is browned perfectly?
Great question! You’re looking for a deep amber color and a nutty aroma when browning your butter. It should foam initially, and when the foam subsides, continue stirring until you see little brown specks at the bottom of the pan. This process usually takes about 5-7 minutes, so keep a close eye on it!
Can I store these cookies, and how long will they last?
These delicious Brown Butter Chocolate Chip Cookies can be stored in an airtight container at room temperature for up to one week. Keep them in a cool, dry place to maintain their chewiness. If you want to keep them longer, pop them in the fridge where they’ll stay fresh for about 10 days.
How do I freeze cookie dough for later use?
Absolutely! To freeze raw cookie dough, scoop tablespoon-sized portions onto a baking sheet lined with parchment paper, and place them in the freezer for about 1-2 hours until firm. Once frozen, transfer the dough balls to an airtight container or freezer bag. They will stay good for up to three months. When you’re ready to bake, just bake them straight from the freezer; you may need to add an extra minute or two to the baking time.
What can I do if my cookies turn out too flat?
If your Brown Butter Chocolate Chip Cookies come out too flat, it could be due to overmixing or not enough flour. To prevent this, measure your flour correctly (spoon it into the measuring cup rather than scooping from the bag). You can also try refrigerating the dough for an hour before baking, which helps the cookies hold their shape.
Are these cookies suitable for people with nut allergies?
While this recipe itself doesn’t contain any nuts, be cautious of cross-contamination, especially if you’re planning to include optional mix-ins like walnuts or pecans. Always double-check ingredient labels for allergies, and if you’re unsure, I recommend opting for nut-free chocolate chips or enjoying the cookies as they are!
Decadent Brown Butter Chocolate Chip Cookies to Savor
Ingredients
Equipment
Method
- Preheat your oven to 350°F (175°C) and line a baking sheet with parchment paper.
- In a saucepan over medium heat, melt the unsalted butter, stirring continuously until browned.
- In a mixing bowl, combine the warm brown butter with both dark brown sugar and granulated sugar.
- Add the eggs one at a time, whisking thoroughly after each, then stir in the vanilla extract.
- In a separate bowl, whisk together the flour, baking soda, and salt, then fold into the wet ingredients.
- Gently fold in the chocolate chips until evenly distributed.
- Using a cookie scoop, portion out the dough onto the prepared baking sheet, leaving space between each.
- Bake for 10-12 minutes until golden brown around the edges.
- Let the cookies cool on the baking sheet for about 5 minutes before transferring to a wire rack.
Leave a Reply