
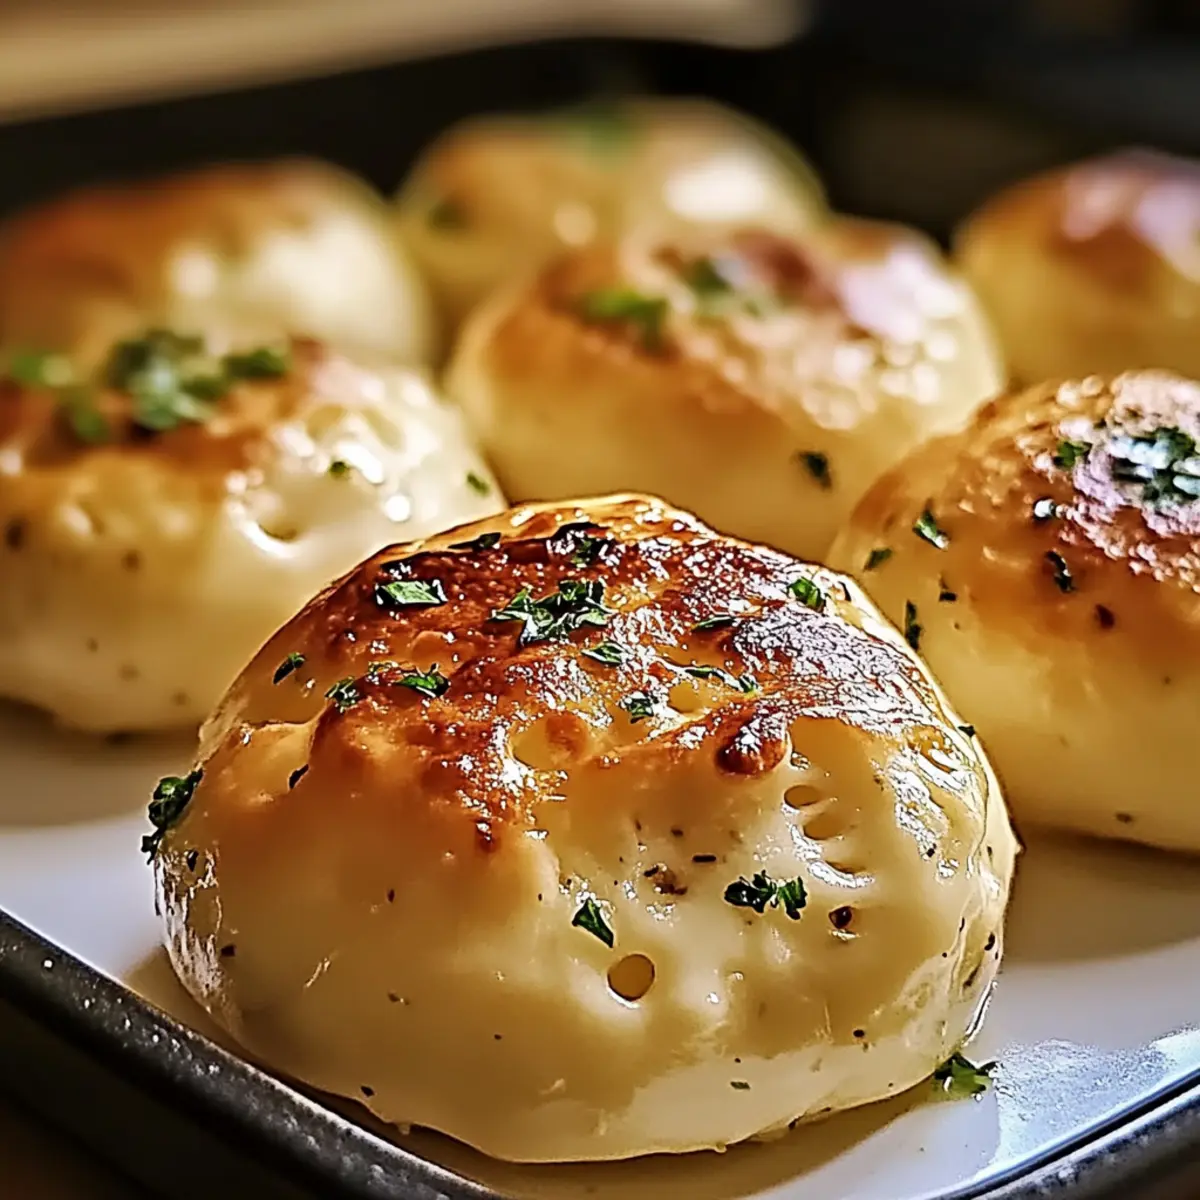
As I pulled open the oven door, the rich aroma of garlic and melting cheese enveloped my kitchen, instantly transforming it into a cozy haven. These Cheesy Garlic Butter Bombs are my go-to snack for any gathering, combining convenience with that soul-satisfying, homemade touch we all crave. With just a few simple ingredients and a quick prep time, you’ll have warm, fluffy bites that are perfect for dipping and sharing. Plus, the beauty of this recipe lies in its versatility—you can easily customize the flavors by swapping out cheeses or adding your favorite herbs. Trust me, these little treasures will win over anyone tired of fast food and ready for something truly comforting. Ready to impress your friends and family with these delicious cheesy delights? Let’s dive in!
Why Are These Bombs So Irresistible?
Simplicity makes these Cheesy Garlic Butter Bombs a breeze to whip up! Just a few ingredients and minimal prep time mean you can focus on what matters most—enjoying good food with great company. Customizable flavors allow you to experiment with different cheeses or add a spicy kick, ensuring every batch feels fresh and exciting. Crowd-pleaser appeal is guaranteed; serve them as an appetizer at your next gathering, and watch them disappear! Pair these bombs with marinara sauce for dipping, making every bite a savory treasure. If you love casual comfort food, don’t miss trying these alongside other delights like Extra Cheesy Lasagna or a fresh Garlic Butter Lemon Salmon for a complete feast!
Cheesy Garlic Butter Bombs Ingredients
Get ready to make your kitchen smell divine!
For the Dough
- Biscuit Dough – Provides structure and a fluffy texture; can use refrigerated dough for convenience or homemade for a fresh taste.
For the Filling
- Shredded Cheese – Key filling ingredient that melts beautifully; substitutable with mozzarella, cheddar, or any preferred cheese for your Cheesy Garlic Butter Bombs.
- Garlic Powder – Adds essential garlicky flavor; fresh minced garlic can be used for a stronger taste.
- Parsley Flakes – For added freshness and color; can be replaced with other herbs like Italian seasoning.
For the Finish
- Butter – Used for brushing on baked bombs to enhance flavor and create a rich finish; can substitute with olive oil for a lighter option.
Step‑by‑Step Instructions for Cheesy Garlic Butter Bombs
Step 1: Preheat the Oven
Begin by preheating your oven to 375°F (190°C) to ensure it’s hot enough for baking. This temperature is perfect for creating that golden, puffy exterior while keeping the cheese oozing within. While your oven warms up, gather your baking sheet and line it with parchment paper or lightly grease it to prevent the cheesy delights from sticking.
Step 2: Prepare the Cheese Filling
In a mixing bowl, combine your choice of shredded cheese, garlic powder, and parsley flakes. Stir these ingredients together until they are evenly mixed, allowing the flavors to blend beautifully. If you’re opting for a delightful twist, feel free to experiment with different cheeses or herbs. Set this cheesy mixture aside while you work with the biscuit dough.
Step 3: Shape the Dough Balls
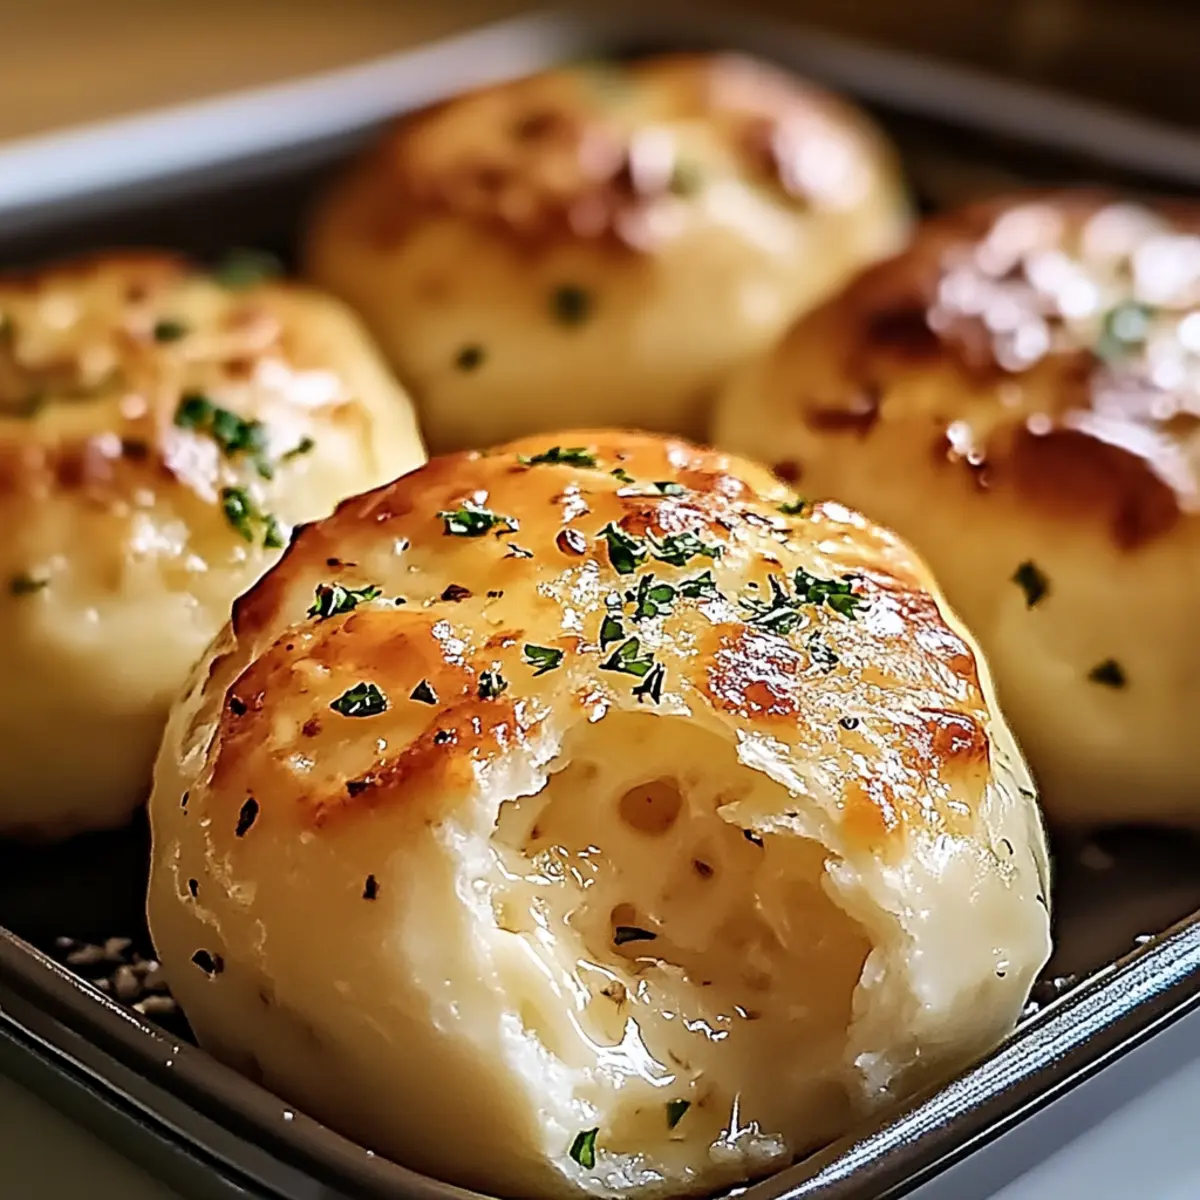
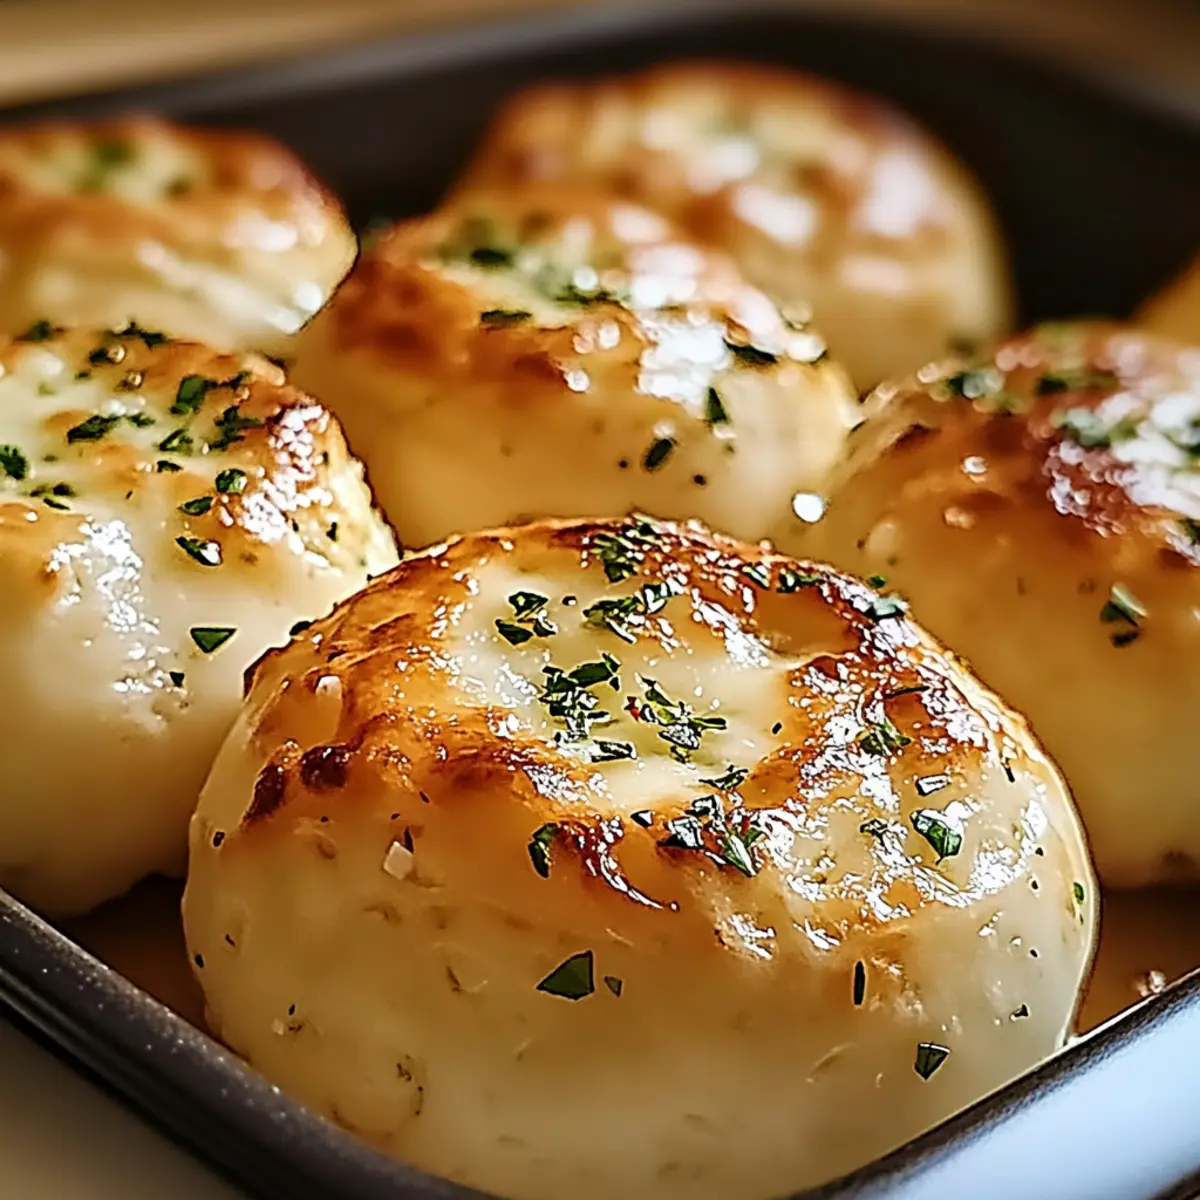
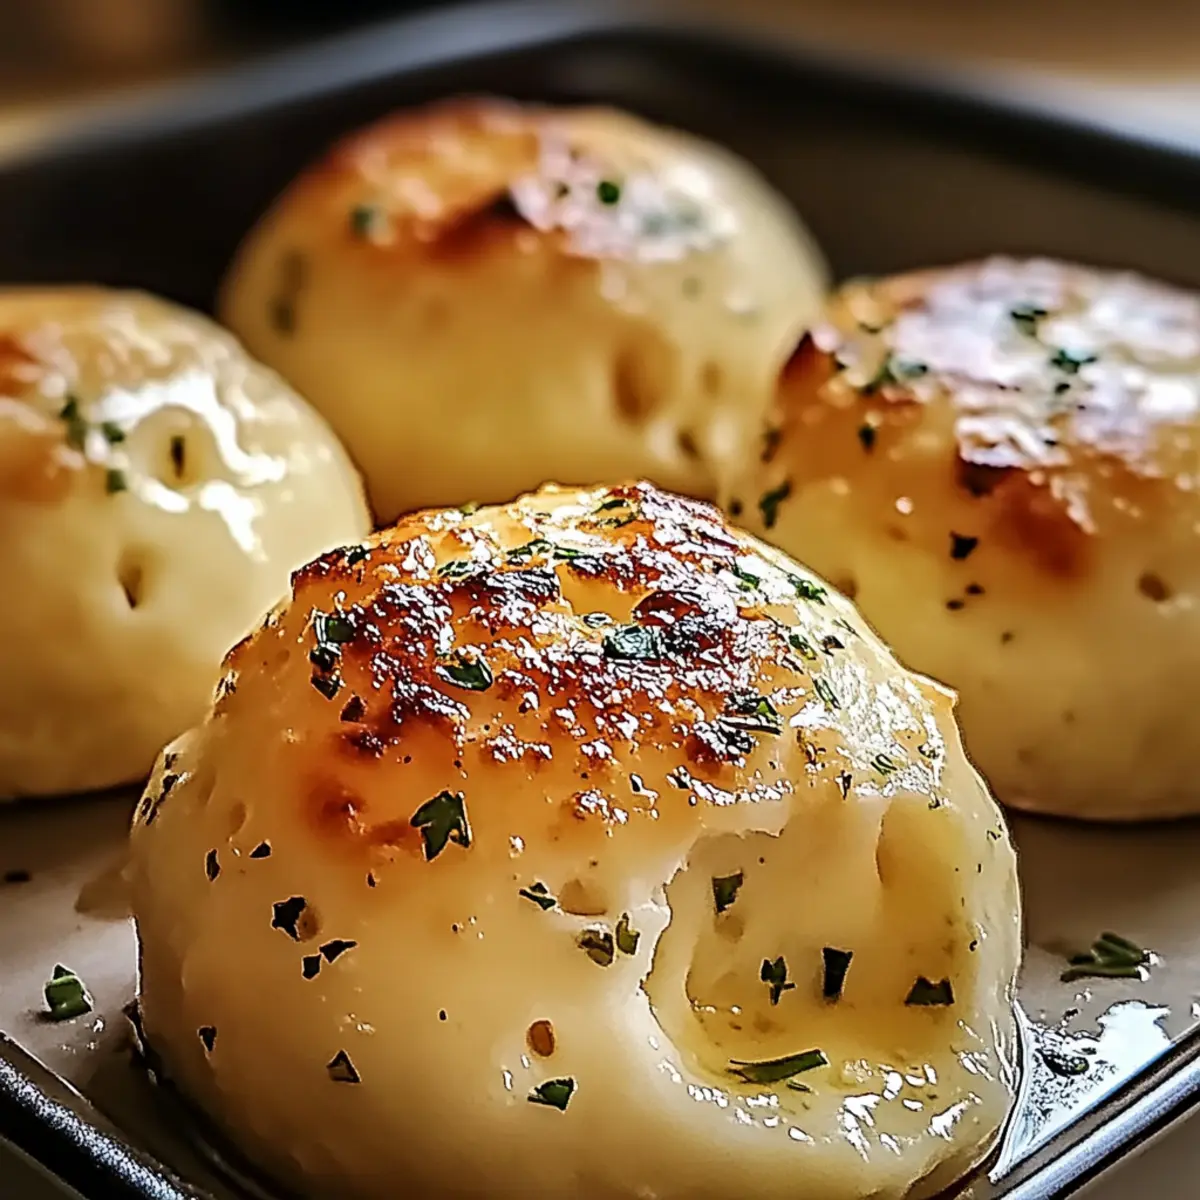
Take a piece of biscuit dough and flatten it in the palm of your hand until it’s about 3 inches wide. Spoon a generous amount of the cheese mixture into the center, ensuring you have enough filling for an explosive flavor. Carefully fold the edges of the dough over the filling, pinch to seal it tightly, and form a smooth ball. This is crucial to ensure your Cheesy Garlic Butter Bombs are filled to perfection without leaking in the oven.
Step 4: Arrange and Bake the Bombs
Place the sealed dough balls on the prepared baking sheet, spacing them at least an inch apart to allow for rising. Slide the baking sheet into the preheated oven and let them bake for about 15-20 minutes. Keep an eye on them; they should turn golden brown and swell up, indicating they are ready to enjoy.
Step 5: Brush with Butter
As soon as your Cheesy Garlic Butter Bombs come out of the oven, melt some butter in a small bowl. Brush the melted butter generously over each warm bomb, which not only adds flavor but also creates a lovely glossy finish. The buttery aroma combined with the garlic will surely be irresistible, calling everyone to the kitchen!
Step 6: Serve and Enjoy
Allow the cheesy bombs to cool for a minute or two before serving. They are best enjoyed warm, and you can pair them with marinara sauce for dipping. Watch as your friends and family rave about these Cheesy Garlic Butter Bombs, turning your gathering into a flavor-packed celebration!
How to Store and Freeze Cheesy Garlic Butter Bombs
Fridge: Keep your leftover Cheesy Garlic Butter Bombs in an airtight container; they will stay fresh for up to 3 days.
Freezer: For longer storage, freeze the baked bombs in an airtight freezer-safe bag for up to 2 months. Ensure they’re cooled completely before freezing to maintain their texture.
Reheating: To regain that delightful crispiness, reheat the frozen Cheesy Garlic Butter Bombs in the oven at 350°F for about 10-12 minutes or until heated through.
Serving Tip: Serve the bombs warm with marinara sauce or your favorite dip for a comforting snack experience!
Make Ahead Options
These Cheesy Garlic Butter Bombs are a fantastic choice for meal prep, especially for busy weeknights! You can prepare the dough balls and fill them with the cheesy mixture up to 24 hours in advance; simply cover them with plastic wrap or place them in an airtight container in the fridge. To maintain their quality, avoid sealing them too tightly, as you’ll want some air circulation to prevent sogginess. When you’re ready to bake, just pop them in the oven straight from the fridge—no need to wait for them to come to room temperature! Brush with melted butter as soon as they’re out of the oven for that mouthwatering finish. Enjoy the time-saving convenience of these delightful snacks!
What to Serve with Cheesy Garlic Butter Bombs
These delightful bites are perfect for creating a cozy meal that warms both the heart and the palate.
-
Creamy Tomato Soup: This classic pairing offers a refreshing contrast that complements the cheesy goodness, making each bite blissful.
-
Garlic Breadsticks: The extra garlic and soft, chewy texture provide a harmonious match, perfect for those who crave the bold taste of garlic.
-
Caesar Salad: Crisp romaine and creamy dressing add a fresh element that balances the rich flavors of the bombs, creating a well-rounded meal.
-
Homemade Marinara Sauce: Serve these bombs with warm marinara for dipping. The tangy tomatoes play beautifully with the cheese, enhancing the overall snacking experience.
-
Roasted Vegetables: A medley of oven-roasted seasonal veggies brings a nutritious touch, contrasting the warm indulgence of cheesy bites.
-
Craft Beer: Pair with a light beer or a hoppy IPA that complements the richness, enhancing the bold flavors with every sip.
-
Spicy Jalapeño Poppers: If you enjoy a kick, these spicy snacks create a fun, flavor-packed experience, intensifying the excitement of your gathering.
-
Chocolate Lava Cake: End your meal on a sweet note; the gooey chocolate is a delightful contrast to the savory bombs, making for a memorable dessert.
-
Sparkling Water with Lemon: A refreshing drink that cleanses the palate and keeps the focus on the vibrant flavors of the cheesy garlic bombs.
Expert Tips for Cheesy Garlic Butter Bombs
-
Seal Tight: Make sure to pinch the edges of the dough securely to prevent leakage during baking. A proper seal is crucial for perfect Cheesy Garlic Butter Bombs!
-
Cheese Variation: Feel free to mix different cheeses! Using a blend of mozzarella and cheddar offers a delightful flavor profile; consider adding pepper jack for a kick.
-
Herb Enhancements: Experiment with fresh herbs instead of dried parsley. Fresh chives or thyme can add a lovely brightness to the filling.
-
Baking Sheet Prep: Line your baking sheet well with parchment paper or grease it properly. This stops your Cheesy Garlic Butter Bombs from sticking and ensures easy serving!
-
Storage Reminder: Store any leftovers in an airtight container in the fridge. To maintain crispiness, reheat in the oven at 350°F for about 10 minutes.
-
Add Spice: If you like a little heat, include some diced jalapeños in the cheese mix! It’s a fun way to spice up your Cheesy Garlic Butter Bombs.
Cheesy Garlic Butter Bombs Variations
Feel free to let your creativity shine as you customize these delightful snacks to match your taste preferences!
-
Spicy Twist: Add diced jalapeños to the cheese filling for a fiery kick. This spicy addition elevates the flavor profile, making these bites even more addictive.
-
Herb-Infused: Swap out parsley flakes for fresh herbs like basil or chives. The fresh herbs will create a garden-fresh flavor that’s truly uplifting!
-
Cheese Blend: Mix and match cheese varieties! Try using pepper jack for heat, or goat cheese for a creamy, tangy surprise in every bite.
-
Dairy-Free Delight: Substitute the butter with olive oil and use a dairy-free cheese alternative to make these bombs vegan-friendly. The results are just as comforting and delicious!
-
Savory Add-Ins: Incorporate finely chopped spinach or mushrooms into the cheese filling for added texture and flavor. These additions bring a delightful earthiness to your bombs.
-
Sweet Surprise: Add a touch of sweetness with a spoonful of caramelized onion or sweet bell peppers. These subtle changes create a unique flavor experience everyone will enjoy.
-
Zesty Finish: Consider brushing with garlic-infused olive oil instead of melted butter right before serving. This adds a fragrant finish that beautifully complements the cheesy bites.
-
Exotic Flavor: Try adding some crumbled feta and sun-dried tomatoes to your filling for a Mediterranean twist. Pair these with a side of Garlicky Calamari with Basil for a delightful meal!
Cheesy Garlic Butter Bombs Recipe FAQs
What type of cheese works best for Cheesy Garlic Butter Bombs?
Absolutely! The best cheese for these bombs is one that melts beautifully. I often recommend mozzarella for its gooey stretchiness or cheddar for a sharper flavor. You can also experiment with pepper jack for some heat or goat cheese for a tangy twist—feel free to mix and match!
How should I store leftover Cheesy Garlic Butter Bombs?
Keep any leftovers in an airtight container in the fridge for up to 3 days. I find that they are best enjoyed fresh, but if you have some to spare, make sure you seal them tightly to maintain their flavor and texture.
Can I freeze Cheesy Garlic Butter Bombs?
Very! To freeze, ensure the bombs are completely cooled, then place them in a single layer on a baking sheet and freeze until solid. After that, transfer them to a freezer-safe bag or container. They can be frozen for up to 2 months. When you’re ready to enjoy, reheat them in the oven at 350°F for 10-12 minutes, and they’ll be just as delightful as when they were freshly baked.
What should I do if my dough is leaking during baking?
If you encounter leakage, it’s likely that the dough wasn’t sealed tightly enough. For best results, ensure that you completely enclose the cheese by pinching the edges of the dough securely before placing them on the baking sheet. You might also consider using a little more dough for a better seal!
Are Cheesy Garlic Butter Bombs suitable for dietary restrictions?
Absolutely! If you’re looking for a gluten-free option, you could substitute with gluten-free biscuit dough. For those with cheese allergies, consider using a dairy-free cheese alternative that melts well. Always check labels to ensure they meet specific dietary needs, especially for friends or family who might have allergies.
Can I add different spices or herbs to the filling?
Yes, the more, the merrier! Feel free to get creative by adding fresh herbs like chives or oregano, or spices such as crushed red pepper flakes for an extra kick. Just mix them into the cheese filling for an additional flavor boost—these little bombs are all about making them your own!
Cheesy Garlic Butter Bombs: Your New Favorite Snack Delight
Ingredients
Equipment
Method
- Preheat your oven to 375°F (190°C) and prepare a baking sheet with parchment paper or grease it.
- In a mixing bowl, combine shredded cheese, garlic powder, and parsley flakes. Mix until evenly combined.
- Flatten biscuit dough into 3-inch circles, fill with cheese mixture, fold edges over, and pinch to seal.
- Place dough balls on the baking sheet, allowing space for rising. Bake for 15-20 minutes until golden brown.
- Melt butter and brush it over the baked bombs for flavor and a glossy finish.
- Let cool for a minute, then serve warm with marinara sauce for dipping.
Leave a Reply