
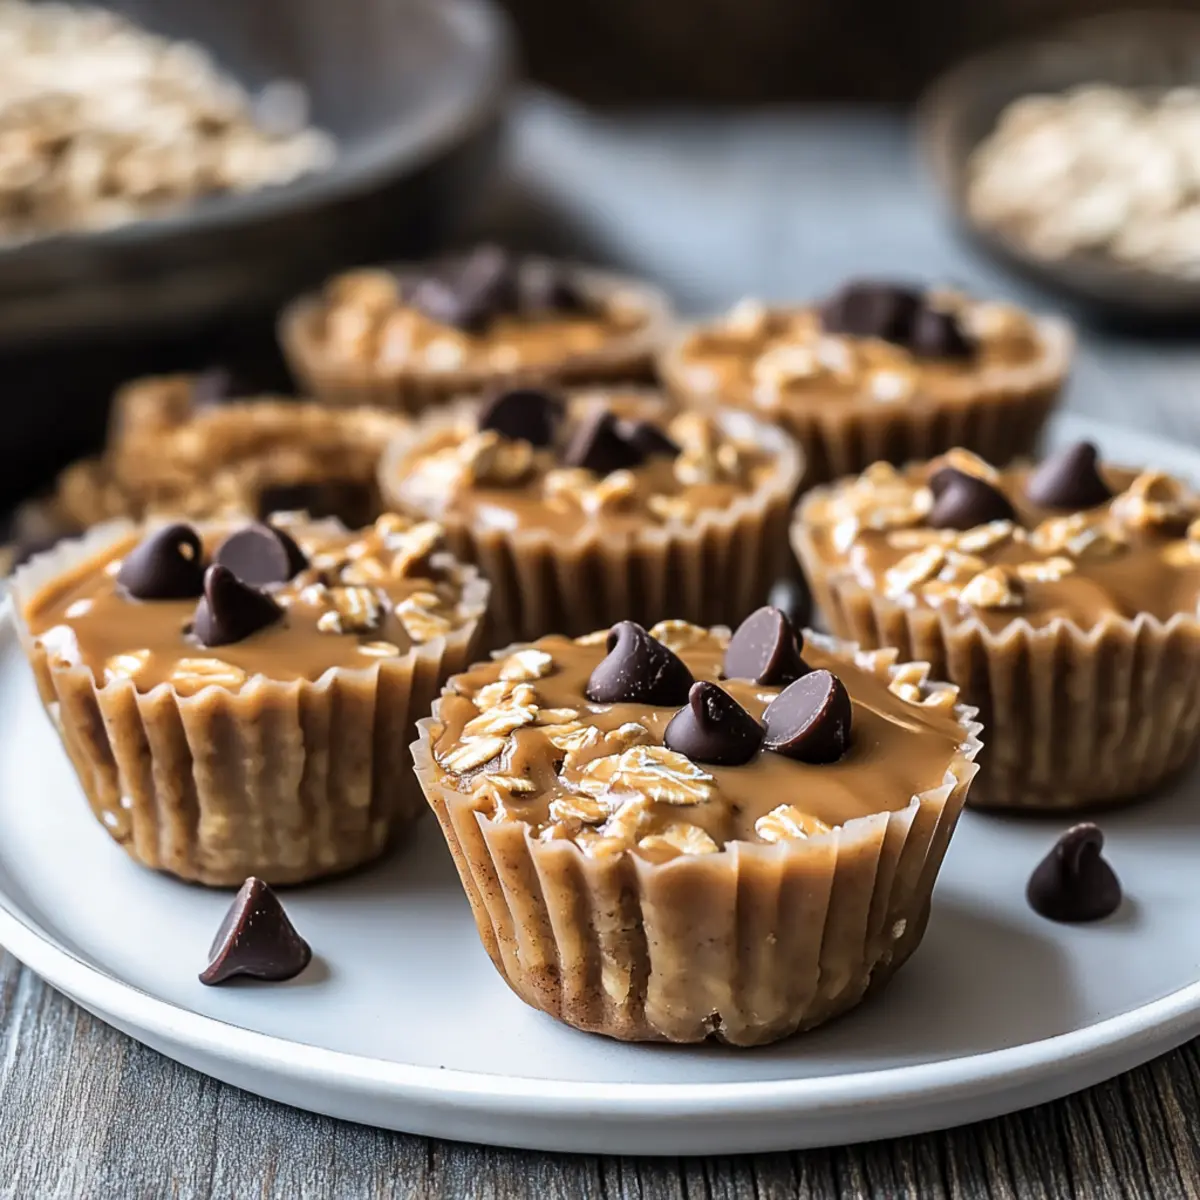
In a world filled with endless snack choices, did you know that a few simple ingredients can conjure a delightful treat like No-Bake Peanut Butter Oat Cups? These little gems come together in no time, making them the perfect solution for satisfying a sweet craving without ever turning on the oven. Not only are they incredibly quick to whip up, but they’re also a nutritious alternative for those busy days when you need a wholesome boost. With just five ingredients, you’ll find yourself enjoying a chewy, creamy indulgence that packs a punch of protein and fiber. Whether you savor them as a healthy dessert or an energizing snack, these cups are bound to become a staple in your kitchen. Curious about how to make them just right? Let’s dive in!
Why are No-Bake Peanut Butter Oat Cups Great?
Simplicity: With just five ingredients, these cups are incredibly easy to make, perfect for even novice cooks.
Nutritious Delight: Packed with protein and fiber, they offer a guilt-free snack option that keeps you satisfied.
Versatile Toppings: Feel free to customize with dark chocolate chips or dried fruits for added sweetness and texture.
Quick Prep Time: No baking means these can be ready to enjoy in under an hour—ideal for busy days!
Crowd-Pleasing Flavor: The creamy peanut butter combined with the chewiness of oats creates a delicious treat that everyone will love.
These cups are not just perfect for snack time; they can also make a fantastic addition to your breakfast routine or healthy dessert lineup, similar to our delightful Mini Dessert Cups.
No-Bake Peanut Butter Oat Cups Ingredients
• Ready to whip up these delicious No-Bake Peanut Butter Oat Cups? Here’s what you need!
For the Base
- Rolled Oats – Provides structure and chewiness; use gluten-free oats for a gluten-free version.
- Natural Peanut Butter – Adds creaminess and nutty flavor; substitute with almond butter or sunbutter for nut-free options.
- Honey or Maple Syrup – Acts as a natural sweetener and binder; note that maple syrup will yield a slightly different flavor.
For Flavor Enhancements
- Dark Chocolate Chips (optional) – Adds a touch of sweetness and indulgence; substitute with carob chips or skip for a pure oat flavor.
- Vanilla Extract (optional) – Enhances overall flavor; omit for a simpler taste.
- Pinch of Salt – Balances sweetness, especially if using unsalted peanut butter.
Step‑by‑Step Instructions for No-Bake Peanut Butter Oat Cups
Step 1: Combine Ingredients
In a mixing bowl, combine rolled oats, natural peanut butter, and honey (or maple syrup). Use a spatula or wooden spoon to mix thoroughly until everything is well combined and forms a sticky texture. The mixture should cling together nicely, providing a uniform base for your No-Bake Peanut Butter Oat Cups.
Step 2: Add Flavor Enhancements
If desired, stir in a splash of vanilla extract and a pinch of salt to elevate the flavors of your No-Bake Peanut Butter Oat Cups. The vanilla adds depth, while the salt balances sweetness, especially if you’re using unsalted peanut butter. Mix until combined, ensuring that all flavors are distributed evenly.
Step 3: Prepare the Muffin Tin
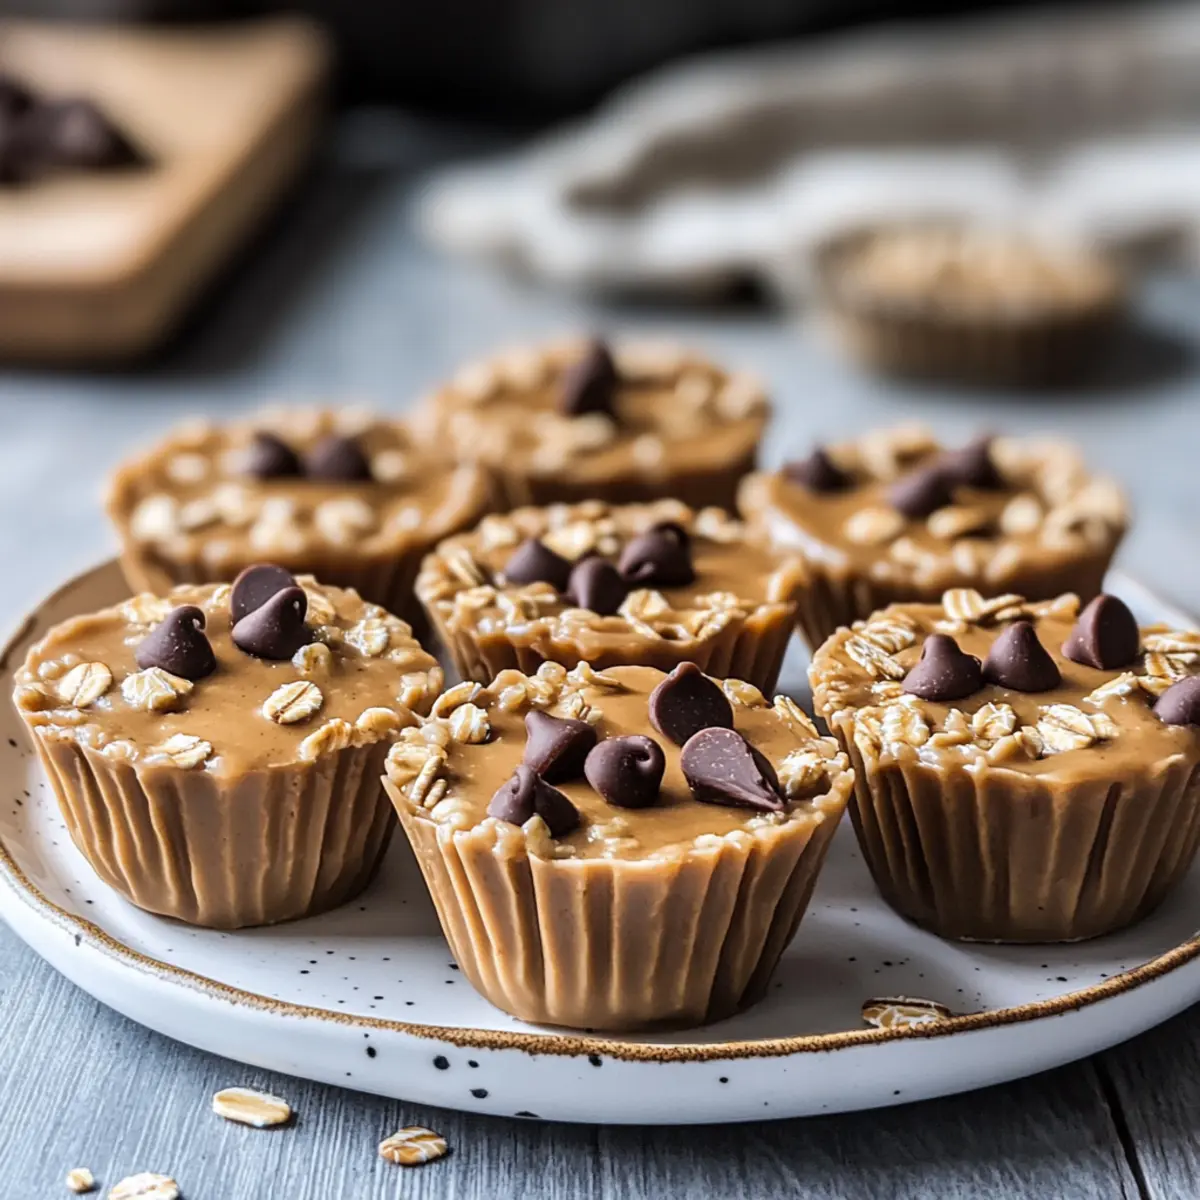
Line a muffin tin with cupcake liners to prepare for the mixture. This will help create individual portions and make for easy removal later. Using a spoon, carefully scoop the mixture into each cupcake liner, filling them about three-quarters full, and press down firmly to ensure they hold together once set.
Step 4: Add Toppings (Optional)
If you choose to add dark chocolate chips, sprinkle them generously on top of each filled cupcake liner. Press the chocolate chips gently into the surface of the mixture to help them adhere. This step is optional but adds a delightful touch of sweetness to your No-Bake Peanut Butter Oat Cups.
Step 5: Chill Until Firm
Place the muffin tin in the refrigerator and chill for at least 30 minutes. This allows the ingredients to meld together and the cups to set firmly. You’ll know they’re ready when they feel solid to the touch and easily pull away from the sides of the liners without crumbling.
Step 6: Serve and Enjoy
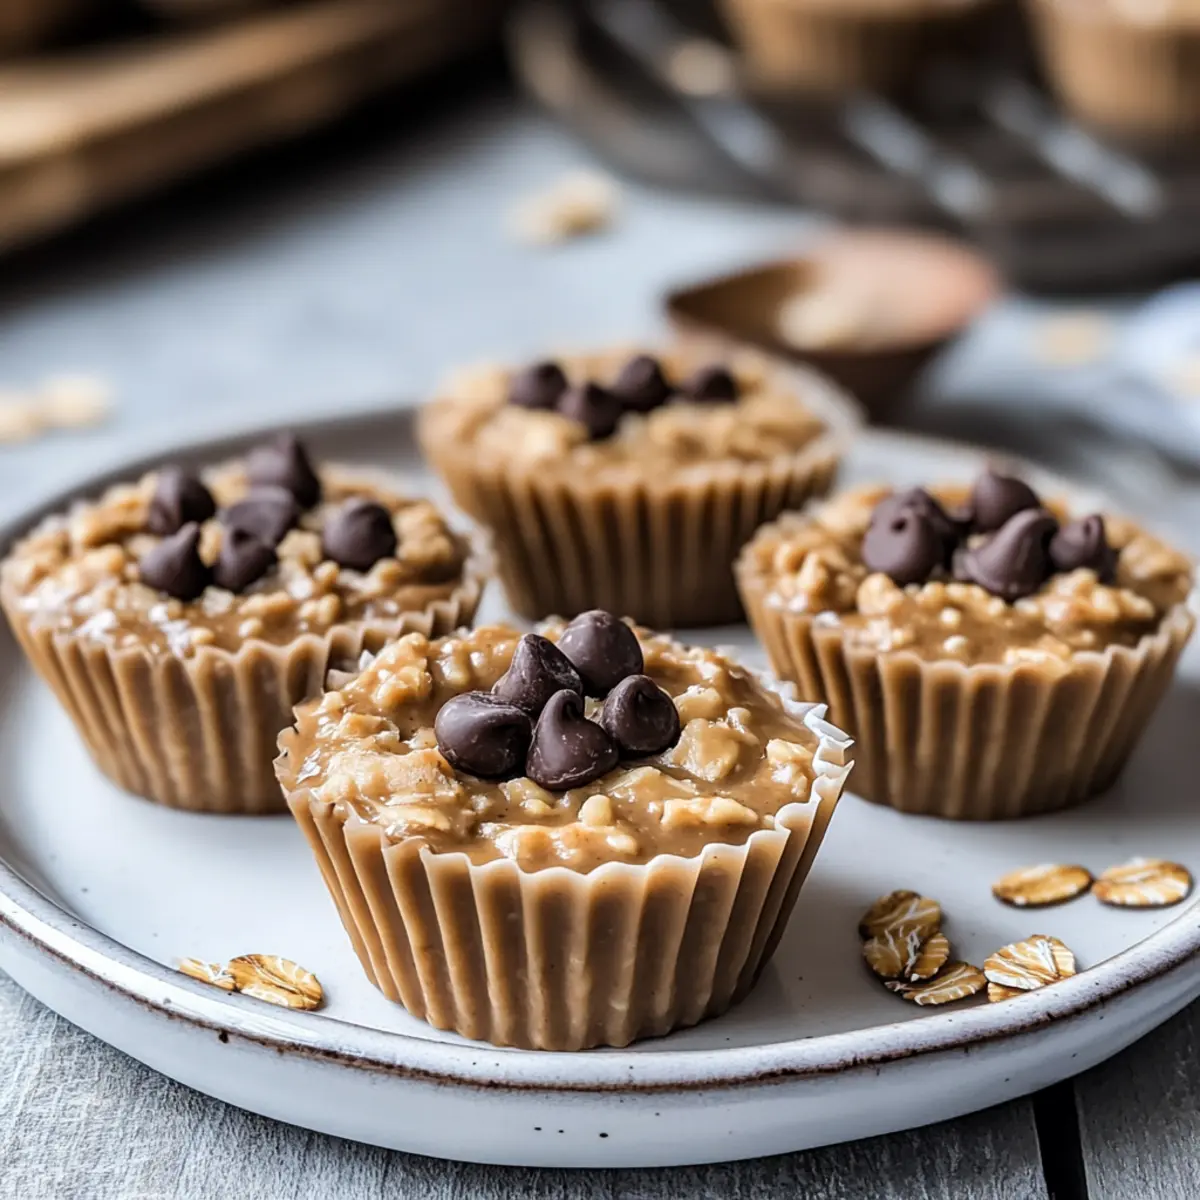
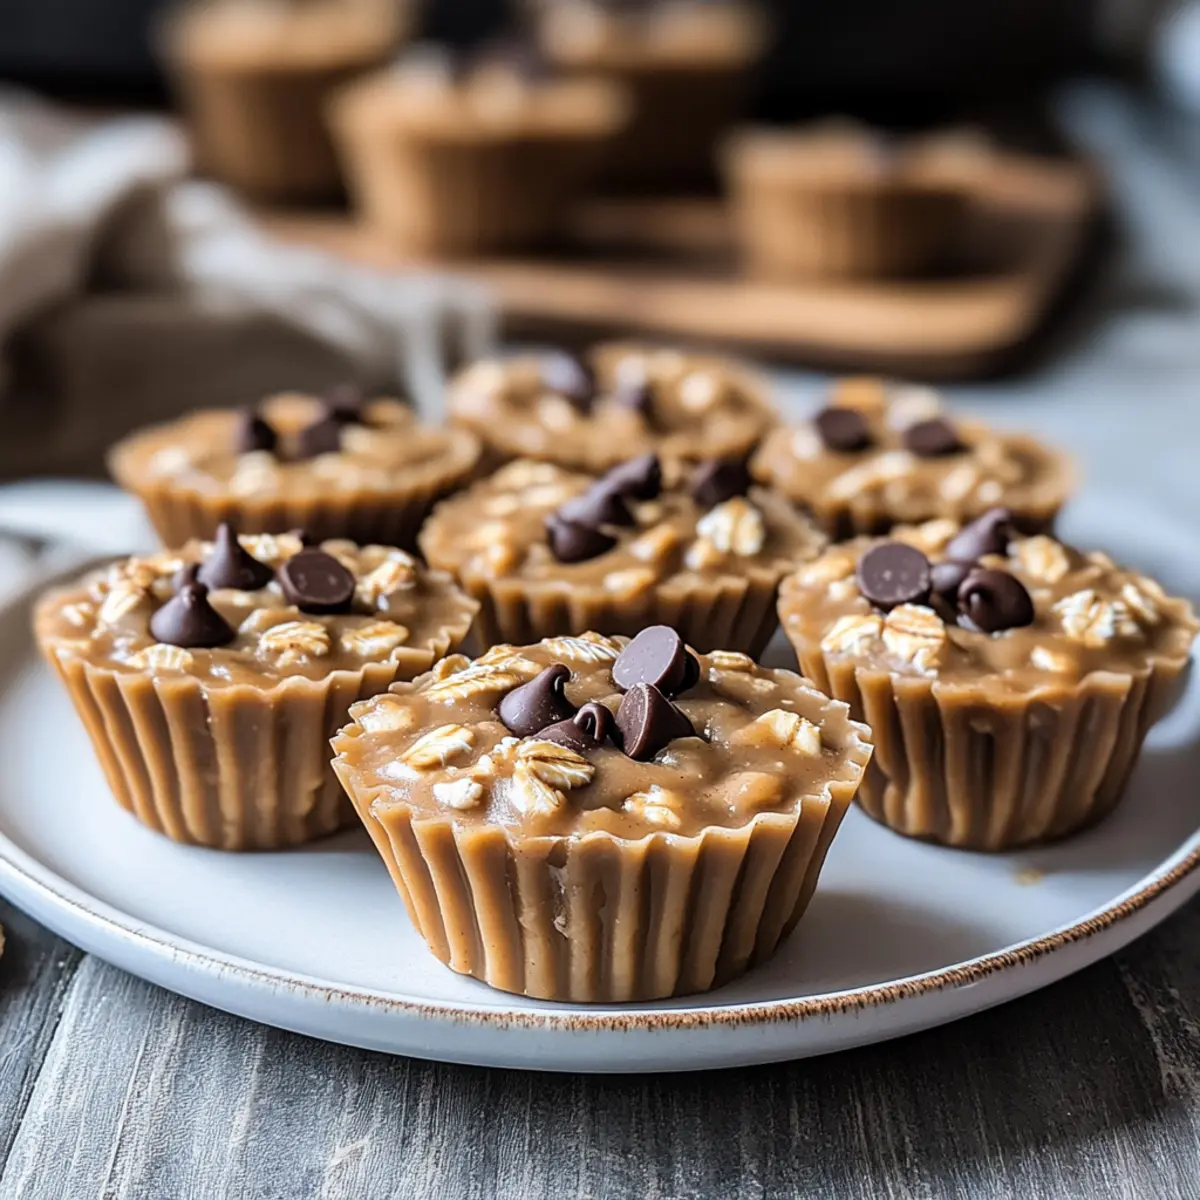
Once firm, carefully remove the No-Bake Peanut Butter Oat Cups from the muffin tin, peeling away the liners. You can serve them chilled or at room temperature. These delectable treats are perfect for snacking, breakfast, or dessert, making them a versatile addition to your culinary repertoire.
Expert Tips for No-Bake Peanut Butter Oat Cups
-
Smooth Peanut Butter: Use a creamy, drippy natural peanut butter to ensure easy mixing. Avoid chunkier varieties that may not bind well.
-
Firm Pressing: Press the mixture firmly into the muffin liners to prevent crumbling. This step is crucial for keeping your No-Bake Peanut Butter Oat Cups intact when served.
-
Chill Time: If you’re short on time, a minimum of 30 minutes in the refrigerator is essential. Longer chilling will yield a firmer texture for better results.
-
Muffin Liner Choice: Opt for sturdy cupcake liners to avoid tearing. Silicone liners work great for easy removal without sticking.
-
Customization Options: Feel free to experiment with toppings, such as seeds or dried fruits, to personalize your No-Bake Peanut Butter Oat Cups and add even more wholesome goodness.
No-Bake Peanut Butter Oat Cups Variations
Feel free to explore these delightful twists on No-Bake Peanut Butter Oat Cups to personalize your snacking experience!
-
Nut-Free Option: Replace peanut butter with almond butter or sunflower seed butter to accommodate nut allergies. This will give your cups a different but equally delicious flavor profile.
-
Sweeten Naturally: Swap honey for agave syrup for a vegan-friendly alternative. Each option offers its distinct sweetness, perfect for catering to your dietary choices.
-
Dried Fruits: Add dried cranberries, raisins, or chopped dates for a burst of sweetness and chewiness. These fruits not only enhance flavor but also provide extra nutrition.
-
Crunchy Twist: Incorporate chopped nuts or seeds like sunflower or pumpkin seeds for extra crunch and texture. The contrasts in texture create a delightful eating experience.
-
Chocolate Lovers: Drizzle melted dark chocolate on top of the cups after chilling for an irresistible treat. It enhances the indulgence and brings a rich chocolate flavor to each bite.
-
Spice It Up: Add a sprinkle of cinnamon or nutmeg to the mixture for some warm spice notes. This will elevate the flavor, adding a cozy touch to your no-bake treats.
-
Plant-Based Milk: If you’re looking for a creamier texture, mix in a splash of your favorite plant-based milk while combining the ingredients. It can make the mixture easier to handle and will enhance the flavor.
-
Coconut Flake Boost: Incorporate unsweetened shredded coconut into the mixture for an added tropical twist. It pairs beautifully with the peanut butter and oats, making every bite delightful.
Experimenting with these variations can turn a simple recipe into many delicious delights, making your No-Bake Peanut Butter Oat Cups a go-to snack for everyone in the family!
Storage Tips for No-Bake Peanut Butter Oat Cups
Fridge: Store your No-Bake Peanut Butter Oat Cups in an airtight container in the refrigerator for up to one week to maintain freshness and texture.
Freezer: For longer storage, place the cups in an airtight freezer-safe container, separating layers with parchment paper, and freeze for up to 3 months.
Thawing: To enjoy frozen cups, simply transfer them to the fridge and let them thaw overnight or leave at room temperature for about 30 minutes before serving.
Serving Temperature: These cups are delicious when served chilled or at room temperature, making them a versatile snack for any time of day.
What to Serve with No-Bake Peanut Butter Oat Cups
For a complete meal experience, consider complementary dishes that elevate the delightful flavors in your No-Bake Peanut Butter Oat Cups.
-
Fresh Fruit Salad: A vibrant medley of seasonal fruits adds a refreshing and juicy contrast, enhancing the chewiness of the oat cups.
-
Greek Yogurt Parfait: Creamy Greek yogurt layered with berries and granola provides a protein boost, making for a balanced snack or breakfast.
-
Nutty Granola: The crunch of a nutty granola served alongside adds texture while echoing the wholesome flavors of the oat cups.
-
Smoothie Bowl: A smoothie bowl topped with nuts and seeds pairs beautifully, creating a cohesive combination of nutrition and flavor.
-
Dark Chocolate-Covered Strawberries: For a sweet touch, these succulent berries are a delightful pairing, echoing the chocolate notes in the cups.
-
Herbal Iced Tea: A refreshing herbal iced tea offers a subtly fragrant sip that cleanses the palate, perfectly balancing the rich flavors of the oat cups.
Each option enhances the textures and flavors of your delicious No-Bake Peanut Butter Oat Cups, making snack time feel a little more special!
Make Ahead Options
These No-Bake Peanut Butter Oat Cups are perfect for meal prep, allowing you to enjoy a nutritious snack without the fuss on busy days! You can prepare the mixture up to 24 hours in advance; simply combine the ingredients and fill the muffin tin, pressing firmly to ensure they hold together. After chilling for at least 30 minutes, cover the muffin tin tightly with plastic wrap and refrigerate. If you’d like to keep them for longer, these oatmeal cups can be stored for up to 3 days. Just remember to serve them chilled or at room temperature for the best flavor and texture. This way, you’ll have a tasty, wholesome snack ready to grab whenever you need it!
No-Bake Peanut Butter Oat Cups Recipe FAQs
What type of oats should I use for No-Bake Peanut Butter Oat Cups?
I recommend using rolled oats for texture and chewiness. If you’re looking for a gluten-free option, just make sure to choose certified gluten-free oats. Instant oats won’t provide the same structure and may result in a mushy texture.
How should I store No-Bake Peanut Butter Oat Cups?
Store your No-Bake Peanut Butter Oat Cups in an airtight container in the refrigerator for up to one week. This keeps them fresh and maintains their chewy texture. If you won’t finish them within a week, freezing is a great option!
Can I freeze No-Bake Peanut Butter Oat Cups?
Absolutely! To freeze your No-Bake Peanut Butter Oat Cups, place them in an airtight freezer-safe container. For optimal quality, separate layers with parchment paper and freeze for up to 3 months. Just remember to let them thaw in the fridge overnight or let them sit at room temperature for about 30 minutes before enjoying.
What should I do if my peanut butter oat mixture is too crumbly?
If your mixture feels crumbly and doesn’t hold together, it might be due to dry ingredients or not enough binding. You can simply add a touch more peanut butter or honey to help bind the mixture. Give it a good mix to incorporate, then press it firmly in the muffin liners again!
Are No-Bake Peanut Butter Oat Cups suitable for dogs?
It’s best to avoid giving No-Bake Peanut Butter Oat Cups to dogs, especially if they contain chocolate, as it can be toxic to them. Additionally, ensure that the peanut butter used does not contain xylitol, a sweetener harmful to pets. Stick with dog-friendly treats for your furry friends!
How can I customize my No-Bake Peanut Butter Oat Cups?
The sky’s the limit! Feel free to add mix-ins like dried fruits, seeds, or even swap the peanut butter for almond or sunbutter for variety. For an extra indulgent touch, you can drizzle melted dark chocolate over the top before refrigerating. Get creative and make them your own!
No-Bake Peanut Butter Oat Cups for Quick, Guilt-Free Snacking
Ingredients
Equipment
Method
- Combine rolled oats, natural peanut butter, and honey (or maple syrup) in a mixing bowl until well combined and sticky.
- If desired, stir in vanilla extract and a pinch of salt.
- Line a muffin tin with cupcake liners and fill each about three-quarters full with the mixture, pressing down firmly.
- If adding chocolate chips, sprinkle on top and press gently.
- Chill in the refrigerator for at least 30 minutes until firm.
- Remove from muffin tin and serve chilled or at room temperature.
Leave a Reply