
As I stood in the kitchen, the aroma of freshly minced garlic filled the air, promising something magical. This Easy Garlic Aioli is not just any dip; it’s a creamy concoction that elevates everything it touches—from crispy fries to vibrant veggies. What I love about this homemade aioli is its incredible versatility; you can whip it up in mere minutes and adapt it to suit any dietary need, including vegan options! With its luxurious texture and rich flavor, this sauce is bound to become your go-to companion for entertaining or simply enhancing your weeknight dinners. Are you ready to uncover the secrets to making your own creamy garlic goodness? Let’s dive in!
Why is Garlic Aioli a Must-Try?
Irresistible Flavor: This garlic aioli is a creamy explosion of garlicky goodness that elevates any dish.
Quick & Easy: With just a few simple ingredients, you can whip up this delightful dip in minutes, making it perfect for busy weeknights.
Diet Friendly: Easily adaptable for vegan diets by substituting with plant-based mayo, making it a versatile option for all guests.
Crowd-Pleasing Appeal: Whether served at a party or as a weeknight side, this aioli enhances everything from fries to grilled meats, ensuring everyone goes back for more.
Impressive Freshness: Using fresh garlic and herbs not only elevates the flavor but also brings a lovely brightness to your table. Try pairing it with Garlic Butter Lemon for an unforgettable meal!
Garlic Aioli Ingredients
For the Base
- Mayonnaise – Provides the creamy base; opt for homemade for an extra fresh taste.
- Fresh Garlic – Adds a bold, pungent flavor; try roasted garlic for a mellower profile.
- Lemon Juice – Introduces acidity for balance; vinegar is a fine substitute if preferred.
For Emulsification
- Olive Oil – Enhances richness and creaminess; extra virgin olive oil offers superior flavor.
- Salt – Improves overall taste; adjust according to personal preference.
- Black Pepper – Adds subtle warmth; use freshly ground for the best flavor.
Optional Enhancements
- Fresh Herbs – Such as parsley or chives for added flavor and a pop of color; fresh herbs can make your garlic aioli even more delightful!
Step‑by‑Step Instructions for Garlic Aioli
Step 1: Prep Garlic
Start by peeling 2-3 cloves of fresh garlic, ensuring to remove any papery skin. Finely mince the garlic using a sharp knife or employ a garlic press for an ultra-smooth texture. As you chop, aim for a paste-like consistency to maximize flavor infusion, which is essential for creating a flavorful Garlic Aioli.
Step 2: Mix Base
In a small mixing bowl, combine 1 cup of mayonnaise with the minced garlic, 1-2 tablespoons of fresh lemon juice, and a pinch of salt and freshly ground black pepper. Use a whisk to vigorously stir the ingredients together until completely smooth and well incorporated, creating the creamy base for your aioli.
Step 3: Emulsify
While continuing to whisk your mayonnaise mixture, slowly drizzle in ¼ cup of extra virgin olive oil. This gradual addition is crucial; it allows the ingredients to emulsify, resulting in a silky texture. Whisk continuously until the aioli thickens and becomes creamy, with a luscious golden hue.
Step 4: Taste & Adjust
After emulsifying, take a moment to taste your Garlic Aioli. This is the perfect time to add more salt, pepper, or an extra squeeze of lemon juice to align the flavors with your preference. Stir thoroughly after each addition, keeping in mind that the aioli will intensify in taste after chilling.
Step 5: Garnish (optional)
For a vibrant touch, consider enhancing your aioli with a sprinkle of finely chopped fresh herbs, such as parsley or chives. This not only adds a pop of color but also infuses additional flavor, making your Garlic Aioli even more delightful. Gently fold the herbs into the mix to keep them intact.
Step 6: Serve Chilled
Transfer the completed Garlic Aioli into an airtight container and chill it in the refrigerator for at least 30 minutes before serving. This resting period allows the flavors to meld beautifully. Serve your aioli as a dip for fresh veggies, drizzle over grilled meats, or as a zesty spread for sandwiches.
Expert Tips for Garlic Aioli
-
Mincing Garlic Well: Ensure garlic is finely minced or pressed to avoid any chunky texture in your garlic aioli. This creates a smoother dip.
-
Oil Drizzle Technique: Always add olive oil slowly while whisking; this prevents separation and ensures a good emulsion for the creaminess you desire.
-
Taste Test Adjustment: Taste your garlic aioli as you go! Adding more salt, pepper, or lemon juice gradually helps fine-tune the flavor to your liking.
-
Avoid Freezing: Garlic aioli doesn’t freeze well due to its texture. Keep it refrigerated and use within four days for the best quality.
-
Experiment with Herbs: Feel free to explore with fresh herbs in your garlic aioli, like dill or basil, for exciting variations that brighten the flavor even more.
Make Ahead Options
These Easy Garlic Aioli preparations are perfect for busy home cooks looking to save time! You can easily make the aioli up to 3 days in advance and store it in an airtight container in the refrigerator. To prep ahead, simply follow steps 1 through 5—mincing the garlic, mixing the base, emulsifying the oil, tasting, and garnishing without serving it. This allows the flavors to meld beautifully and ensures your aioli is just as delicious when it’s time to enjoy. When you’re ready to serve, give it a quick stir and consider adding a fresh sprinkle of herbs for an aromatic touch. Enjoy the convenience of having a homemade dip ready to use whenever the craving strikes!
What to Serve with Easy Garlic Aioli
Dive into a culinary adventure, as creamy garlic aioli marries perfectly with a variety of flavors and textures.
-
Crispy French Fries: The hot crunch of fries paired with smooth aioli creates a satisfying contrast everyone will love.
-
Grilled Chicken Skewers: Serve aioli as a zesty dip for juicy skewers, enhancing the savory flavors with garlicky richness.
-
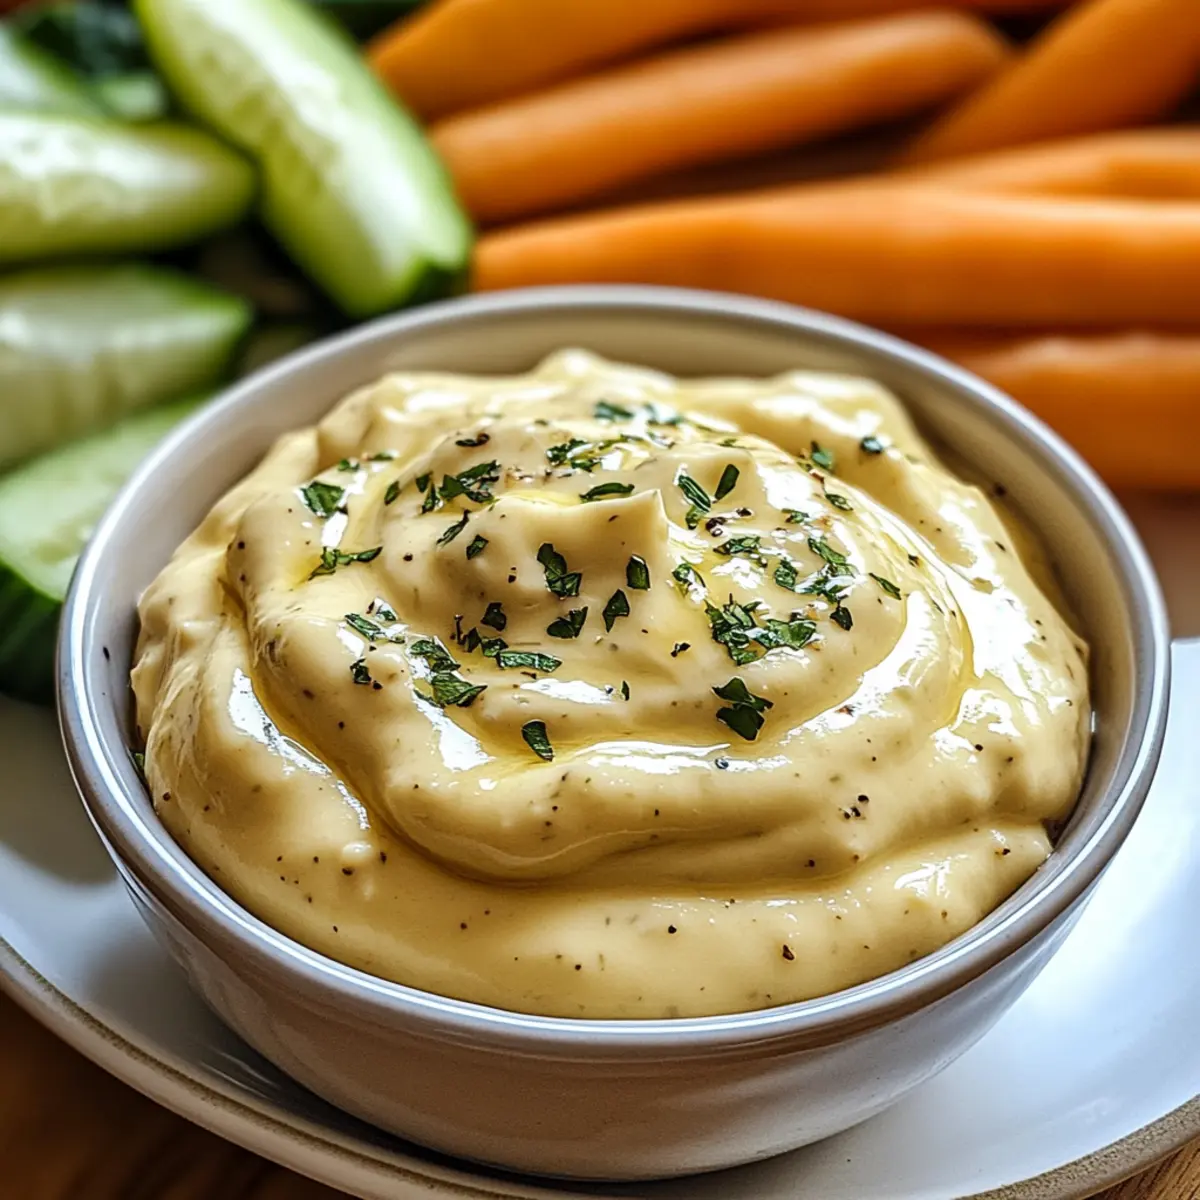
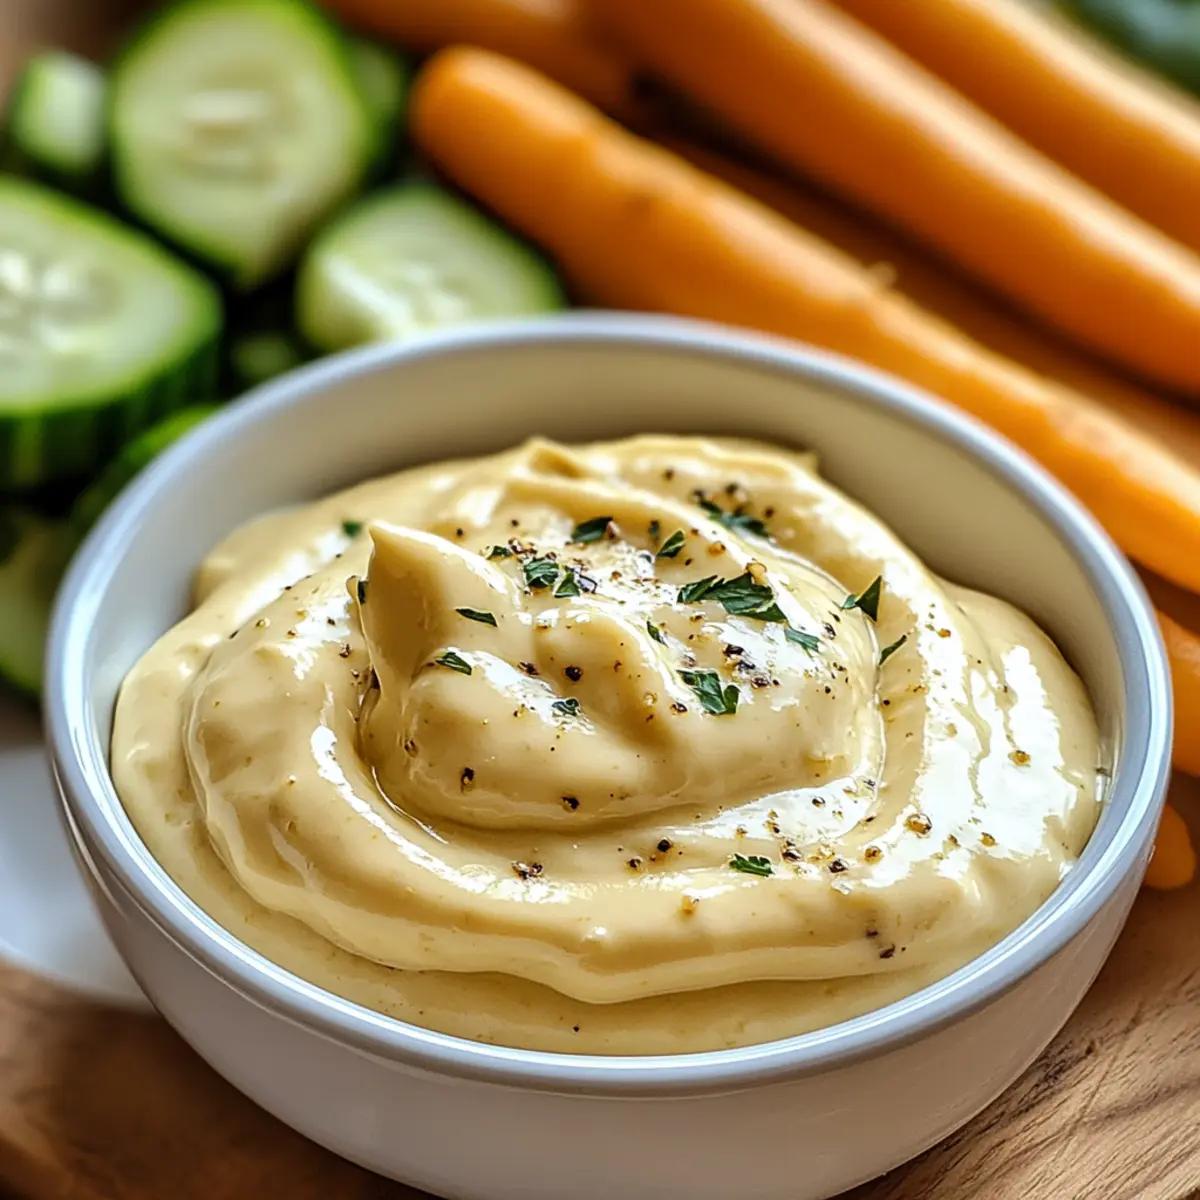
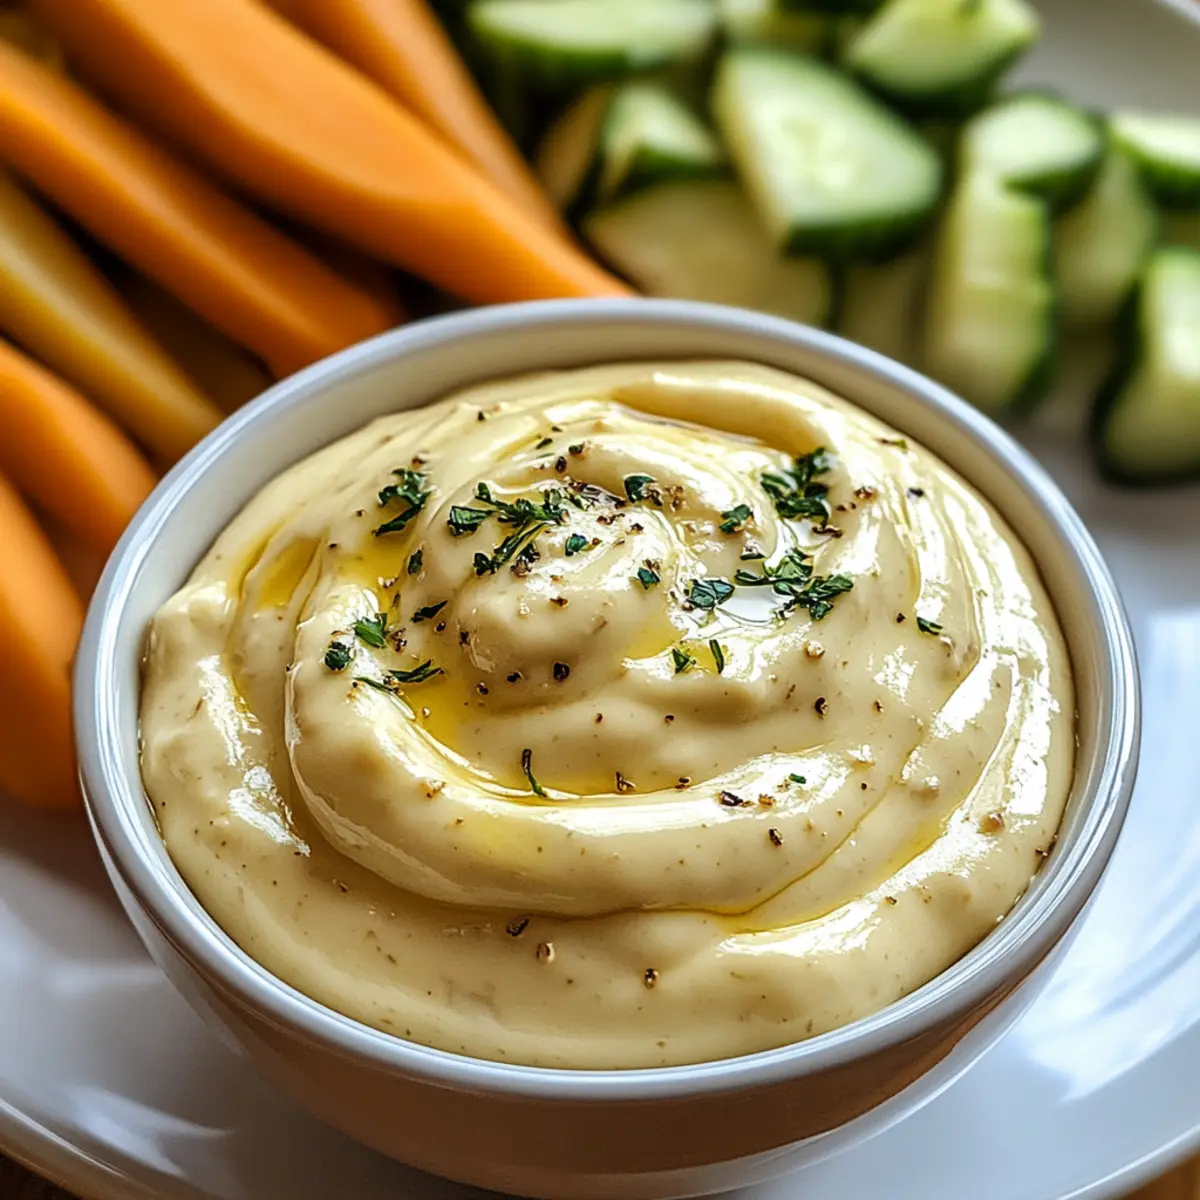
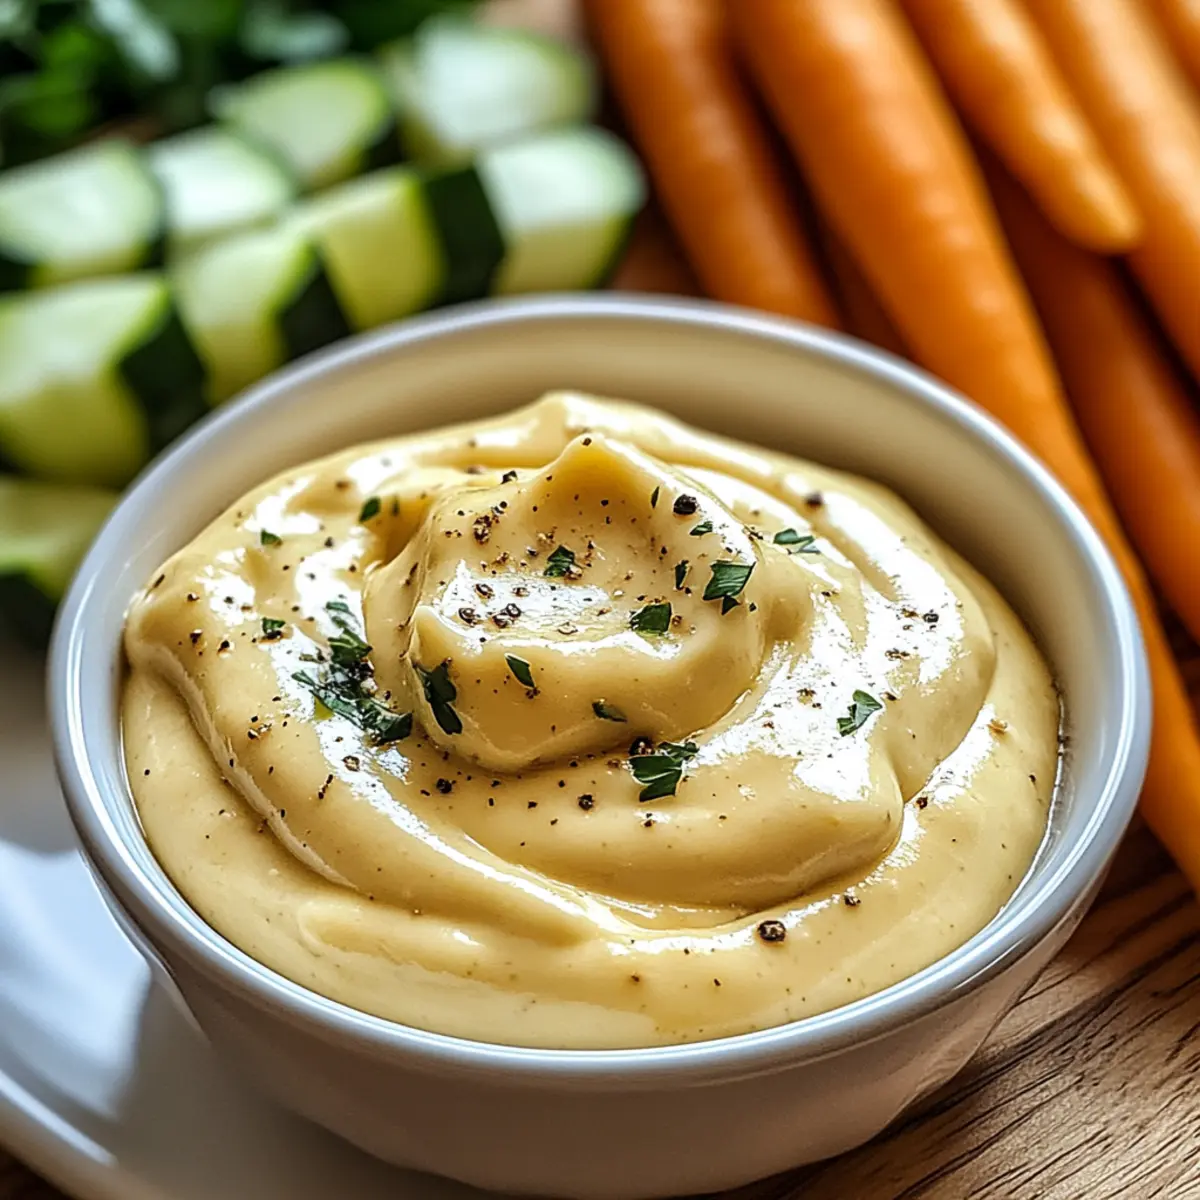
Fresh Veggie Platter: Bright, crunchy vegetables dipped in creamy aioli makes for a fresh, vibrant appetizer that’s both light and indulgent.
-
Savory Tacos: A dollop of aioli on tacos adds a creamy touch that complements spicy fillings, enhancing each bite.
-
Crusty Bread: Slathering aioli on warm, crusty bread offers a luxurious, creamy option for gatherings or a cozy night in.
-
Roasted Potatoes: Creamy aioli enhances the rustic flavor of roasted potatoes, creating a delightful dipping experience.
-
Salad Dressing: Thin aioli with a bit of extra lemon juice for a creamy, flavorful salad dressing that brings freshness to your greens.
-
Sparkling Lemonade: A crisp, refreshing lemonade perfectly balances the richness of aioli, making it an ideal pairing for warm-weather gatherings.
-
Fruit Tarts: For dessert, try aioli with a touch of sweetness over fruity tarts; the blend of flavors surprises and delights!
Storage Tips for Garlic Aioli
Fridge: Store your garlic aioli in an airtight container in the refrigerator for up to 4 days to maintain optimal freshness.
Freezer: Avoid freezing garlic aioli, as the texture can change significantly when thawed, affecting its creamy consistency.
Serving Suggestions: Always serve chilled for the best flavor and texture, whether as a dip, or a spread, or drizzled over your favorite dishes.
Reheating: There’s no need to reheat garlic aioli; serve it cold to fully enjoy that rich, garlicky goodness!
Garlic Aioli Variations & Substitutions
Feel free to get creative with this garlic aioli recipe, tailoring it to your tastes and dietary needs!
-
Vegan Option: Swap mayonnaise for a plant-based mayo to make it vegan-friendly while retaining that creamy texture.
There are plenty of excellent brands available that mimic the flavor beautifully, plus you can even make your own! -
Roasted Garlic Twist: Roast your garlic cloves instead of using them raw for a sweeter, mellower flavor profile.
This adds a cozy, caramelized note to the aioli which pairs beautifully with grilled dishes. -
Herbed Delight: Experiment with different fresh herbs like dill, basil, or cilantro to elevate the flavor.
This can give your aioli a fresh and vibrant twist, perfect for summer gatherings or family meals. -
Spicy Kick: Add a pinch of cayenne pepper or a splash of your favorite hot sauce for a bit of heat.
It’s an exciting way to liven up the dip and is sure to impress anyone who loves a little spice in their life! -
Zesty Lemon: Boost the lemon flavor by adding lemon zest along with the juice for an extra zing.
This brightens the aioli and enhances the overall freshness, making it a perfect match for seafood dishes. -
Smoky Flavor: Incorporate smoked paprika for a lovely smoky depth of flavor.
It complements grilled meats wonderfully and gives your aioli a rich, savory twist. -
Yogurt Base: For a lighter version, replace half the mayo with Greek yogurt.
This reduces calories and increases creaminess, perfect for a guilt-free dipping experience.
For even more culinary inspiration, consider trying your garlic aioli alongside dishes like Short Ribs Garlic or drizzled over Garlicky Calamari Basil for an unforgettable flavor journey!
Easy Garlic Aioli Recipe FAQs
How do I choose the right garlic for my aioli?
Choosing fresh garlic is essential for creating a bold and flavorful aioli. Look for firm cloves with no dark spots or soft areas, as these indicate aging. If you prefer a milder taste, opt for roasted garlic instead, which has a sweeter, less pungent flavor.
How long can I store garlic aioli in the fridge?
You can store your garlic aioli in an airtight container in the refrigerator for up to 4 days. Just be sure to keep it well-sealed to prevent odors from other foods from affecting its flavor.
Can I freeze garlic aioli?
It’s best to avoid freezing garlic aioli, as the texture will change significantly upon thawing, leading to a grainy consistency that isn’t appetizing. Instead, make only what you plan to consume within a few days for the best texture and taste.
What should I do if my aioli separates?
If you notice your garlic aioli has separated, don’t worry! To fix it, try this: In a clean bowl, mix a new tablespoon of mayonnaise and whisk in the separated aioli gradually, whisking continuously until it emulsifies again. This should restore its creamy consistency.
Is garlic aioli suitable for vegans?
Absolutely! To make garlic aioli vegan-friendly, simply substitute the mayonnaise with a plant-based alternative. Many brands offer delicious, creamy vegan mayo that works wonderfully in this recipe, ensuring everyone can enjoy this delightful dip!
Can I make adaptations for allergies?
Certainly! If you’re catering to allergies, be sure to check all ingredient labels. Gluten-free mayo can replace regular mayonnaise, and substituting lemon juice with apple cider vinegar can cater to those with citrus allergies. Always communicate about the specific allergies if serving guests!
Garlic Aioli: Your Go-To Creamy Dip for Any Occasion
Ingredients
Equipment
Method
- Start by peeling 2-3 cloves of fresh garlic, finely mince them using a sharp knife or a garlic press.
- In a small mixing bowl, combine 1 cup of mayonnaise with the minced garlic, 1-2 tablespoons of fresh lemon juice, and a pinch of salt and black pepper.
- While continuing to whisk, slowly drizzle in 1/4 cup of extra virgin olive oil until emulsified and creamy.
- Taste your Garlic Aioli and adjust seasoning with more salt, pepper, or lemon juice if necessary.
- If desired, enhance with finely chopped fresh herbs, gently folding them into the mix.
- Transfer the aioli into an airtight container and chill in the refrigerator for at least 30 minutes before serving.
Leave a Reply