
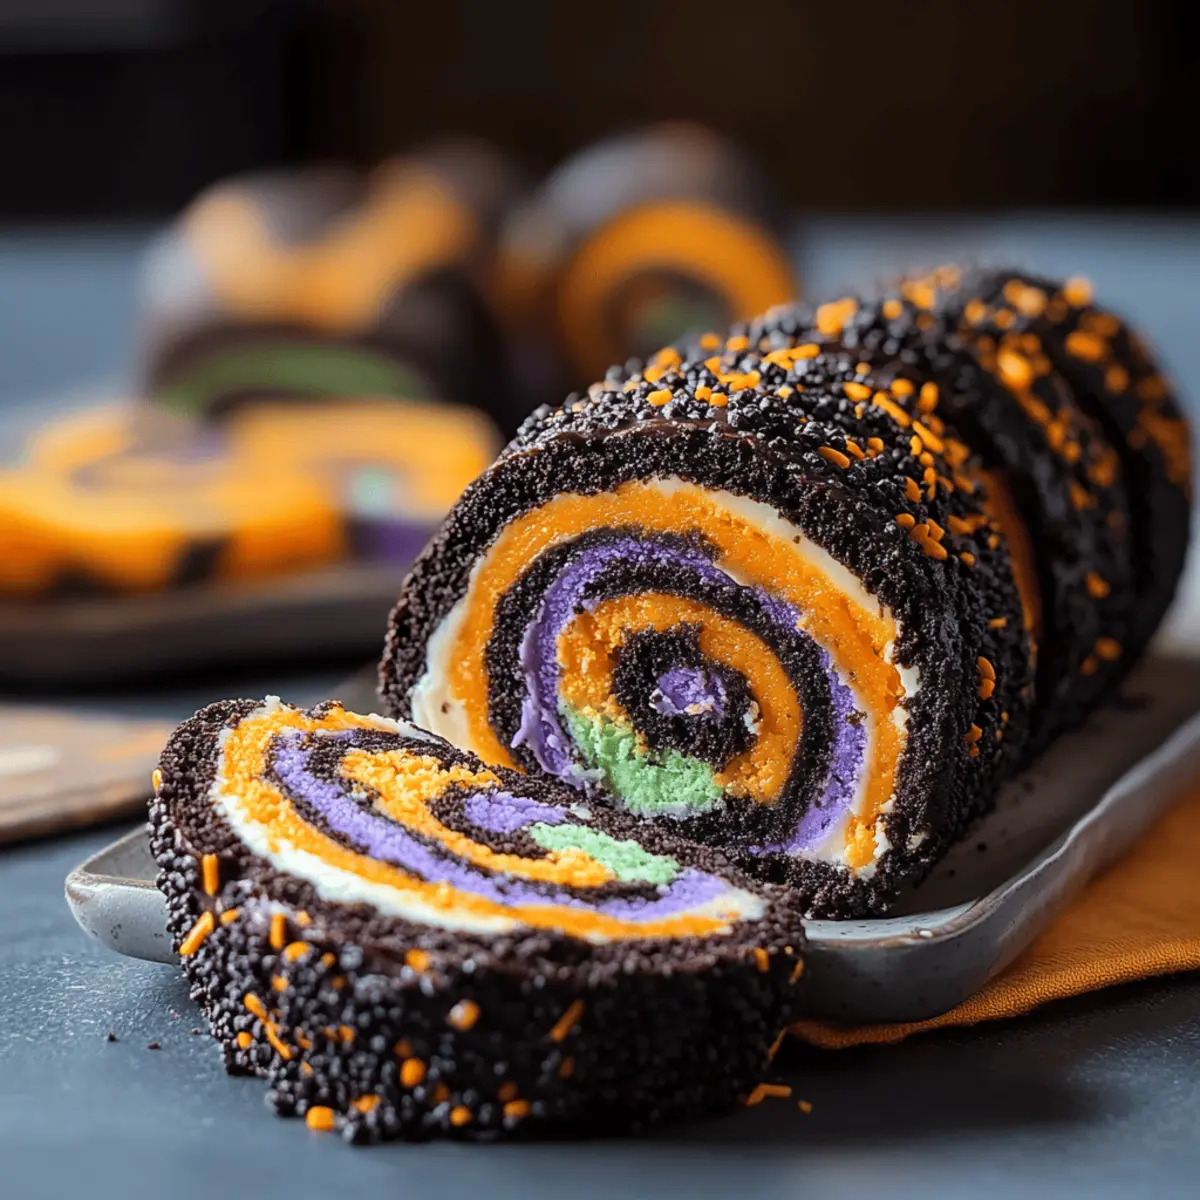
“It’s that time of year again; the air is crisp, and the streets are adorned with ghosts and goblins!” If your family is anything like mine, Halloween is not just for costumes and candy but also for delightful treats that bring everyone together. One such treat is the Spooky No-Bake Halloween Oreo Roll. This charming dessert combines crushed Halloween Oreos with creamy frosting, creating a colorful masterpiece that’s as fun to make as it is to eat. Plus, it’s incredibly easy to whip up—perfect for busy evenings or unexpected guests! Whether you’re hosting a party or looking for a festive activity with the kids, this treat is a guaranteed crowd-pleaser. Ready to bring a festive spirit into your kitchen? Let’s roll into the fun!
Why is the Halloween Oreo Roll a must-try?
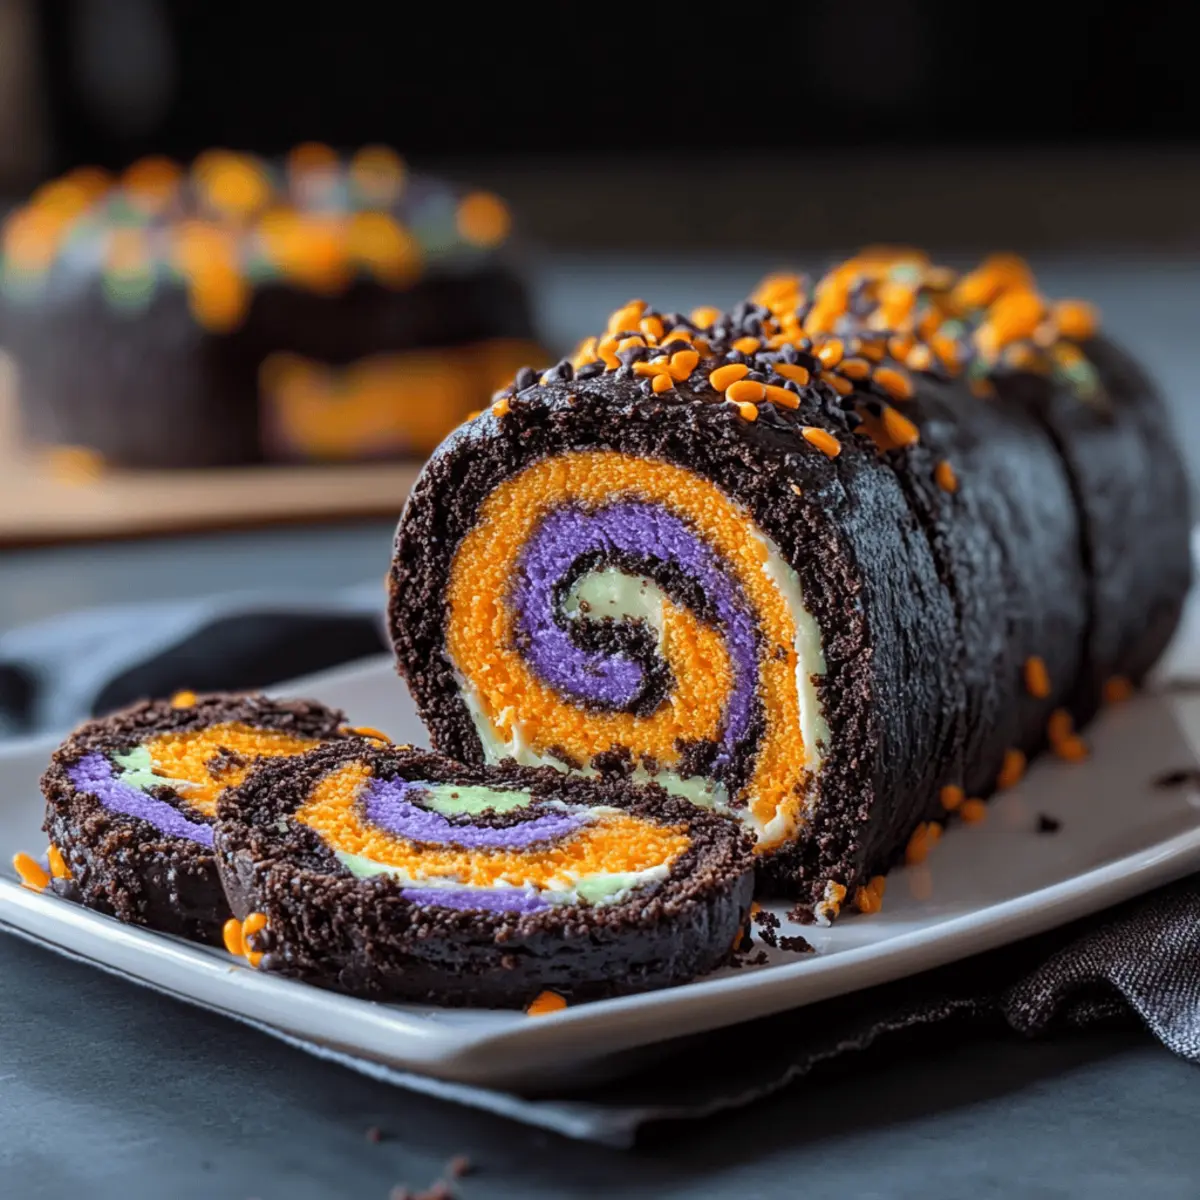
Easy and Fun: Prepare to have a blast as you create this no-bake delight with your loved ones. Unique Flavors pack a punch with Halloween Oreos and creamy frosting. Visually Striking: The black-and-orange swirls will impress at any gathering. Kid-Friendly: A perfect project for children, making it both entertaining and tasty. Plus, you can explore variations like swapping in gluten-free Oreos for dietary needs. Want to create more treats? Check out how to make Enoki Beef Rolls for a savory twist!
Halloween Oreo Roll Ingredients
• Discover what you need for this spooky dessert!
For the Roll
- Halloween Oreos – The star ingredient that brings delightful chocolate flavor and crunch; opt for the orange crème variety to match the season!
- Cream Cheese – Full-fat cream cheese provides a rich, creamy texture essential for the roll’s structure.
- Vanilla Extract – Adds a warm flavor boost; switch it out for almond extract if you want a fun twist!
For the Frosting
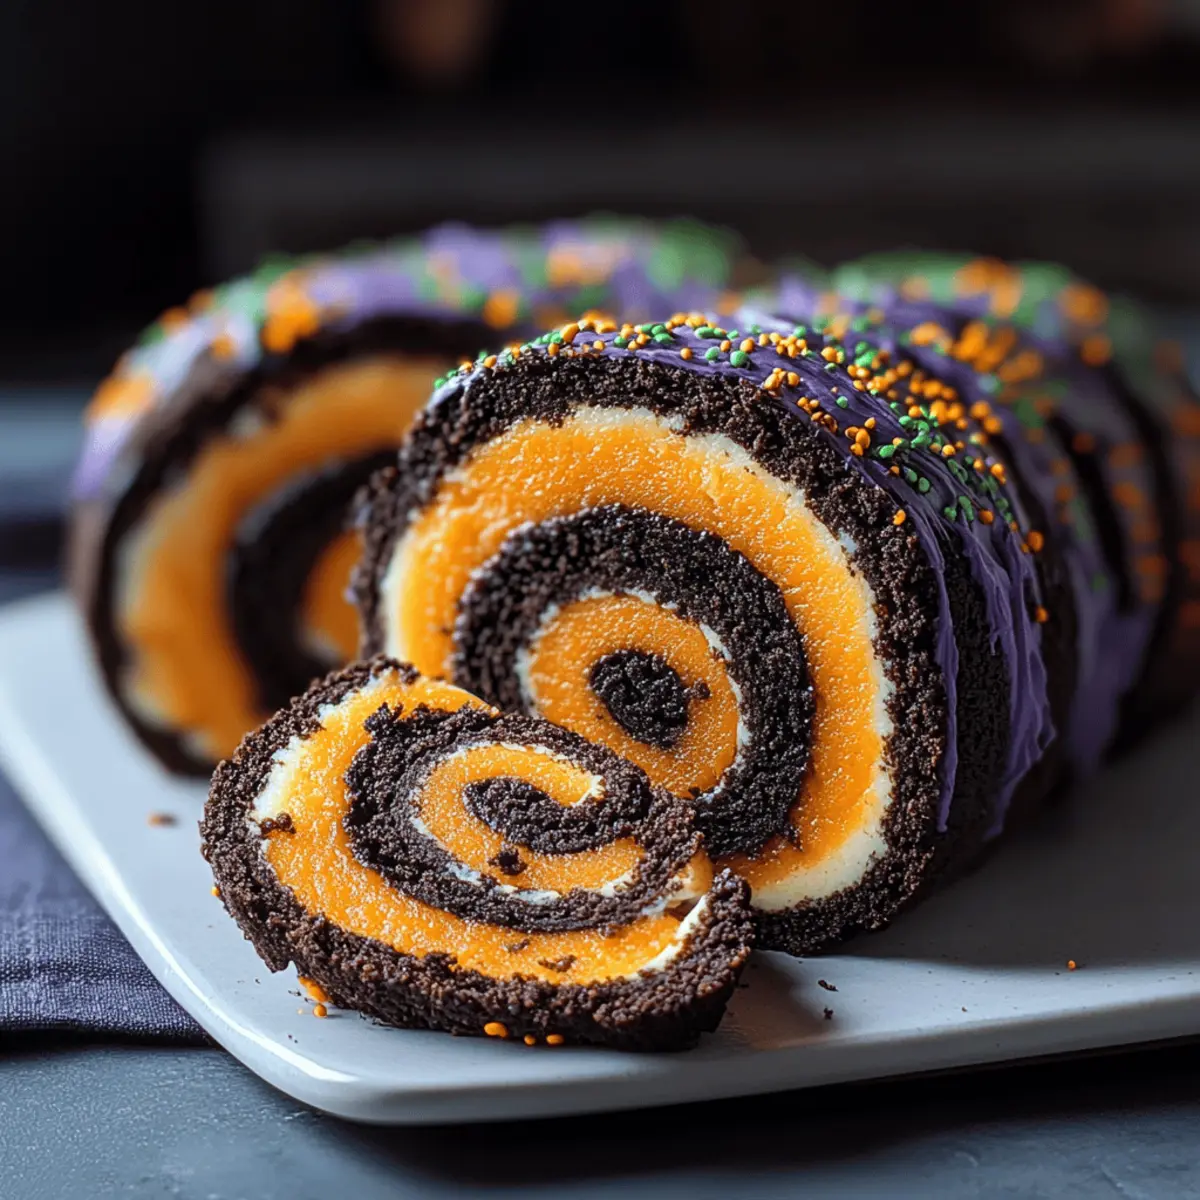
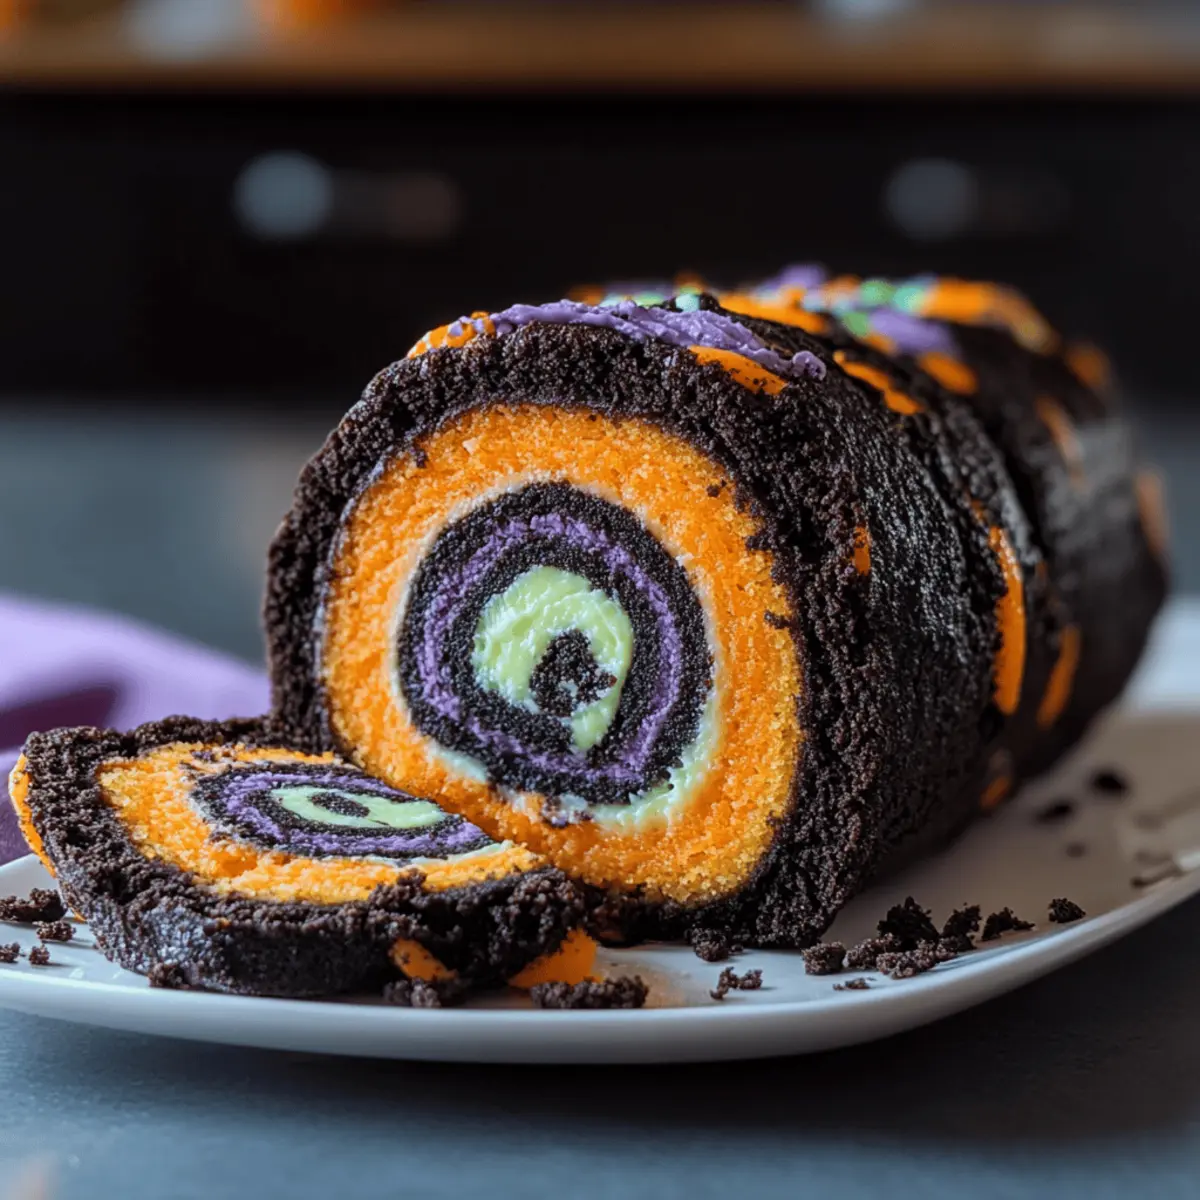
- Halloween-Colored Frosting – Essential for spreading on the roll, use iconic seasonal colors like purple, green, or orange to brighten up your dessert.
For Decorations
- Optional Decorations – Get creative with sprinkles, candy eyes, or a drizzle of chocolate to enhance the visual appeal—perfect for your Halloween Oreo Roll!
Step‑by‑Step Instructions for Halloween Oreo Roll
Step 1: Crush the Oreos
Begin by crushing the Halloween Oreos until they resemble fine crumbs, similar to coal dust. Use a food processor for this, which takes about 30 seconds. If you don’t have one, place the Oreos in a sealed plastic bag and crush them using a rolling pin. Aim for a uniform texture to ensure an even mixture in your Halloween Oreo Roll.
Step 2: Mix the Ingredients
In a large mixing bowl, combine the crushed Oreos with softened cream cheese and a splash of vanilla extract. Use a spatula or your hands to mix vigorously until the mixture resembles wet sand. Ensure all ingredients are well combined, about 2-3 minutes, giving the Halloween Oreo Roll its rich and creamy filling.
Step 3: Shape the Mixture
Lay a large sheet of parchment paper on your countertop and transfer the Oreo mixture onto it. Use your hands to flatten the mixture into a rectangle, approximately 10×14 inches and about ¼ inch thick. It’s helpful to press firmly but gently to achieve a smooth and even surface for your Halloween Oreo Roll.
Step 4: Frost the Rectangle
Spread a generous layer of Halloween-colored frosting over the entire surface of the Oreo mixture. Be sure to leave about a 1-inch border around the edges, allowing for easier rolling later. This vibrant frosting will not only add sweetness but also create a festive look for your Halloween Oreo Roll.
Step 5: Roll the Mixture
Starting from one of the short ends, carefully begin to roll the parchment paper, helping shape the Halloween Oreo Roll as you go. Use the parchment to guide the mixture into a tight roll, tucking the ends in as you progress. Continue rolling until you’ve reached the opposite end, maintaining a firm but gentle grip on the roll.
Step 6: Seal the Roll
Once rolled, gently press the edges to seal the Halloween Oreo Roll. Carefully wrap the roll tightly in the parchment paper, then cover it with foil to maintain its shape. Refrigerate for at least 1 hour, or for a quicker option, freeze it for about 20 minutes; this will help firm up the dessert for slicing.
Step 7: Slice and Serve
After chilling, unwrap the roll and place it seam-side down on a serving platter. Using a warm knife (which helps create clean slices), cut the roll into 1-inch rounds. The goal is to create neat spirals showcasing the delicious black-and-orange layers of your Halloween Oreo Roll.
Step 8: Decorate for Festivity
For a spooky touch, decorate the slices with optional sprinkles, candy eyes, or a drizzle of chocolate. Arrange your Halloween Oreo Roll on a festive platter, adding additional Halloween-themed decorations around it. This delightful treat is now ready to impress guests or delight your family!
Tips for the Best Halloween Oreo Roll
-
Room Temperature Ingredients: Always use cream cheese at room temperature for smooth mixing, ensuring your Halloween Oreo Roll has an even consistency.
-
Avoid Cracking: If cracks appear during rolling, embrace them as “spooky texture.” Alternatively, ensure the mixture is well-compressed before rolling to minimize cracks.
-
Chill for Clean Slices: After chilling, use a warm, wet knife to slice through the roll. This technique prevents squishing and helps you achieve clean spirals.
-
Safety First: If serving at a party, display the roll on ice for safety, limiting unrefrigerated time to 2 hours, especially considering the cream cheese filling.
-
Get Creative with Decorations: Let your imagination run wild with optional decorations. Sprinkles, candy eyes, or chocolate drizzles can make your Halloween Oreo Roll as festive as your decorations!
Make Ahead Options
These Spooky No-Bake Halloween Oreo Rolls are perfect for meal prep enthusiasts wanting to save time for festivities! You can prepare the entire roll up to 24 hours in advance, allowing you to refrigerate it tightly wrapped in parchment and foil. To maintain the dessert’s quality, ensure that it is sealed well to prevent it from drying out or absorbing any fridge odors. If you want to prep even further ahead, the roll can be frozen un-sliced for up to 2 weeks; just remember to thaw it overnight in the refrigerator before serving. When ready to enjoy, slice it into rounds, decorate as desired, and you’ll have a delightful treat that will wow your guests with minimal effort!
Halloween Oreo Roll Variations & Substitutions
Get creative with your Halloween Oreo Roll to suit your taste preferences and dietary needs!
-
Gluten-Free: Swap out regular Halloween Oreos for gluten-free Oreos to keep flavors intact while catering to gluten sensitivities. Everyone deserves a delicious treat during the spooky season!
-
Vegan Delight: Use vegan cream cheese and dairy-free frosting for a plant-based option that still delivers on all the deliciousness. This twist allows even more friends to join the Halloween fun!
-
Chocolate Lovers: Add cocoa powder to the cream cheese mixture for an extra chocolatey flavor that enhances the original taste. The rich flavor contrast will have everyone coming back for more.
-
Nutty Texture: Fold in crushed nuts like walnuts or pecans into the filling for added crunch and depth. The delightful crunch will surprise your guests and give an unexpected twist to this sweet roll.
-
Fruit Twist: Incorporate finely chopped strawberries or raspberries for a burst of freshness that pairs beautifully with the sweetness of the Oreos. This fruity addition will brighten up your Halloween spread!
-
Spicy Kick: For those who love a bit of heat, add a pinch of cayenne pepper or a dash of cinnamon to the cream cheese mixture. This warm spice will offer an exciting surprise with each bite!
-
Color Customization: Whether it’s Halloween-themed or not, feel free to change up the frosting colors to fit any celebration or holiday. Seasonal variations can make this treat a year-round favorite!
If you’re looking to try other savory delights, I highly recommend making some Enoki Beef Rolls to balance out all the sweetness with a flavorful, savory bite. It’s a perfect way to impress your guests at any gathering!
How to Store and Freeze Halloween Oreo Roll
Fridge: Store your Halloween Oreo Roll in an airtight container for up to 3 days. This keeps it fresh and ready for delightful snacking or serving at parties.
Freezer: To extend its life, wrap the un-sliced roll tightly in plastic wrap and then in foil. It can be frozen for up to 2 weeks.
Thawing: When ready to enjoy, simply thaw in the refrigerator overnight to maintain its creamy texture and rich flavor before slicing.
Reheating: This dessert is best served cold, so there’s no need for reheating; simply slice and garnish for an impressive presentation!
What to Serve With Halloween Oreo Roll
The perfect Halloween celebration deserves equally delightful accompaniments to enhance your festive spirit.
- Witches’ Brew Punch: A refreshing and colorful beverage made with fruit juices and sparkling water, adding a magical touch to your dessert table.
- Spooky Fruit Skewers: Thread together grapes, melon, and strawberries to create eerie yet refreshing bites. The natural sweetness pairs beautifully with the rich Oreo roll.
- Ghostly Marshmallow Treats: Simple marshmallow pops dressed in white chocolate and decorated with edible eyes; they add fun and whimsy alongside the Halloween Oreo Roll.
- Chocolate-Dipped Pretzels: The salty crunch of pretzels balanced with sweet chocolate creates a delightful contrast, echoing the flavors in your roll for a cohesive experience.
- Pumpkin Pie Novelties: Mini pumpkin pie bites offer a classic fall flavor that complements the chocolatey richness of the Oreo roll.
- Caramel Apple Slices: Crisp apple slices drizzled with caramel provide a tart and sweet burst; their freshness brightens the dessert palette.
- Creepy Cupcakes: Decorated with ghoulish themes and flavors, they create a fun visual and taste experience, tying together your Halloween spread.
- Chilled Milk: Serve ice-cold milk alongside to balance the sweet flavors of the Halloween Oreo Roll while keeping it classic.
- Festive Hot Cocoa: Warm up the evening with a cup of hot cocoa topped with whipped cream and Halloween sprinkles, perfect to contrast the cold dessert.
- Pumpkin Spice Cookies: Soft cookies with a hint of spice bring warmth and nostalgia; their chewy texture pairs wonderfully with the creamy filling of the roll.
Halloween Oreo Roll Recipe FAQs
How do I choose the right Halloween Oreos for this recipe?
Absolutely! Look for the Halloween Oreos that feature the vibrant orange crème filling for that festive flair. These will not only enhance the flavor but also elevate the visual appeal of your Halloween Oreo Roll, making it a standout dessert at any gathering.
What’s the best way to store the Halloween Oreo Roll?
You can store your Halloween Oreo Roll in an airtight container in the refrigerator for up to 3 days. Make sure it’s well-wrapped to prevent it from drying out. For longer storage, wrap it tightly in plastic wrap followed by foil, which will allow it to freeze for up to 2 weeks.
Can I freeze the Halloween Oreo Roll?
Yes! To freeze, roll it tightly in plastic wrap and then in foil to protect it from freezer burn. When you’re ready to enjoy, simply thaw it in the refrigerator overnight. Avoid thawing at room temperature as it can compromise the texture of the cream cheese filling.
What if the mixture is too crumbly when mixing?
If your mixture resembles dry crumbs and won’t hold together, don’t worry! You can add a little more softened cream cheese, about a tablespoon at a time, to help bind it. Knead the mixture gently until it has a texture similar to wet sand. This will help ensure a nicely cohesive roll.
Is there a way to modify this recipe for dietary restrictions?
Absolutely! For a gluten-free version, simply substitute the Halloween Oreos with gluten-free Oreo cookies. You can also explore using vegan cream cheese for dairy-free options. These swaps will keep your Halloween Oreo Roll enjoyable for everyone, regardless of dietary needs!
Can I use different colors for the frosting?
Very! You can absolutely mix up the frosting colors! Use any Halloween-themed colors like purple, green, or even a ghostly white. This gives you flexibility to match your roll to your party decor or personal preferences, making it a fun, customizable treat.
Halloween Oreo Roll: A Festive No-Bake Delight for Everyone
Ingredients
Equipment
Method
- Crush the Halloween Oreos until they resemble fine crumbs using a food processor or rolling pin in a bag.
- In a large mixing bowl, combine the crushed Oreos, softened cream cheese, and vanilla extract. Mix until resembling wet sand.
- Transfer the mixture onto parchment paper and flatten into a rectangle, about 10x14 inches and ¼ inch thick.
- Spread a generous layer of Halloween-colored frosting over the rectangle, leaving a 1-inch border.
- Starting from one end, roll the parchment paper to shape the Oreo Roll tightly.
- Seal the roll by pressing the edges and wrap it tightly in parchment paper and foil. Refrigerate for at least 1 hour.
- After chilling, slice the roll into 1-inch rounds using a warm knife.
- Decorate the slices with optional sprinkles, candy eyes, or chocolate drizzle.
Leave a Reply