
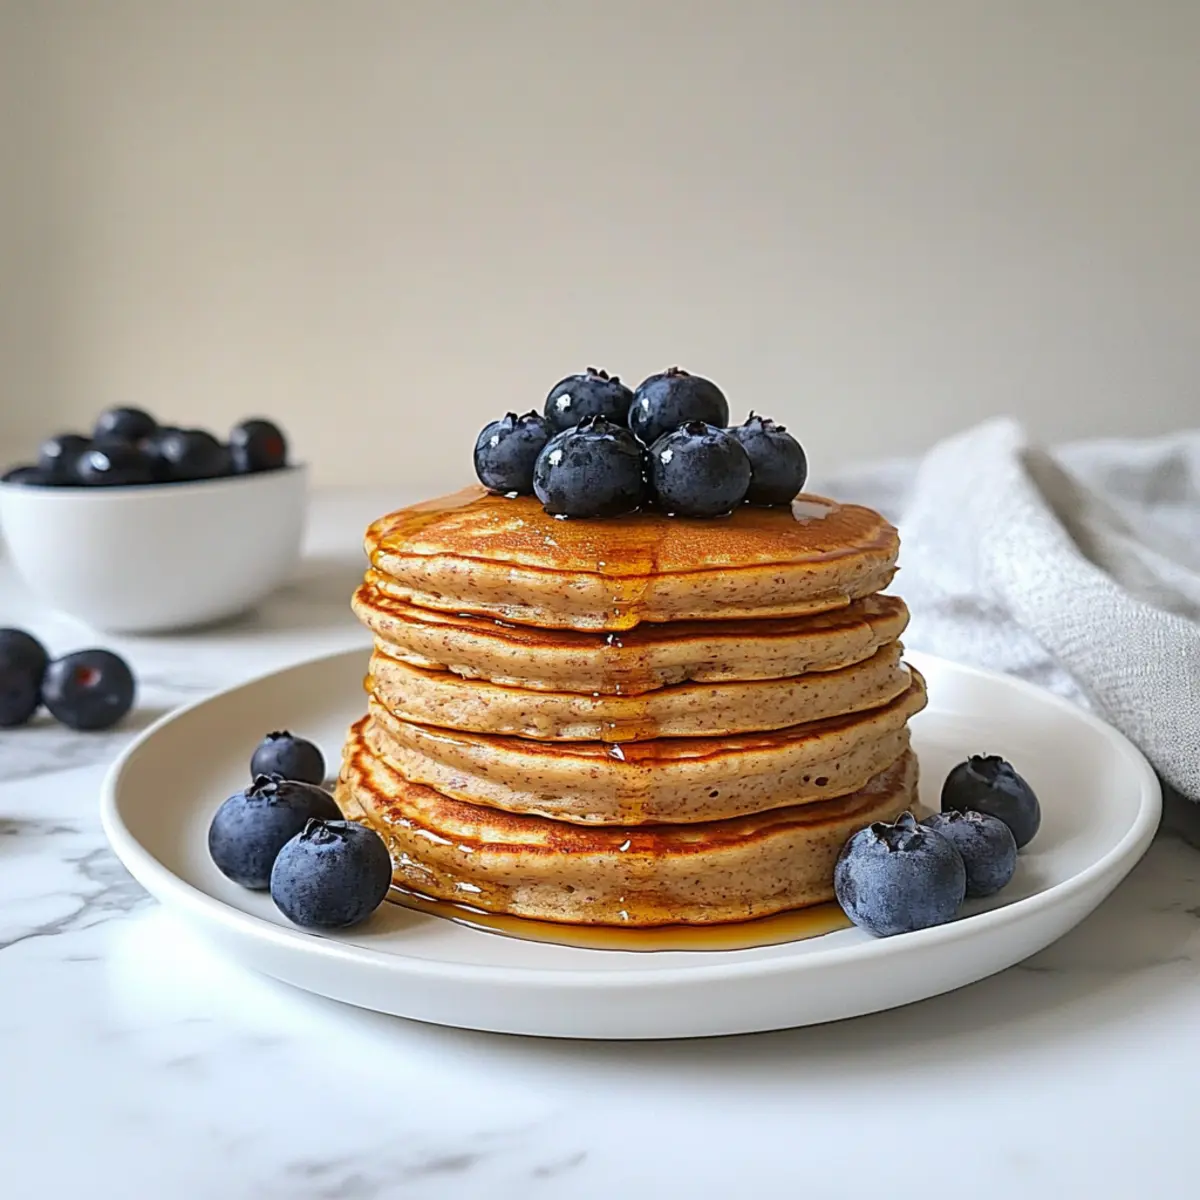
As the morning sun streams through the kitchen window, the smell of warm, nutty pancakes begins to fill the air. These Light and Fluffy Whole Wheat Pancakes are a game-changer for anyone looking to elevate their breakfast routine! Crafted entirely with 100% whole wheat flour, they offer a deliciously wholesome twist that keeps you energized throughout the day. Not only are they incredibly quick to prepare—ideal for busy weekdays—but their high-fiber content also helps you feel satisfied longer. Top them with your favorite berries, a drizzle of maple syrup, or a dollop of whipped cream for a breakfast experience that feels both indulgent and healthy. Ready to flip your mornings upside down? Let’s dive into this delightful recipe!
Why Are Whole Wheat Pancakes So Special?
Nutritious Choice: These pancakes pack a nutritional punch, using 100% whole wheat flour for a healthy start to your day.
Quick Preparation: In just a few minutes, you can whip up a meal that rivals your favorite brunch spot.
Endless Variations: Customize them with fresh fruit or nuts to suit your taste preferences, just like in my Wholesome Summer Corn chowder!
Crowd-Pleasing Appeal: The nutty flavor and fluffy texture will win over everyone at the breakfast table, making them an instant favorite.
High Fiber: Enjoy not only delicious pancakes but also a satisfying meal that keeps hunger at bay—much like my Whole Wheat Pumpkin recipe!
Whole Wheat Pancake Ingredients
For the Batter
• Whole Wheat Flour – Provides structure and fiber; use regular whole wheat flour for best results.
• Milk – Adds moisture and richness; whole milk is best, but feel free to substitute with almond or soy milk.
• Distilled White Vinegar – Creates homemade buttermilk for added fluffiness; you can also use fresh lemon juice.
• Egg – Binds the ingredients together; no direct substitute is recommended.
• Vanilla Extract – Imparts a delightful flavor; add more if you love extra vanilla!
• Unsalted Butter – Enhances flavor and moisture; swap with neutral oils or vegan butter if desired.
• Sugar – Aids in browning and balancing flavors; consider maple syrup as a natural sweetener.
• Baking Powder – The main leavening agent for lightness; always check for freshness.
• Baking Soda – Essential for overcoming the density of whole wheat flour; don’t skip this!
• Ground Cinnamon – Adds warmth and depth; adjust based on your taste preferences.
• Salt – Balances the flavors; use fine sea salt for best results.
Feel free to mix in your favorite additions for unique twists on these delicious whole wheat pancakes!
Step‑by‑Step Instructions for Whole Wheat Pancakes
Step 1: Make Buttermilk
In a large bowl, combine 1 cup of whole milk with 1 tablespoon of distilled white vinegar. Stir gently and let the mixture sit for about 5 minutes until it curdles slightly. This homemade buttermilk is key to achieving the light and fluffy texture that makes these Whole Wheat Pancakes simply irresistible.
Step 2: Combine Wet Ingredients
Once the buttermilk has thickened, whisk in 1 large egg, 1 teaspoon of vanilla extract, and 2 tablespoons of melted unsalted butter. Mix until all ingredients are well combined. The incorporation of these wet ingredients will add moisture and delicious flavor to your pancake batter!
Step 3: Prepare Dry Ingredients
In a separate bowl, sift together 1 cup of whole wheat flour, 2 tablespoons of sugar, 1 tablespoon of baking powder, 1/2 teaspoon of baking soda, 1/2 teaspoon of ground cinnamon, and a pinch of salt. Make sure to whisk these dry ingredients thoroughly to evenly distribute the leavening agents that will help your Whole Wheat Pancakes rise beautifully.
Step 4: Combine Mixtures
Gently fold the dry mixture into the wet ingredients using a spatula. Be careful not to overmix; a few lumps are perfectly fine and will contribute to the fluffy texture of your pancakes. This light folding will help ensure that you don’t deflate the batter, keeping it airy for cooking.
Step 5: Rest the Batter
Allow the batter to rest for 10-15 minutes while you preheat your cooking surface. This step is crucial for allowing the flour to hydrate fully and for the leavening agents to start working, which will give you the fluffiest Whole Wheat Pancakes possible.
Step 6: Cook Pancakes
Heat a non-stick skillet or griddle over medium-low heat and lightly grease it with cooking spray or a small amount of butter. Pour 1/4 cup of the batter onto the skillet. Cook for about 2-3 minutes until tiny bubbles form on the surface and the edges look set. Flip the pancake and cook for an additional 1-2 minutes, until golden brown.
Step 7: Serve
Remove the pancakes from the skillet and keep warm while you cook the remaining batter. Serve the Whole Wheat Pancakes immediately with your favorite toppings, such as a drizzle of pure maple syrup, fresh berries, or a dollop of whipped cream for a delightful breakfast treat.
Make Ahead Options
These Whole Wheat Pancakes are perfect for meal prep enthusiasts! You can prepare the batter up to 24 hours in advance by mixing the wet and dry ingredients separately and storing them in the fridge. To ensure the best quality, tightly cover the wet mixture and keep it chilled. When you’re ready to serve, simply combine the batter and let it rest for 10-15 minutes before cooking. If you want to make the pancakes themselves ahead of time, cook them and store in an airtight container in the fridge for up to 3 days. Just reheat them in a toaster or microwave, and you’ll have a quick, wholesome breakfast ready in no time!
Helpful Tricks for Whole Wheat Pancakes
- Rest Time Matters: Allowing the batter to rest for 10-15 minutes helps harness the leavening power, ensuring your pancakes are wonderfully fluffy.
- Check Freshness: Always confirm that your baking powder and baking soda are fresh to guarantee optimal rising in your Whole Wheat Pancakes.
- Mix, Don’t Overmix: Gently fold your ingredients until just combined; lumps are perfectly fine and contribute to a tender texture.
- Control Cooking Temperature: Keep your skillet at medium-low heat to avoid burning the outside while leaving the inside undercooked; patience is key!
- Storing Leftovers: For the best flavor, cool your pancakes completely before refrigerating in an airtight container, where they can last up to 3 days.
What to Serve with Whole Wheat Pancakes
Imagine the scene: a lazy Sunday morning filled with laughter, warm pancakes on the table, and the enticing aroma of breakfast wafting through the air.
-
Fresh Berries: A vibrant mix of strawberries, blueberries, and raspberries add a burst of freshness, perfectly balancing the nutty flavor of the pancakes.
-
Maple Syrup: Dive into a classic pairing with pure maple syrup, elevating your breakfast experience with its rich, sweet goodness that hugs every bite.
-
Greek Yogurt: Creamy and tangy, Greek yogurt is a protein-rich alternative to whipped cream, bringing a luscious texture that’s irresistible when dolloped atop hot pancakes.
-
Chopped Nuts: Walnuts or pecans sprinkle a delightful crunch, enhancing the wholesome feel and adding healthy fats for a more satisfying meal.
-
Fruit Smoothie: Blend your favorite fruits with yogurt and a splash of juice to create a refreshing drink that’s not only delicious but also complements the pancake’s warmth.
-
Cinnamon Sugar Dusting: A light sprinkle of cinnamon sugar can awaken your mornings, adding warmth and sweetness that harmonizes perfectly with the pancakes’ nutty essence.
Boost your breakfast with these delightful pairings and enjoy a wholesome start to your day!
How to Store and Freeze Whole Wheat Pancakes
Fridge: Store leftover whole wheat pancakes in an airtight container for up to 3 days. For optimal freshness, stack them with parchment paper between to prevent sticking.
Freezer: These pancakes freeze well! Place them in a single layer on a baking sheet to freeze, then transfer to a freezer bag once solid. They can last up to 2 months.
Reheating: To reheat, simply pop them in the toaster for a quick warm-up, or microwave for about 20-30 seconds until heated through. Enjoy a delicious breakfast anytime!
Whole Wheat Pancakes Variations & Substitutions
Customize your Whole Wheat Pancakes with these delightful twists that will elevate your breakfast experience!
- Dairy-Free: Swap whole milk with almond or oat milk for a creamy, dairy-free option.
- Gluten-Free: Use a 1:1 gluten-free flour blend instead of whole wheat flour for a celiac-friendly pancake.
- Nutty Flavor: Substitute half of the whole wheat flour with almond flour for a rich, nutty taste that’s simply divine.
- Fruit-Filled: Fold in fresh blueberries, raspberries, or banana slices into the batter for a fruity explosion with every bite.
- Choco-Lovers: Add chocolate chips to the batter for a decadent treat that’s perfect for special occasions or indulgent mornings.
- Spice It Up: Add a pinch of nutmeg or pumpkin spice to the batter for a warm flavor twist that’s perfect in the fall.
- Savory Style: Mix in crumbled feta cheese and fresh herbs for a savory pancake version—perfect as a brunch side!
- Make Ahead: Freeze your pancakes for a quick breakfast option later; just reheat and enjoy, much like my Whole Wheat Pumpkin pancakes!
Whole Wheat Pancakes Recipe FAQs
How do I choose the right whole wheat flour?
Absolutely! When selecting whole wheat flour, look for 100% whole wheat on the label. Make sure it is finely milled for the best texture. Avoid self-rising varieties, as they contain added leavening agents and won’t work well for this pancake recipe.
What is the best way to store leftover whole wheat pancakes?
For sure! After cooking, let the pancakes cool completely before placing them in an airtight container. They can be stored in the fridge for up to 3 days. To keep them from sticking together, you might want to add a layer of parchment paper between them.
Can I freeze my whole wheat pancakes?
Very much! Freezing is a great option for make-ahead meals. After cooling, place the pancakes in a single layer on a baking sheet and freeze until solid. Then transfer them to a freezer-safe bag or container. They can be stored for up to 2 months. Just remember to separate layers with parchment paper for easy access!
What should I do if my pancake batter is too thick?
No worries! If you find your batter is too thick, simply add a tablespoon of milk at a time, mixing gently until you reach your desired consistency. The batter should be pourable but not runny. Remember, a slightly thicker batter helps create those fluffy textures!
Can I make these pancakes gluten-free?
While this recipe uses whole wheat flour, you can definitely make gluten-free pancakes! Substitute the whole wheat flour with a 1:1 gluten-free flour blend. Just be sure to check if your baking powder is also gluten-free, and you may want to add a pinch of xanthan gum for extra structure!
Are whole wheat pancakes safe for pets?
It’s best to avoid giving pancakes to pets, especially those that contain ingredients like sugar or butter. If you’d like to share, opt for plain pancakes without any additives, but always consult with your veterinarian first.
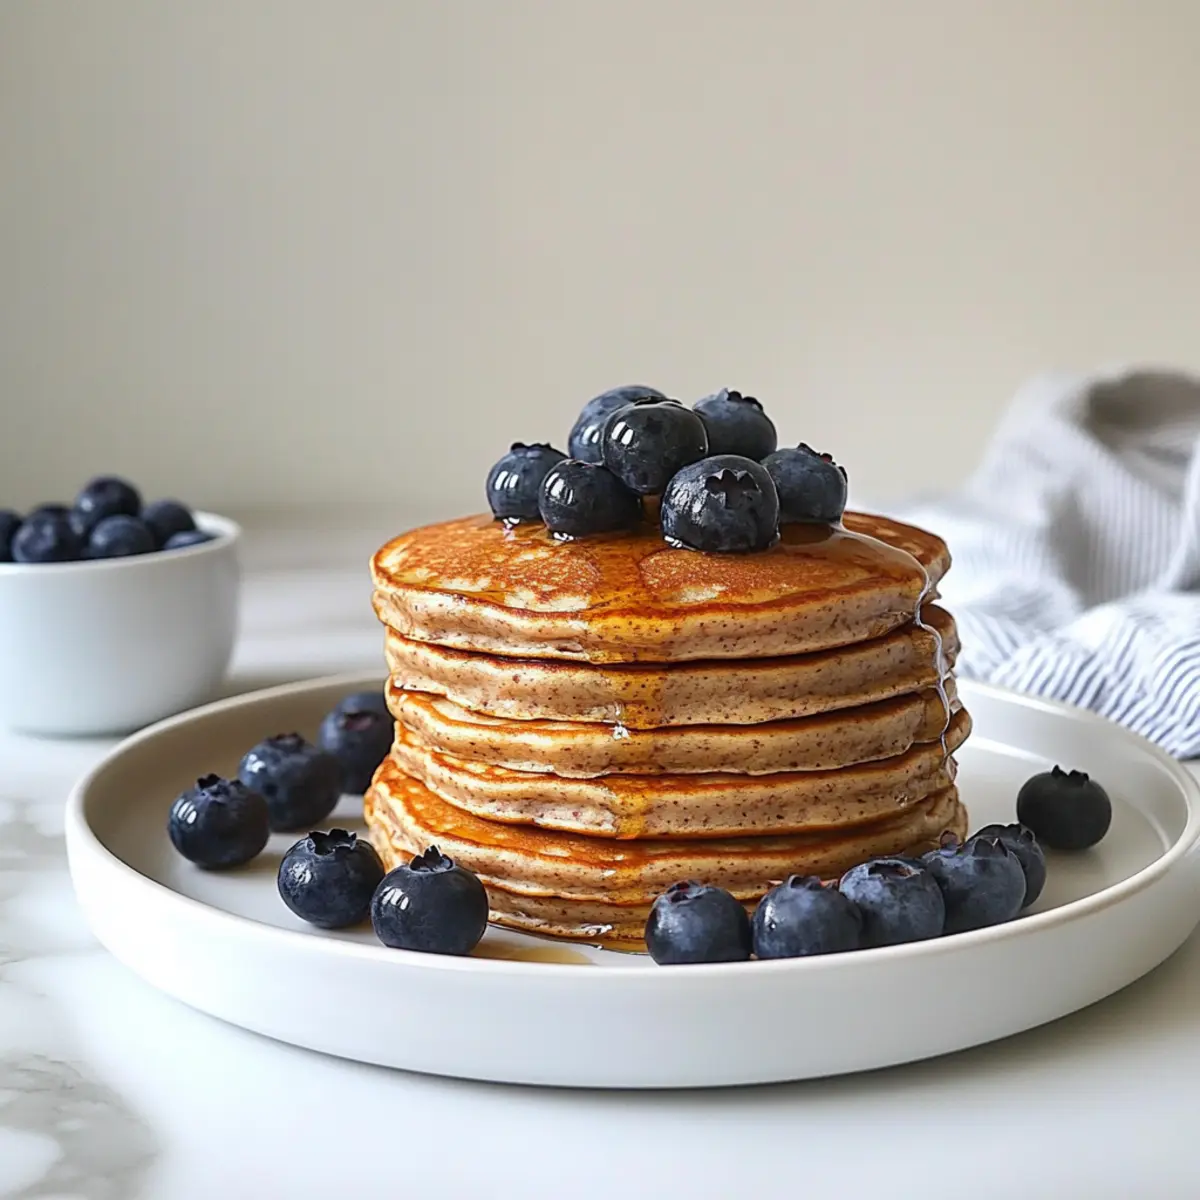
Fluffy Whole Wheat Pancakes for a Wholesome Breakfast Delight
Ingredients
Equipment
Method
- In a large bowl, combine 1 cup of whole milk with 1 tablespoon of distilled white vinegar. Stir gently and let sit for about 5 minutes until it curdles slightly.
- Whisk in 1 large egg, 1 teaspoon of vanilla extract, and 2 tablespoons of melted unsalted butter until well combined.
- In a separate bowl, sift together 1 cup of whole wheat flour, 2 tablespoons of sugar, 1 tablespoon of baking powder, 1/2 teaspoon of baking soda, 1/2 teaspoon of ground cinnamon, and a pinch of salt. Whisk thoroughly.
- Fold the dry mixture into the wet ingredients using a spatula, being careful not to overmix; a few lumps are fine.
- Allow the batter to rest for 10-15 minutes while preheating your cooking surface.
- Heat a non-stick skillet over medium-low heat, lightly greased. Pour 1/4 cup of batter, cooking for 2-3 minutes until bubbles form. Flip and cook for 1-2 minutes until golden brown.
- Remove pancakes from the skillet, keep warm while cooking the remaining batter. Serve immediately with your favorite toppings.
Leave a Reply