
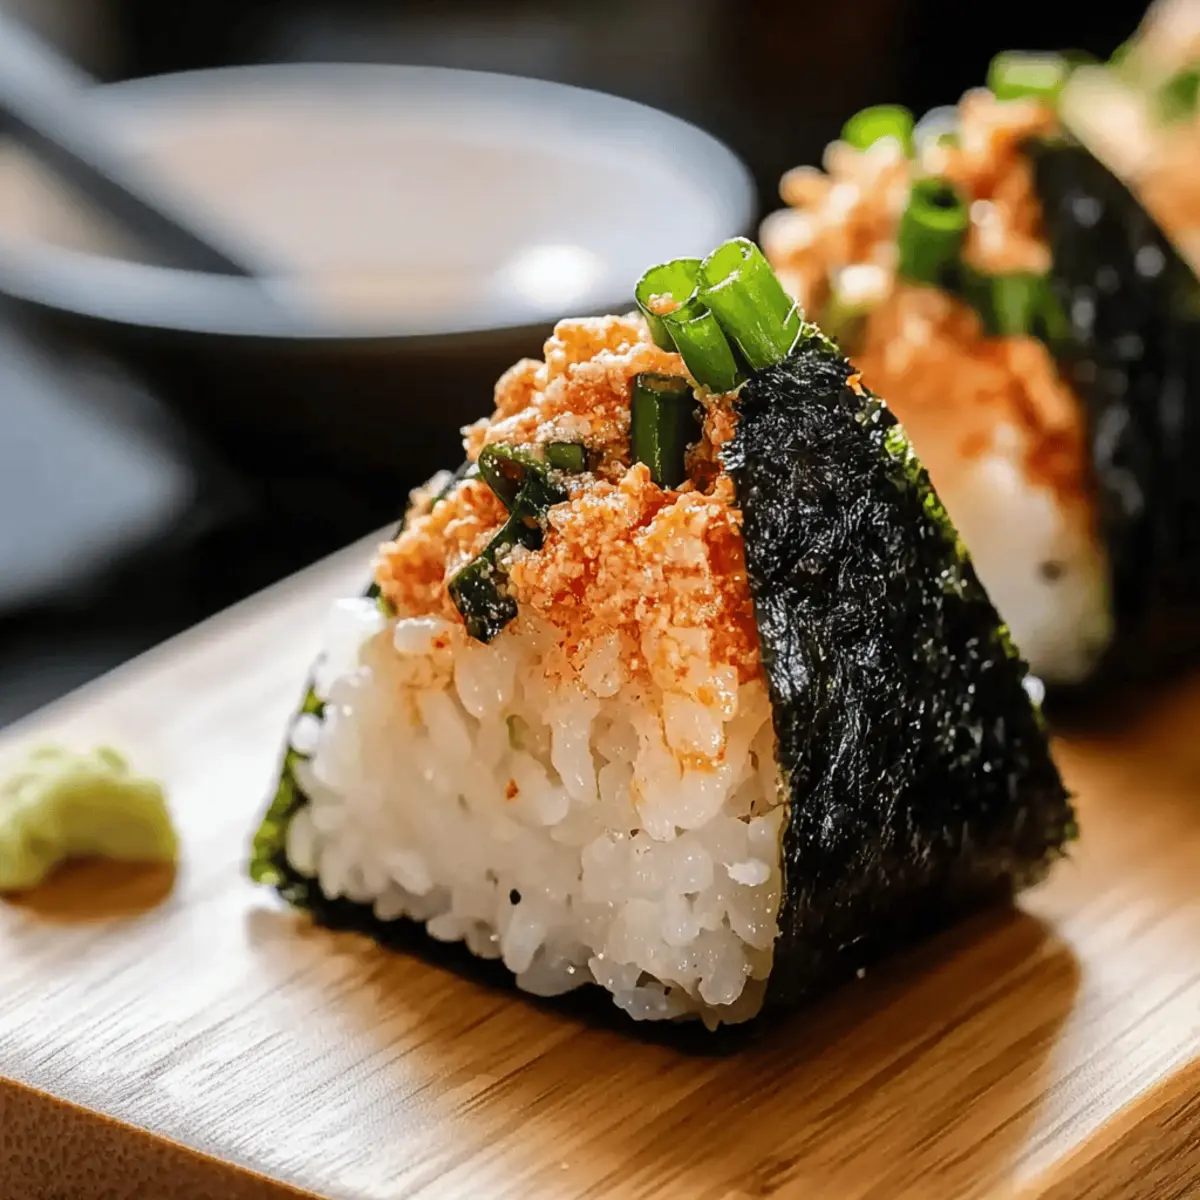
In the heart of Japan, I stumbled upon a bustling market alive with the aroma of freshly prepared rice and the gentle sizzle of street vendors at work. That warm memory inspired my latest creation: a Spicy Tuna Onigiri Recipe that beautifully merges tradition with modern flavor. These rice balls, filled with creamy spicy tuna and wrapped in crispy nori, are not just incredibly satisfying snacks—they’re quick to make and perfect for any occasion, from casual lunches to picnics in the park. Plus, with easy variations for vegan and lower-calorie options, everyone can enjoy this delightful dish. What twists will you add to your own onigiri adventure?
Why Will You Love This Onigiri?
Customizable Delights: You can easily adapt this recipe to fit your dietary preferences, whether you want a classic spicy tuna filling or a vegan alternative with seasoned chickpeas.
Bursting with Flavor: The tangy rice combined with a creamy filling and a touch of sriracha offers an explosion of taste that will leave your taste buds dancing.
Simple Preparation: With straightforward steps, even novice cooks can whip up these delightful rice balls in no time.
Perfect for Any Occasion: These onigiri are great snacks for lunch boxes or fun picnics. Pair them with a clear miso soup for a heartwarming meal, or serve alongside a refreshing cucumber salad for a light touch.
Nutritionally Balanced: Each bite provides a satisfying combination of carbs and protein, making these onigiri a nourishing choice for any meal or snack.
Once you’ve mastered this recipe, you might want to explore other easy and satisfying dishes like Mini Dessert Cake or even Sticky Chicken Bowls.
Spicy Tuna Onigiri Ingredients
For the Sushi Rice
• Sushi Rice – This is the foundation of your onigiri, so rinse thoroughly to achieve that perfect stickiness.
• Rice Vinegar – Adds essential tanginess to the rice that balances the flavors beautifully.
• Sugar – Helps to mellow out the acidity of the vinegar; adjust according to your taste.
• Salt – Enhances the overall flavor of the rice; use sparingly to ensure a balanced taste.
For the Tuna Filling
• Canned Tuna – A great source of protein; be sure to drain it well to keep the filling from becoming too wet.
• Mayonnaise – Provides a creamy texture; for a lower-calorie option, feel free to substitute with Greek yogurt.
• Sriracha – Spice up the filling with this sauce; adjust the amount based on your heat preference.
• Sesame Oil – Drizzle in some nutty richness that enhances the flavor profile of your filling.
• Soy Sauce (or Tamari for gluten-free) – Brings a umami depth to the mix; opt for low-sodium if you’re watching your salt intake.
• Green Onion – Adds a refreshing crunch, making for a delightful contrast to the creamy filling.
For Wrapping
• Nori – Use this seaweed sheet to wrap your onigiri, adding an extra layer of flavor and ease in handling.
Perfectly crafted, your Spicy Tuna Onigiri is now just a few steps away! Enjoy customizing each rice ball with your personal twist.
Step‑by‑Step Instructions for Spicy Tuna Onigiri Recipe
Step 1: Prepare Sushi Rice
Begin by thoroughly rinsing 1 cup of sushi rice under cold water until the water runs clear. Cook the rinsed rice according to package directions or in a rice cooker. Once cooked, transfer the rice to a bowl and gently mix in a combination of rice vinegar, sugar, and salt while it’s still warm. This seasoning adds flavor to your Spicy Tuna Onigiri, ensuring each bite is delicious.
Step 2: Make Tuna Filling
While the rice cools, drain one can of tuna and flake it into a mixing bowl. Add in 2 tablespoons of mayonnaise, a dash of sriracha (adjust to your spice preference), 1 teaspoon of sesame oil, and 1 tablespoon of soy sauce. Finely chop 1 green onion and mix it in for added crunch. Stir everything until well combined, creating a flavorful and creamy filling for your onigiri.
Step 3: Assemble Onigiri
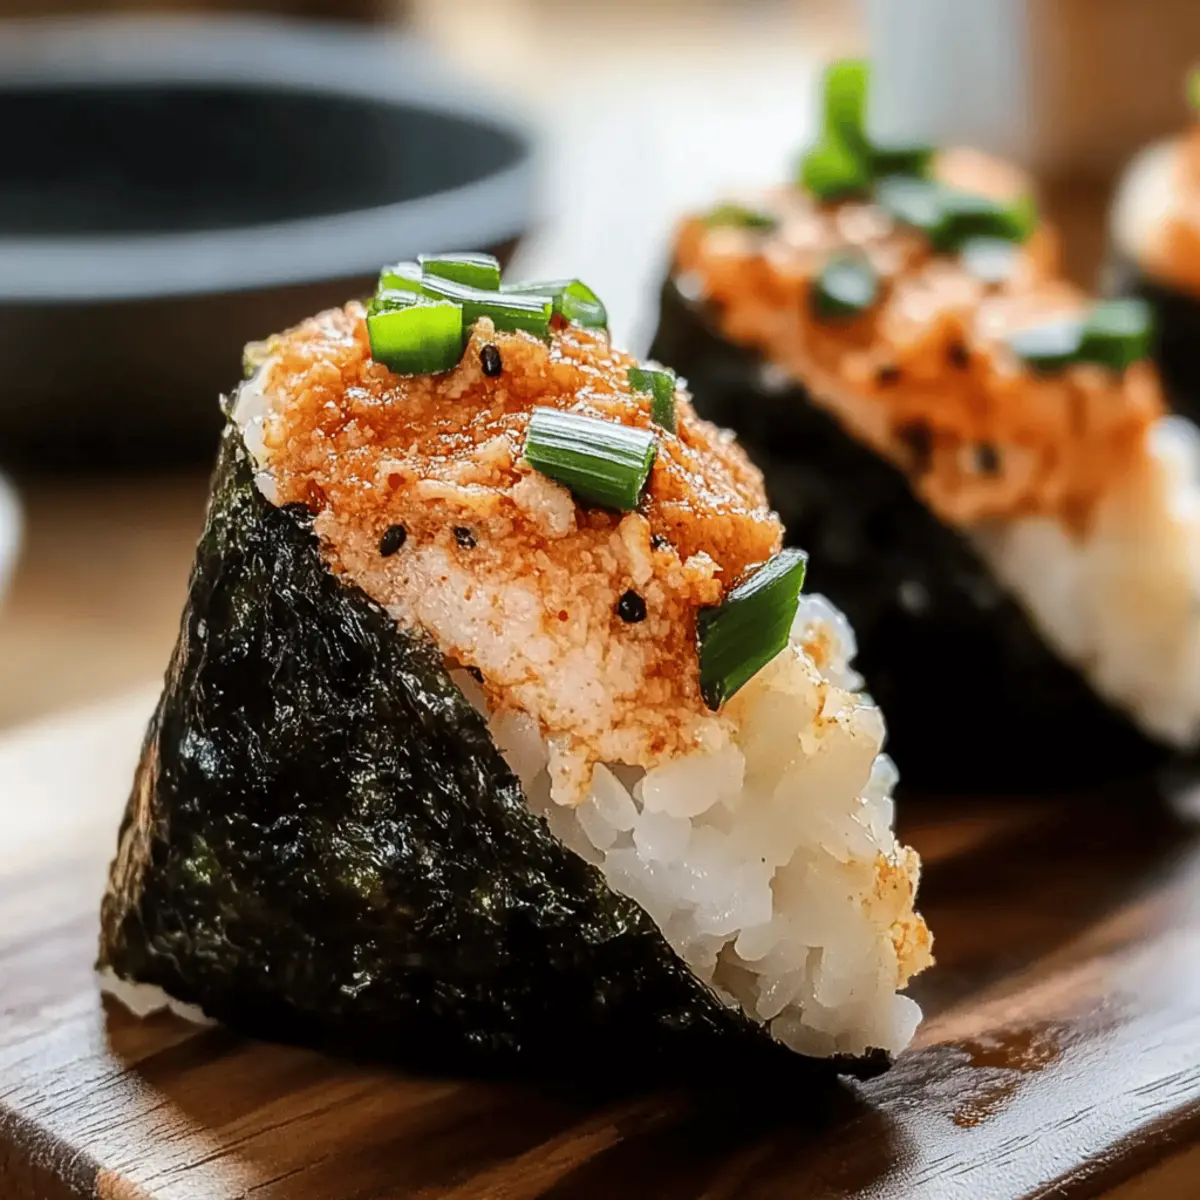
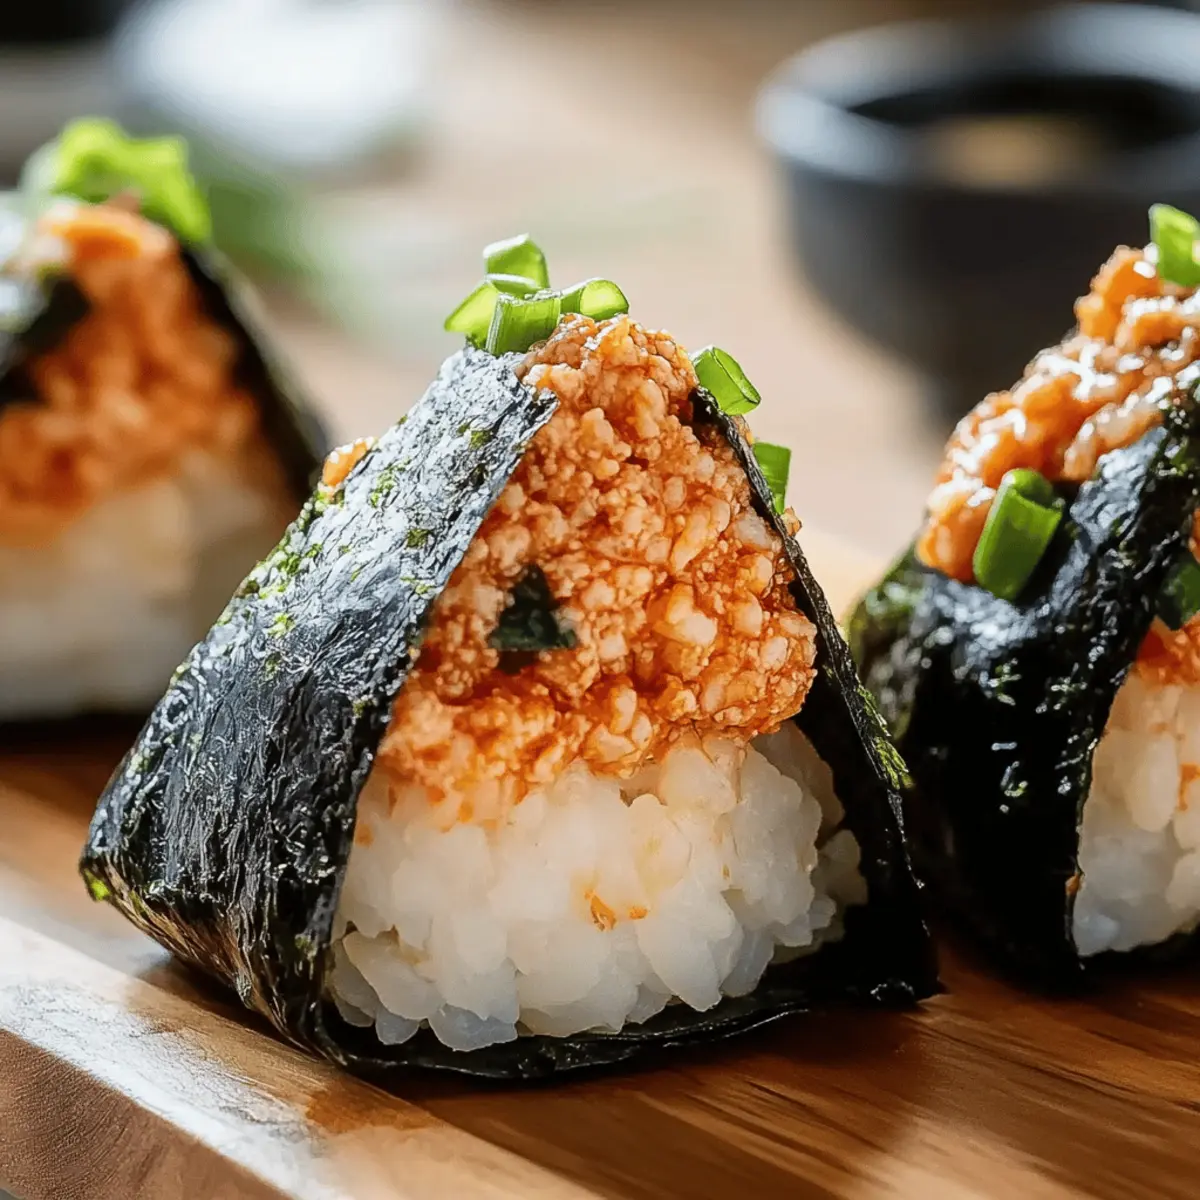
Once the rice is slightly cooled, wet your hands with salted water to prevent the rice from sticking. Take a handful of the seasoned rice and form it into a small ball. Using your thumb, create a well in the center, fill it with about 1 tablespoon of the tuna mixture, and then encase it with more rice. Gently shape the rice into a triangle, being careful not to press too hard, so your onigiri remains fluffy.
Step 4: Wrap in Nori
Cut strips of nori into approximately 1-inch wide pieces. Take a formed onigiri and place it on a piece of nori, then wrap it around the rice ball, securing it lightly. This not only adds an extra layer of flavor but also makes your Spicy Tuna Onigiri easier to handle. Repeat the process with the remaining rice and filling, creating a delightful assortment for serving.
Step 5: Serve or Store
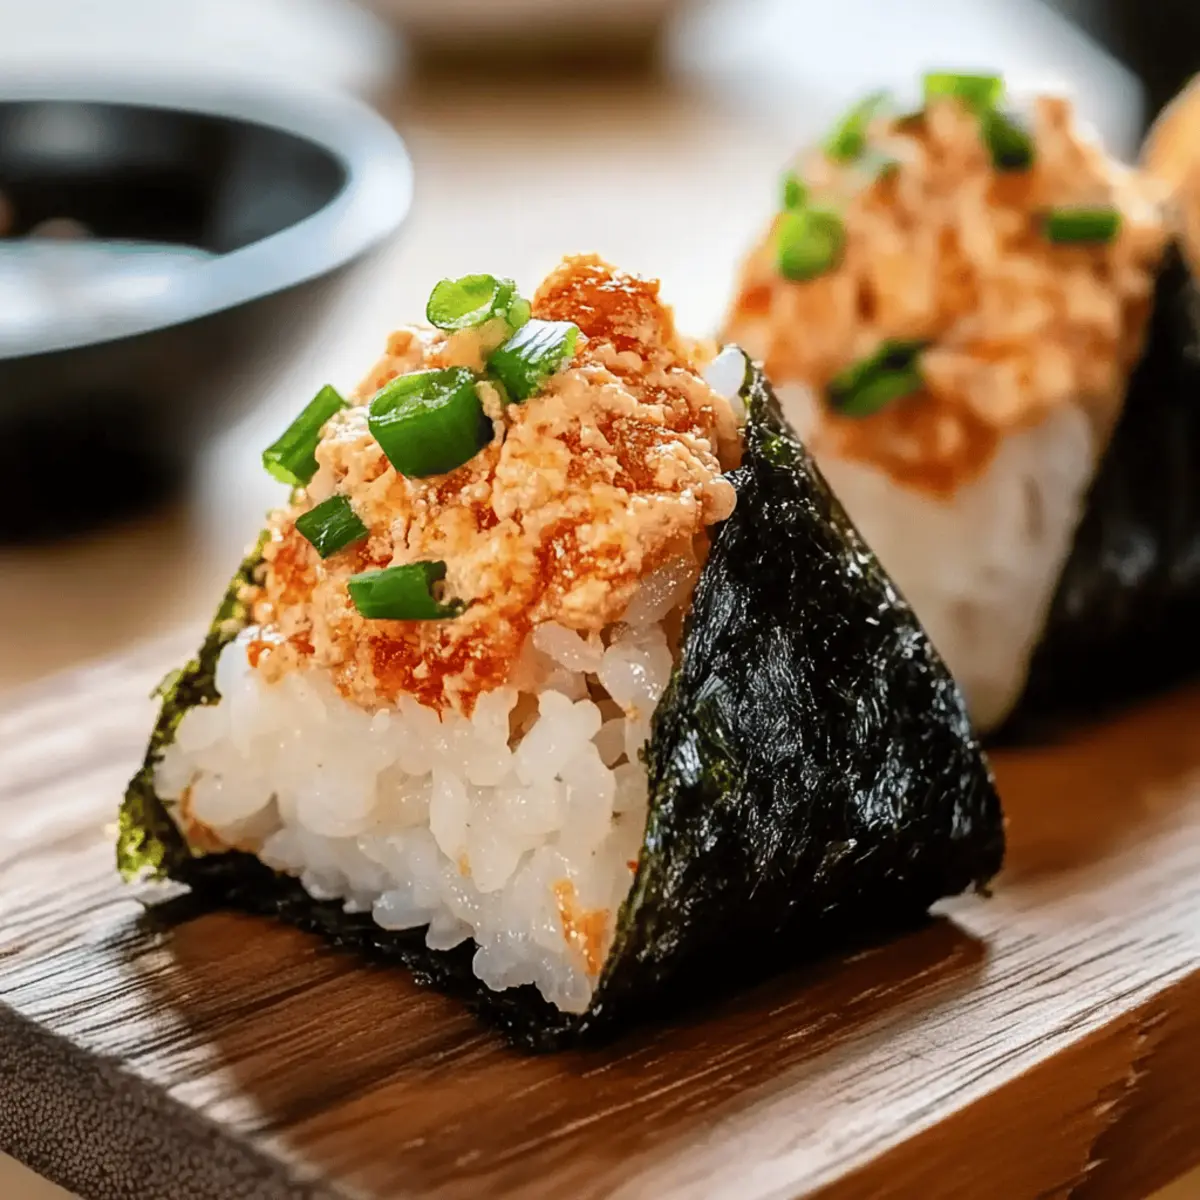
Once your onigiri are assembled, serve them immediately for the best texture, or arrange them on a platter for a lovely display. If you need to store them, wrap each onigiri individually in plastic wrap and refrigerate for up to two days. Try to let them reach room temperature before serving to maintain that wonderful chewy texture that makes Spicy Tuna Onigiri so delightful.
How to Store and Freeze Spicy Tuna Onigiri
Fridge: Wrap each onigiri individually in plastic wrap to keep them fresh. They can be stored in the refrigerator for up to 2 days; let them reach room temperature for the best texture before serving.
Freezer: If you need to freeze your onigiri, wrap each one securely and store them in an airtight container for up to one month. Thaw overnight in the fridge before enjoying.
Reheating: When ready to eat, feel free to microwave onigiri for about 10-15 seconds. This will help to retain their delightful chewiness, making your spicy tuna onigiri satisfying once again!
Storage Tip: Always check the texture after refrigeration or freezing; if they seem a bit dry, a light sprinkle of water before reheating can help restore moisture.
Make Ahead Options
These Spicy Tuna Onigiri are perfect for busy meal prep enthusiasts! You can prepare the sushi rice and the tuna filling up to 24 hours in advance, allowing the flavors to meld beautifully. Simply rinse and cook 1 cup of sushi rice, season it, and store it in an airtight container in the refrigerator. For the filling, mix the drained canned tuna with mayonnaise, sriracha, sesame oil, soy sauce, and green onion, then refrigerate as well. When you’re ready to serve, just shape the rice around the filling and wrap in nori for a delightful, delicious snack that’s just as satisfying and fresh as if you made it on the spot!
What to Serve with Spicy Tuna Onigiri
Elevate your meal with these delightful sides that complement the rich flavors of your spicy tuna onigiri beautifully.
-
Clear Miso Soup: This warm and savory soup adds a comforting note, enhancing the umami experience while keeping the meal light.
-
Pickled Vegetables: Crunchy and tangy, pickled veggies offer a refreshing contrast to the creamy onigiri, balancing richness with brightness.
-
Cucumber Salad: Lightly dressed in rice vinegar, this salad brings crisp textures and a zesty pop that perfectly offsets the savory rice balls.
-
Edamame: These lightly salted soybeans provide a nutritious bite that is great for snacking, making them a delightful side with onigiri.
-
Sesame Spinach: This warm, sesame-flavored spinach dish adds earthiness and extra nutrients, harmonizing wonderfully with the tuna filling.
-
Green Tea: A cup of this fragrant brew not only cleanses the palate but also adds a subtle bitterness, enhancing the overall dining experience.
-
Fruit Salad: A light, refreshing fruit salad with seasonal fruits brings a sweet finish to your meal, striking a pleasant balance with the savory onigiri.
-
Japanese Agedashi Tofu: Crispy on the outside and soft within, this delicate tofu dish adds another layer of texture and flavor to your spread.
These pairings not only enhance your meal but also invite you to explore the delightful harmony of traditional Japanese cuisine.
Expert Tips for Spicy Tuna Onigiri
-
Gentle Shaping: Avoid pressing too hard when forming the onigiri to ensure fluffy, tender rice balls instead of dense ones.
-
Salted Water: Keep a bowl of lightly salted water nearby when shaping your onigiri. This will prevent sticking and help maintain the rice’s texture.
-
Flavor Melding: For the best flavor, prepare your tuna filling ahead of time and let it chill in the fridge for at least 30 minutes before assembling the onigiri.
-
Rice Texture: Make sure to rinse the sushi rice thoroughly until the water runs clear. This removes excess starch and helps achieve the perfect chewy texture in your Spicy Tuna Onigiri.
-
Customize Fillings: Don’t hesitate to experiment! You can swap in various fillings like seasoned chickpeas or marinated mushrooms for a delicious vegan alternative.
-
Storage Tips: Wrap onigiri individually in plastic wrap and refrigerate them if not consumed immediately. Allow them to warm to room temperature for the best texture before serving.
Spicy Tuna Onigiri Recipe Variations
Feeling adventurous? There are countless ways to personalize your spicy tuna onigiri for a delightful twist that suits your palate.
-
Vegan Delight: Swap the tuna for seasoned chickpeas or marinated mushrooms for a plant-based option that’s equally satisfying. The flavors meld beautifully, providing a nutritious alternative without sacrificing taste.
-
Lower Calorie Option: Replace mayonnaise with Greek yogurt to create a lighter filling without losing creaminess. It’s a seamless transition that keeps your onigiri deliciously rich yet healthier.
-
Flavor Boost: Stir in a splash of lime juice or zest into your tuna filling for a refreshing citrus kick. This brightens every bite and adds an exciting layer of flavor.
-
Spice It Up: Want a fiery kick? Add more sriracha, or even toss in some diced jalapeños or spicy kimchi for an extra burst of heat.
-
Texture Twist: For crunch, mix in some finely chopped water chestnuts or toasted nuts. This elevates the overall experience with a satisfying crunch that complements the creamy filling.
-
Seafood Variation: Switch the tuna for crab meat or lightly seasoned cooked salmon for a luxurious seafood experience. Each brings a unique flavor profile to your onigiri adventure.
-
Herb-Infused Rice: Experiment by mixing finely chopped herbs such as cilantro or basil into your sushi rice. This infuses a fresh aroma that ties the dish together beautifully.
-
Sweet Addition: For a unique touch, add a small amount of wasabi mayo or a dash of hoisin sauce to the filling. This a sweet yet savory flavor elevates the overall experience.
Once you’ve perfected your onigiri, why not try pairing them with a lovely side like Mini Dessert Cake or a comforting bowl of Sticky Chicken Bowls? Each complements the onigiri perfectly, creating a satisfying meal that captivates your taste buds!
Spicy Tuna Onigiri Recipe FAQs
What type of rice should I use for onigiri?
Absolutely! Sushi rice is the best choice for onigiri as its short-grain variety becomes sticky when cooked, allowing the rice balls to hold their shape. Make sure to rinse it well to remove excess starch, which will help achieve the perfect chewy texture.
How should I store leftover onigiri?
After wrapping each onigiri individually in plastic wrap, you can store them in the refrigerator for up to 2 days. For the best taste and texture, let them reach room temperature before serving, as this will enhance the fluffiness of the rice.
Can I freeze spicy tuna onigiri for later use?
Yes, you can! To freeze, wrap each onigiri securely with plastic wrap and store them in an airtight container. They will stay fresh in the freezer for up to one month. When you’re ready to enjoy, thaw them overnight in the refrigerator or gently reheat in the microwave for 10-15 seconds to restore their delicious chewiness.
What if my tuna filling is too dry or too wet?
If your tuna filling is too dry, consider adding a little more mayonnaise or yogurt for creaminess. Conversely, if it’s too wet, you can drain the tuna more thoroughly or adjust the amounts of the wet ingredients, like mayo or sriracha. Mix everything well to get a creamy consistency, which is essential for your spicy tuna onigiri.
Are there any dietary considerations I should keep in mind?
Very! For those on gluten-free diets, use tamari instead of soy sauce. Additionally, for nut allergies, be cautious with sesame oil, as it’s optional. Don’t forget that you can create vegan versions with chickpeas or marinated mushrooms if you’re looking for a plant-based alternative. Customize to suit your specific needs!
Can I make onigiri ahead of time?
Of course! Preparing your onigiri ahead of time is a great idea. Just remember to wrap them individually and store them in the fridge or freezer. If making them in advance, it’s advisable to prepare the filling a few hours ahead, allowing the flavors to meld beautifully. Enjoy the convenience without sacrificing taste!
Spicy Tuna Onigiri Recipe: Creamy, Chewy Delights at Home
Ingredients
Equipment
Method
- Thoroughly rinse the sushi rice under cold water until it runs clear. Cook according to package directions.
- Transfer the cooked rice to a bowl and gently mix in rice vinegar, sugar, and salt while still warm.
- In a mixing bowl, flake the drained tuna and mix in mayonnaise, sriracha, sesame oil, soy sauce, and chopped green onion.
- Wet your hands with salted water and form a handful of the seasoned rice into a ball. Create a well, fill with the tuna mixture, and encase with more rice, shaping into a triangle.
- Wrap each formed onigiri with a strip of nori. Repeat the process with remaining rice and filling.
- Serve immediately or store by wrapping each onigiri in plastic wrap and refrigerating up to two days.
Leave a Reply