
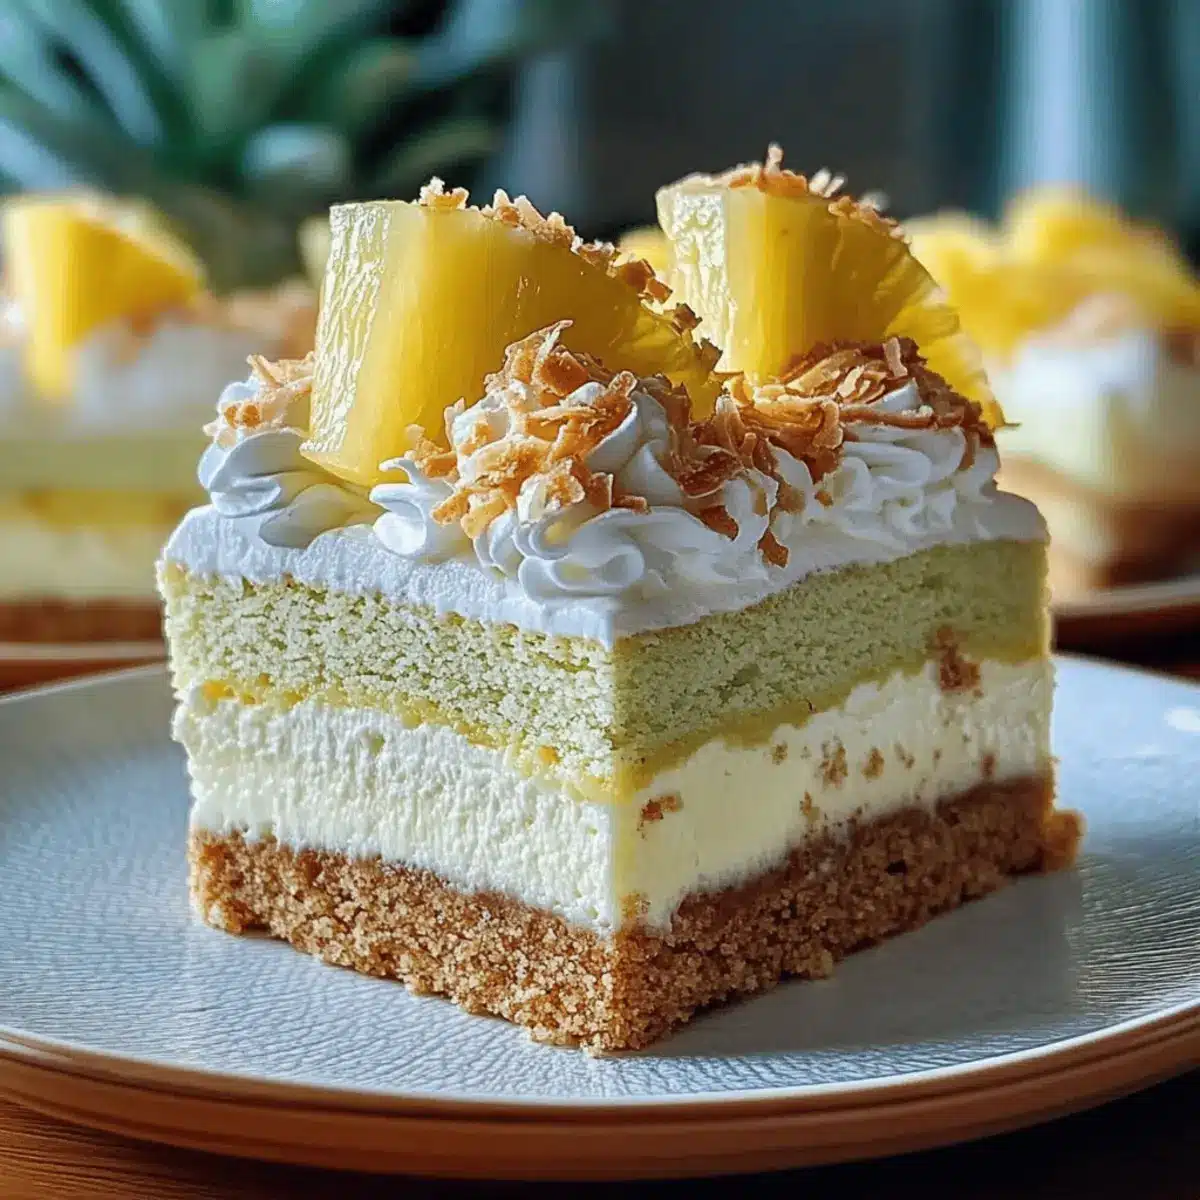
As I lifted the lid of my mixer bowl, the sweet aroma of tropical dreams wafted through the kitchen, instantly transporting me to a sun-soaked beach. This Pineapple and Coconut Dream Cake is my go-to no-bake dessert for summer gatherings, celebrated not just for its stunning presentation, but also for its light, creamy texture. In just a few simple steps, you can create a heavenly marriage of buttery graham cracker crust and luscious pineapple coconut cheesecake that will leave your guests begging for seconds. A perfect harmony of refreshing flavors and no-fuss preparation means more time relaxing and enjoying the sun! Curious how to whip up this delightful dessert? Keep reading for the full recipe!

Why is This Dream Cake a Must-Try?
Irresistible Flavors: The combination of fresh pineapple and creamy coconut creates a tropical paradise that dances on your taste buds.
No-Bake Convenience: Save time and hassle in the kitchen! This recipe requires no oven, making it the perfect summer treat.
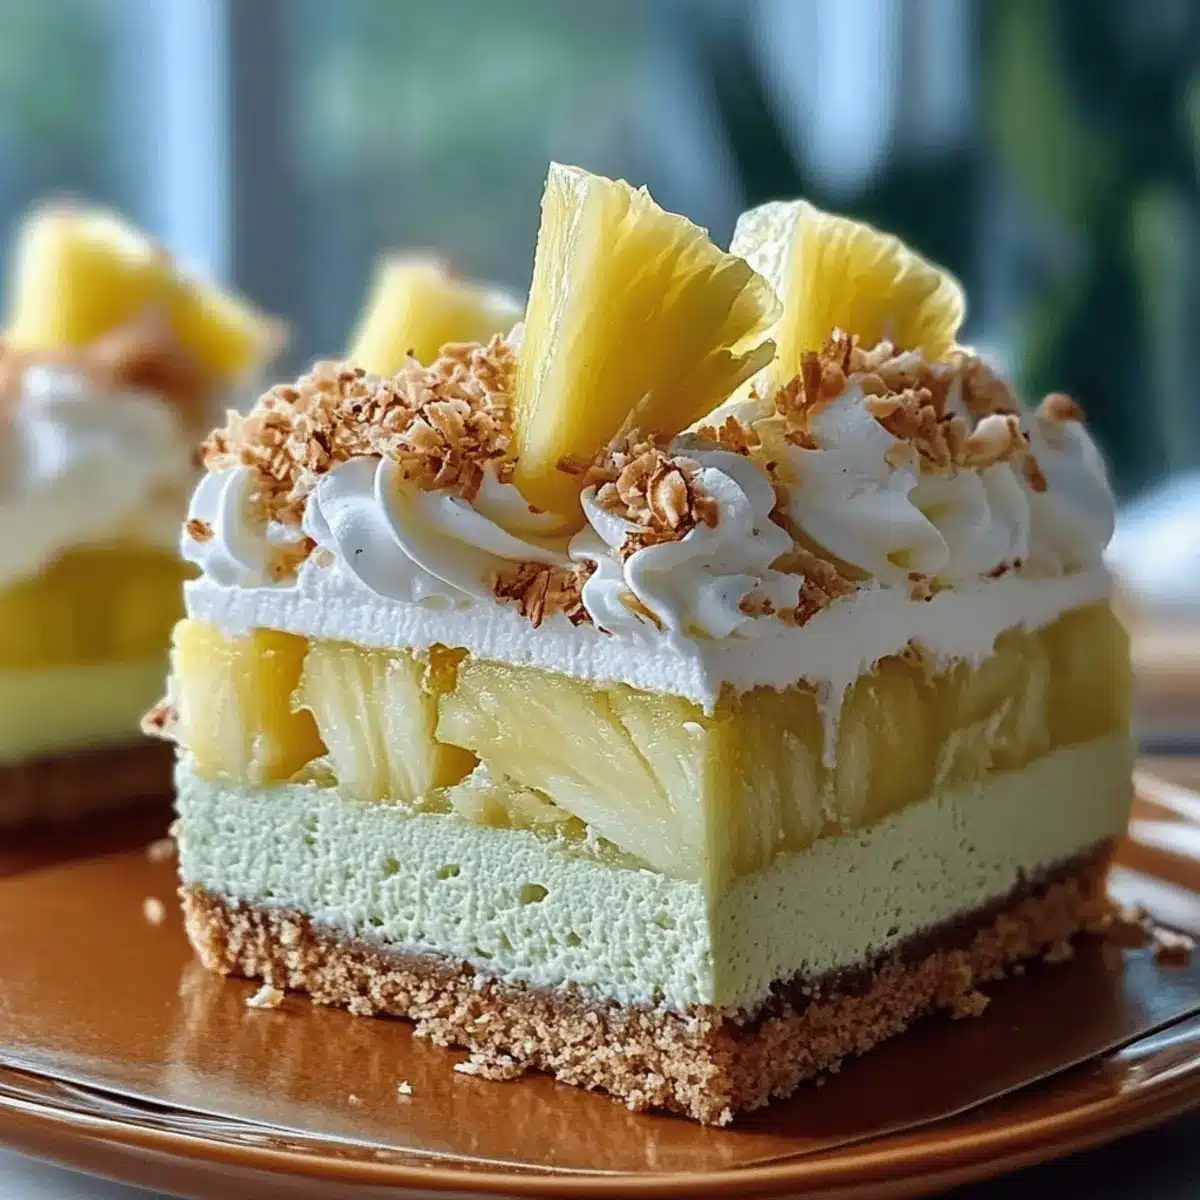
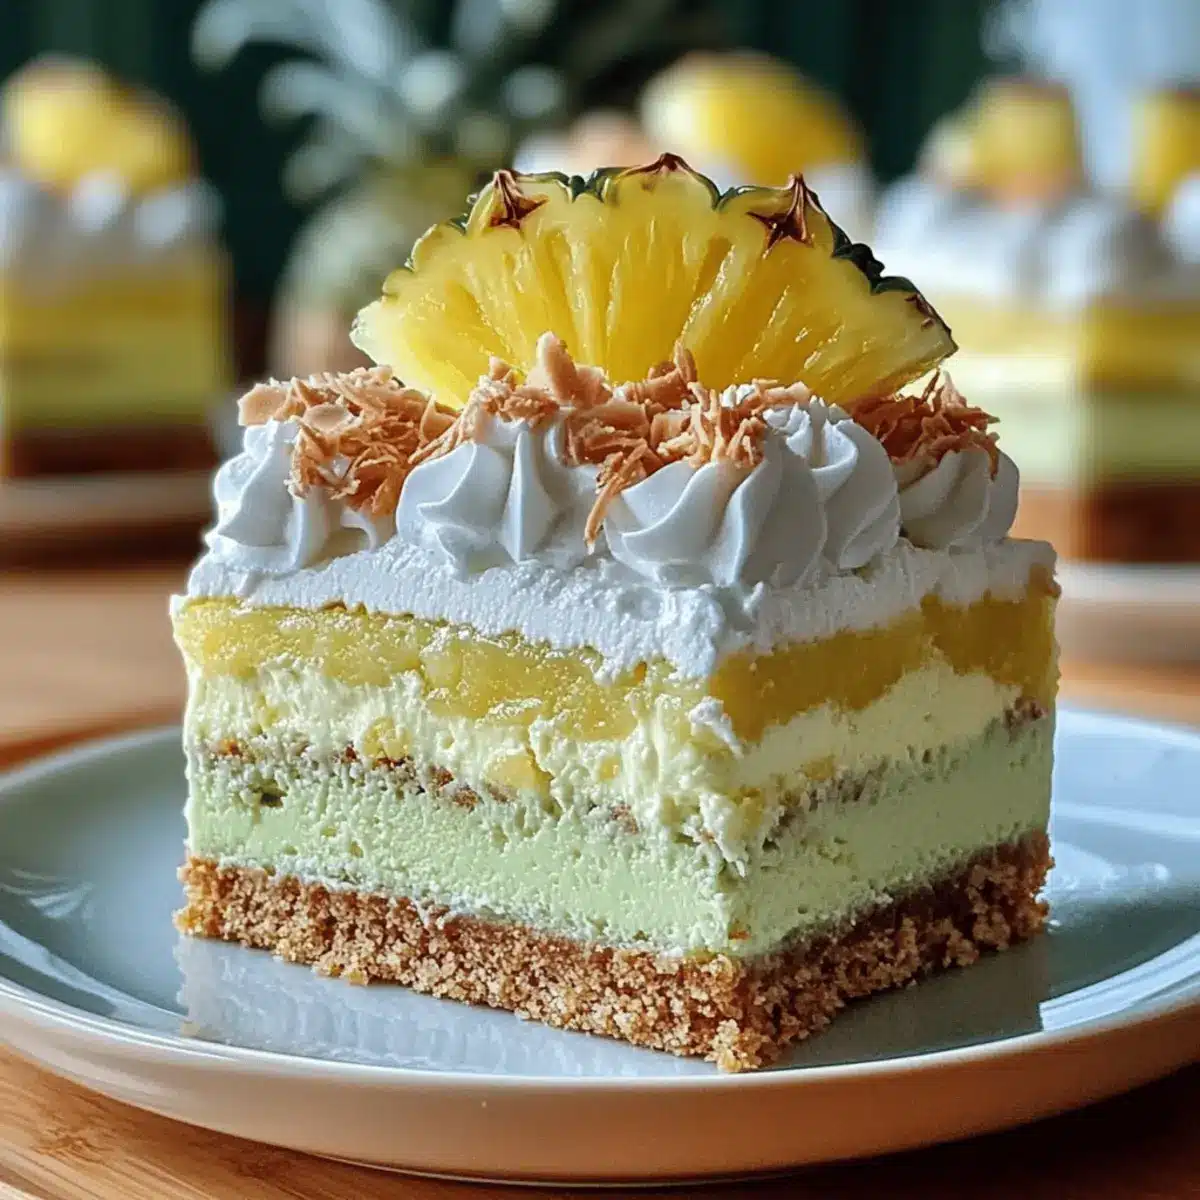
Visually Stunning: Layers of vibrant colors and textures make it an eye-catching centerpiece for any gathering.
Crowd-Pleaser: Whether serving at a backyard barbecue or hosting a picnic, it’s a guaranteed hit that will entice everyone at the table.
Versatile Garnish Options: Feel free to customize with fresh fruits or even a drizzle of chocolate for a unique twist! For more delightful summer sweets, check out my recipe for Mango Coconut Panna or Strawberry Crunch Cheesecake.
Pineapple and Coconut Dream Cake Ingredients
For the Crust
- Graham Cracker Crumbs – Provides a sweet and buttery base for the crust; substitute with digestive biscuits for a different flavor.
- Unsalted Butter – Binds the crust ingredients together; ensure it’s melted for easy mixing.
- Granulated Sugar – Sweetens the crust; adjust the amount based on your sweetness preference.
For the Filling
- Cream Cheese – Adds richness and creaminess to the filling; use full-fat for a smooth texture.
- Coconut Cream – Contributes a lush, tropical flavor; can be substituted with full-fat coconut milk, though the flavor will be milder.
- Crushed Pineapple – Offers sweetness and tartness; must be drained well to prevent sogginess.
- Granulated Sugar – Sweetens the filling; adjust according to taste.
- Vanilla Extract – Enhances the flavors of the filling; use pure extract for best results.
- Whipping Cream – Creates a light, airy texture in the filling; chill the bowl and beaters before whipping for better volume.
- Gelatin (or Agar Agar) – Provides structure to the layers; ensure it dissolves properly in warm water.
For the Topping
- Toasted Coconut Flakes – Adds crunch and flavor; omit for a nut-free version.
- Fresh Pineapple Wedges – For garnish, providing freshness; optional for presentation.
With these ingredients, you’ll be well-equipped to recreate this delicious Pineapple and Coconut Dream Cake that will steal the spotlight at your next summer gathering!
Step‑by‑Step Instructions for Pineapple and Coconut Dream Cake
Step 1: Prepare the Crust
In a mixing bowl, combine 1 1/2 cups of graham cracker crumbs, 1/3 cup of melted unsalted butter, and 2 tablespoons of granulated sugar. Mix until the crumbs are well-coated and resemble wet sand. Firmly press this mixture into the bottom of a 9-inch springform pan to form an even layer. Refrigerate for about 30 minutes to set while you prepare the filling.
Step 2: Make the Filling
In a large mixing bowl, beat 8 ounces of softened cream cheese and 1/2 cup of granulated sugar with an electric mixer on medium speed until smooth and creamy, about 2 minutes. Gradually mix in 1 cup of coconut cream and 1 teaspoon of vanilla extract, ensuring everything is thoroughly blended. Set the mixture aside while you whip the cream.
Step 3: Whip the Cream
In a separate chilled bowl, pour in 1 cup of whipping cream. Using an electric mixer, whip the cream on high speed until soft peaks form, which should take about 3-4 minutes. Gently fold the whipped cream into the cream cheese mixture until well combined, creating a light and airy filling for your Pineapple and Coconut Dream Cake.
Step 4: Add the Gelatin
In a small bowl, dissolve 1 tablespoon of gelatin in 1/4 cup of warm water, stirring until completely dissolved. Allow it to cool slightly before folding it into the filling mixture to ensure no clumps form. This will provide the structure needed for your cake layers to hold together beautifully.
Step 5: Layer the Cake
Pour half of the creamy filling over the prepared crust, smoothing it out evenly. Place the pan in the refrigerator for about 2 hours or until the filling sets up slightly. This initial layer ensures a stable base for the next layer of crushed pineapple.
Step 6: Add Pineapple Layer
Once the initial filling is set, take the remaining filling and blend in 1 cup of well-drained crushed pineapple until fully combined. Pour this mixture over the first layer in the springform pan, smoothing out the top with a spatula. Refrigerate again for about 4 hours, or preferable, overnight to achieve the best results.
Step 7: Garnish and Serve
Carefully remove the sides of the springform pan once the cake has set completely. Top the Pineapple and Coconut Dream Cake with whipped cream swirls, a handful of toasted coconut flakes, and fresh pineapple wedges for an eye-catching presentation. Using a warm knife, slice the cake into equal pieces and serve chilled to revel in its tropical delight.
Expert Tips for Pineapple and Coconut Dream Cake
-
Chill Wisely: Make sure to chill the mixing bowl and beaters before whipping the cream. This helps achieve greater volume for the best texture in your cake filling.
-
Gelatin Mastery: Allow the gelatin to cool slightly after dissolving before incorporating it into the filling. This prevents clumps, ensuring a silky-smooth Pineapple and Coconut Dream Cake.
-
Properly Drain Pineapple: Always drain the crushed pineapple well to avoid excess moisture. This keeps your cake layers from becoming soggy and maintains perfect structure.
-
Crust Firmness: Give the crust enough time to chill before adding any layers. A well-set crust keeps the layers from mixing and ensures clean cuts for serving.
-
Garnish Creativity: Feel free to get creative with toppings! Alternate between fresh fruits like mangoes or strawberries, or even try a drizzle of chocolate for unique flavor combinations.
How to Store and Freeze Pineapple and Coconut Dream Cake
-
Fridge: Store the cake covered in plastic wrap or in an airtight container for up to 4 days. This keeps it fresh while maintaining its creamy texture.
-
Freezer: For longer storage, freeze individual slices (wrapped tightly in plastic wrap and foil) for up to 2 months. Thaw in the fridge overnight before serving.
-
Reheating: This dessert is best served chilled, so there’s no need to reheat. Just slice with a warm knife for clean cuts and enjoy the delightful layers!
-
Leftover Garnishes: Keep any additional toppings, like whipped cream or fresh fruit, stored separately in the fridge for a day or two to maintain freshness and presentation.
Make Ahead Options
These Pineapple and Coconut Dream Cakes are ideal for busy home cooks wanting to save time without sacrificing flavor! You can prepare the crust and the first layer of filling up to 24 hours in advance, chilling them separately and then combining them the next day. Ensure the crust is fully set before adding the filling to keep it from becoming soggy. When you’re ready to finish, simply blend the remaining filling with crushed pineapple, pour it over the set layers, and let the cake chill for at least 4 hours or ideally overnight. This planning means you’ll have a stunning, no-bake dessert to impress your guests with minimal effort!
What to Serve with Pineapple and Coconut Dream Cake
Delight in the vibrant flavors of summer with perfectly paired sides and beverages that enhance your no-bake cake’s tropical appeal.
-
Tropical Fruit Salad: A fresh mix of watermelon, mango, and kiwi adds a burst of juicy flavor and complements the cake’s sweetness.
-
Chilled Iced Tea: Brew a refreshing iced tea infused with mint or citrus—its crispness elevates the cake’s creamy layers wonderfully.
-
Pineapple Mojito: This refreshing cocktail, with mint and lime, brings a delightful zing, echoing the tropical theme of your dessert.
-
Coconut Macaroons: Their chewy texture and coconut flavor resonate beautifully with the cake while providing a lovely contrast in bites.
-
Light Vanilla Ice Cream: A scoop of vanilla ice cream adds a creamy coldness that balances the richness of the cake, creating a delightful synergy.
-
Grilled Shrimp Skewers: For a savory touch, the light char and spice of grilled shrimp enhances the cake’s tropical flavors, adding depth to your meal.
-
Key Lime Pie Bites: These zesty mini desserts offer a bright finish, refreshing the palate after enjoying the rich and sweet layers of the cake.
Pair these delights with your Pineapple and Coconut Dream Cake for an unforgettable summer gathering experience!
Pineapple and Coconut Dream Cake Variations
Feel free to customize your dessert experience with these delightful twists and substitutions!
- Dairy-Free: Substitute cream cheese with dairy-free cream cheese and use coconut whipped cream for a creamy yet plant-based filling.
- Flavor Boost: Stir in a splash of coconut rum for an extra tropical flavor, transporting your guests straight to the beach!
- Fresh Fruit Twist: Switch out the pineapple topping for fresh mango slices or strawberries for a vibrant and fruity change.
- Nutty Crunch: Add chopped macadamia nuts to the crust for an additional layer of crunch and nutty flavor.
- Chocolate Drizzle: A light drizzle of chocolate ganache on top adds a decadent twist that pairs beautifully with the tropical flavors.
- Citrus Zing: Incorporate some lime juice and zest into the filling for a zesty contrast that enhances the overall flavor profile.
- Spiced Variation: Mix a pinch of cinnamon or nutmeg into the filling for a warm, comforting spice that complements the sweetness of the cake.
- Layered Delight: Create individual mini dessert cups using the same ingredients for a fun twist; they’re perfect for parties or intimate gatherings. Try them alongside my Mini Dessert Cake for a delightful treat!
Pineapple and Coconut Dream Cake Recipe FAQs
How do I choose ripe pineapples for this recipe?
Absolutely, when selecting fresh pineapples, look for those that are slightly soft to the touch, with a sweet aroma at the base and a vibrant yellow color. Avoid pineapples with dark spots all over, as these can indicate overripeness. Opt for firm pineapples that still give a little when pressed gently.
What’s the best way to store leftover Pineapple and Coconut Dream Cake?
Keep any leftover cake covered with plastic wrap or in an airtight container in the refrigerator for up to 4 days. This helps maintain its creamy texture and freshness. If you’re planning to enjoy it later, feel free to slice it beforehand and place parchment paper in between slices to prevent sticking!
Can I freeze the Pineapple and Coconut Dream Cake?
Very! For freezing, individually wrap slices in plastic wrap and then in aluminum foil to prevent freezer burn. The cake can be stored like this for up to 2 months. When you’re ready to indulge, simply thaw in the fridge overnight. It’s the perfect solution for those hot summer days when a cool treat is calling your name!
What should I do if my filling doesn’t set properly?
If your filling doesn’t set as expected, it could be due to not allowing the gelatin to dissolve completely. To troubleshoot, you may need to remake the filling. Gently heat the mixture on the stove over low heat while stirring until everything is smooth. Allow it to cool slightly before folding in whipped cream again, then pour it back over the crust and refrigerate until set.
Are there any allergy considerations I should be aware of?
Certainly! This dessert contains dairy from the cream cheese and whipping cream and gelatin, which may not be suitable for vegetarians. For a vegetarian version, use agar-agar instead of gelatin as a thickener. Additionally, keep in mind that toasted coconut flakes can contain allergens, so ensure to check packaging for cross-contamination if serving to guests with nut allergies.
How long can I keep the cake in the fridge before it goes bad?
Keep your delightful Pineapple and Coconut Dream Cake in the fridge for up to 4 days for the best taste and texture. The key is to keep it sealed properly to avoid it absorbing any unwanted flavors from other foods in your refrigerator! Enjoy it fresh for that ultimate tropical taste experience.
Pineapple and Coconut Dream Cake: Your No-Bake Summer Treat
Ingredients
Equipment
Method
- Combine graham cracker crumbs, melted unsalted butter, and granulated sugar in a mixing bowl. Mix until well-coated and resembles wet sand. Press mixture into the bottom of a 9-inch springform pan and refrigerate for 30 minutes to set.
- Beat softened cream cheese and granulated sugar in a large bowl until smooth and creamy. Gradually mix in coconut cream and vanilla extract. Set aside.
- In a separate chilled bowl, whip the cream on high speed until soft peaks form. Fold the whipped cream into the cream cheese mixture until well combined.
- Dissolve gelatin in warm water, ensuring it's completely dissolved. Allow it to cool slightly before folding it into the filling mixture.
- Pour half of the filling over the crust and smooth it out. Refrigerate for 2 hours until set.
- Blend remaining filling with well-drained crushed pineapple. Pour over the first layer in the springform pan. Refrigerate for 4 hours or overnight until fully set.
- Carefully remove the sides of the springform pan. Top with whipped cream swirls, toasted coconut flakes, and fresh pineapple wedges. Slice with a warm knife and serve chilled.
Leave a Reply