
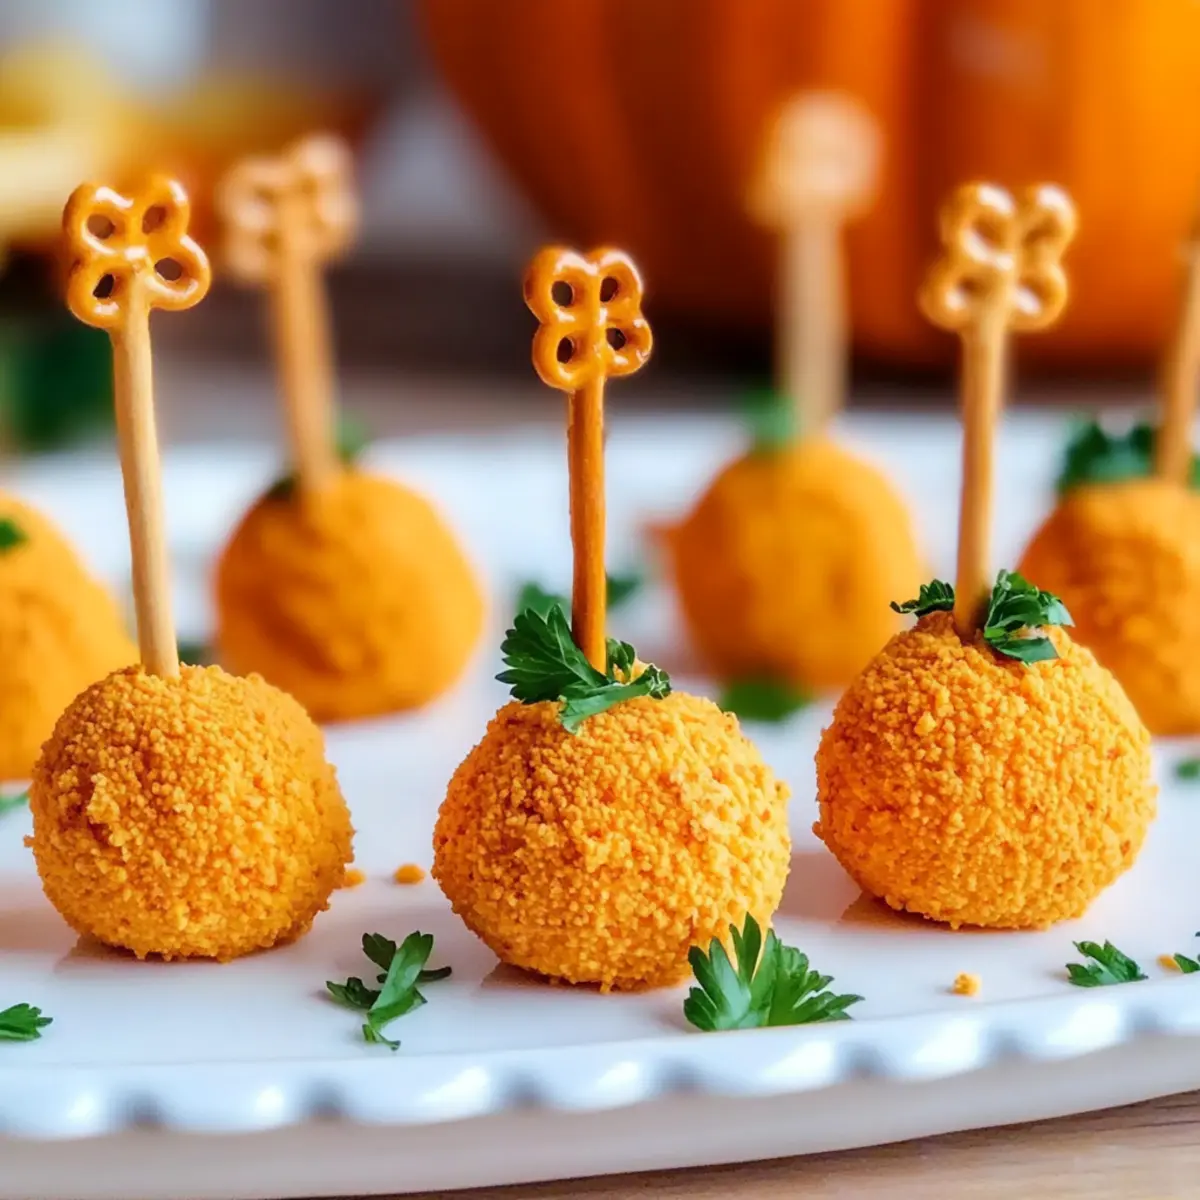
As I was preparing for our upcoming holiday gathering, I needed something festive that would appeal to both the vegetarians and the cheese lovers in the group. That’s when I stumbled upon the idea for these adorable Mini Pumpkin Cheese Balls. With their creamy center and the warmth of smoked paprika, they’re not just visually appealing—they’re a breeze to whip up ahead of time! These little delights are the perfect finger food, ideal for serving alongside crunchy crackers or sweet apple slices. Whether you’re hosting a cozy supper or celebrating the season with a big bash, these charming bites will steal the show. Are you ready to bring some festive flair to your table? Let’s dive into this delightful recipe!
Why Are Mini Pumpkin Cheese Balls Perfect?
Festive Appeal: These Mini Pumpkin Cheese Balls are the ultimate addition to any holiday gathering, instantly elevating your appetizer spread with their charming pumpkin shape.
Versatile Pairings: Perfectly balanced with crunchy crackers or sweet apple slices, they cater to a variety of tastes and keep everyone satisfied.
Make-Ahead Magic: With the option to prepare them up to 24 hours in advance, these delightful bites save you time and stress on party day.
Flavor-Packed: The blend of chive and onion cream cheese with smoky paprika creates an irresistible, savory experience.
Crowd-Pleasing Comfort: They not only look great but are vegetarian-friendly, making them a hit among both cheese lovers and those seeking lighter fare. For more delicious ideas, don’t miss my recipes for Pumpkin Goat Cheese and Gingersnap Pumpkin Pie!
Mini Pumpkin Cheese Balls Ingredients
For the Cheese Mixture
• Chive and Onion Cream Cheese – Provides a creamy base with flavorful undertones; plain cream cheese is a fine substitute.
• Shredded Cheddar Cheese – Adds sharpness and richness; try smoked gouda or Monterey Jack for a twist.
• Paprika – Offers depth of flavor and smokiness; cayenne or chili powder can give a spicy kick.
• Garlic Powder – Enhances overall flavor; fresh garlic works too, but use in smaller amounts.
• Black Pepper – Adds mild heat; adjust to suit your taste preference.
For the Coating
• Crushed Cheese Crackers – Forms a crunchy coating adding texture; consider crushed pretzels or nuts for variety.
For Assembly
• Pretzel Sticks – Used as decorative stems for the cheese balls; small vegetable sticks like chives or carrot sticks can also work.
• Flat-leaf Parsley – Used for garnish; fresh herbs like chives or dill are good substitutes.
These mini pumpkin cheese balls are a fun and festive treat that can easily win over a crowd!
Step-By-Step Instructions for Mini Pumpkin Cheese Balls
Step 1: Mix Ingredients
In a medium mixing bowl, blend together 8 ounces of chive and onion cream cheese, 1 cup of shredded cheddar cheese, 1 teaspoon of smoked paprika, 1 teaspoon of garlic powder, and a pinch of black pepper. Use a spatula to combine thoroughly until the mixture is smooth and creamy, which should take about 2-3 minutes of mixing.
Step 2: Chill Mixture
Once the cheese mixture for your Mini Pumpkin Cheese Balls is well combined, cover the bowl with plastic wrap and refrigerate it for approximately 15 minutes. This chilling period allows the mixture to firm up, making it easier to shape into balls. You’ll know it’s ready when it feels slightly firmer to the touch.
Step 3: Shape Balls
After chilling, scoop out about 1-inch portions of the mixture using a cookie scoop or your hands, and roll them into smooth balls. Place each ball on a parchment-lined baking sheet, ensuring they have enough space between them. You should yield around 12-15 cheese balls, all resembling tiny pumpkins.
Step 4: Coat
Next, prepare to coat the cheese balls by placing crushed cheese crackers on a plate. Gently roll each cheese ball in the crushed crackers, making sure they are fully coated for a crunchy texture. This step will add a delightful contrast to the creamy filling and should take just a few minutes.
Step 5: Create Pumpkin Shapes
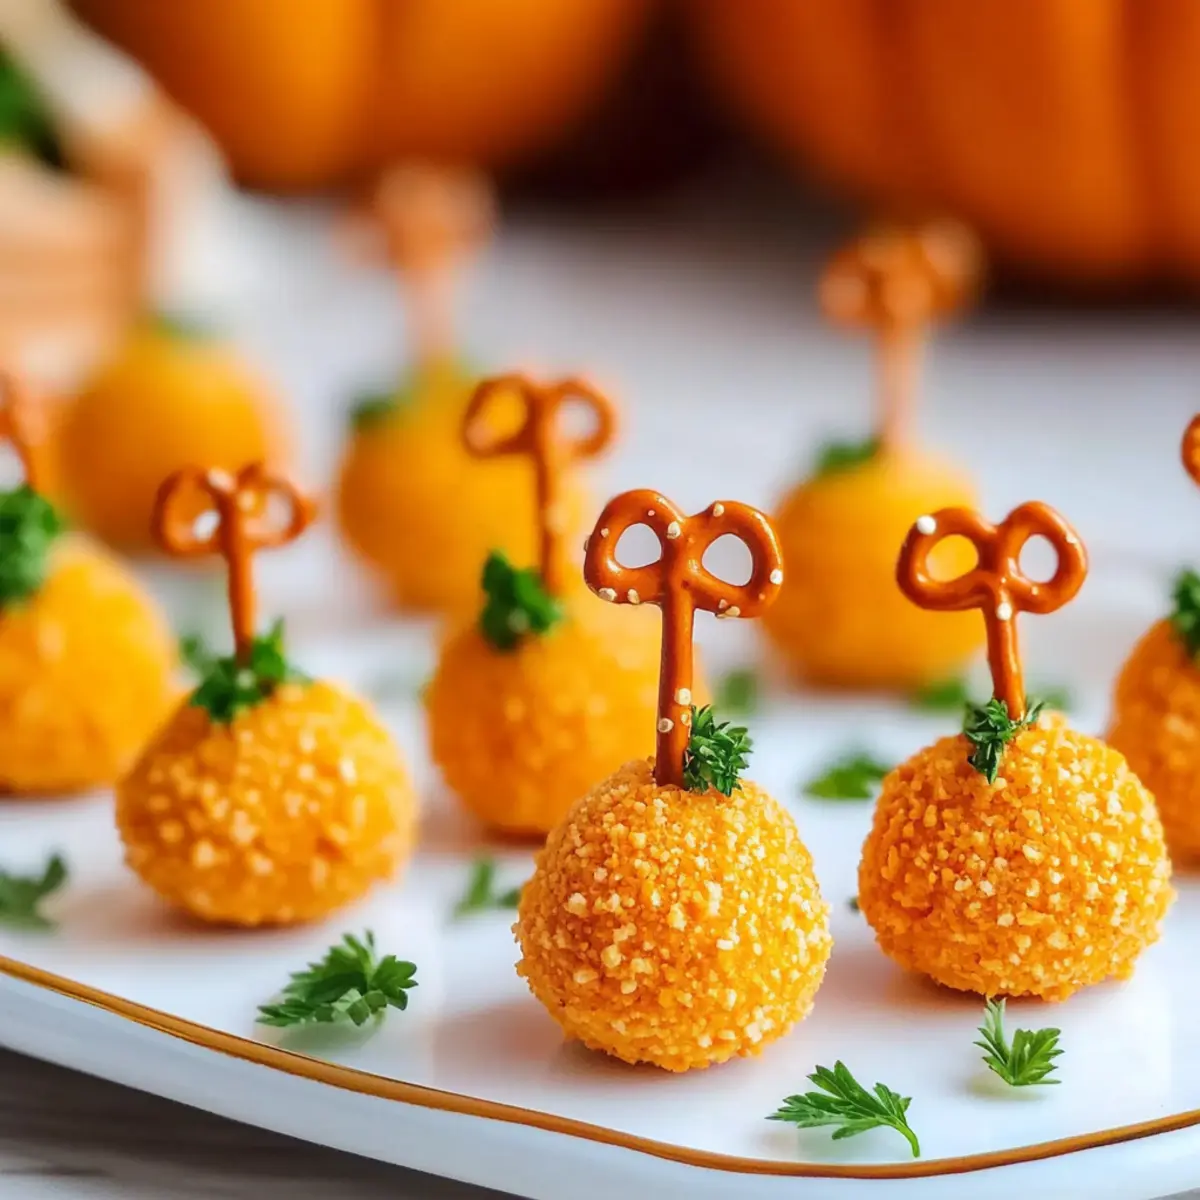
Using a toothpick or the back of a small knife, gently press lines into the sides of each cheese ball to mimic the ridges of a pumpkin. Then, flatten the tops slightly to enhance the pumpkin shape. This creative touch adds a whimsical element to your Mini Pumpkin Cheese Balls, making them visually appealing.
Step 6: Chill Again
Once shaped, cover the baking sheet with plastic wrap and return the cheese balls to the refrigerator for another 45 minutes to an hour. This additional chilling time helps the cheese balls set and hold their shape well. You’ll notice they firm up nicely, making them easier to handle.
Step 7: Garnish and Serve
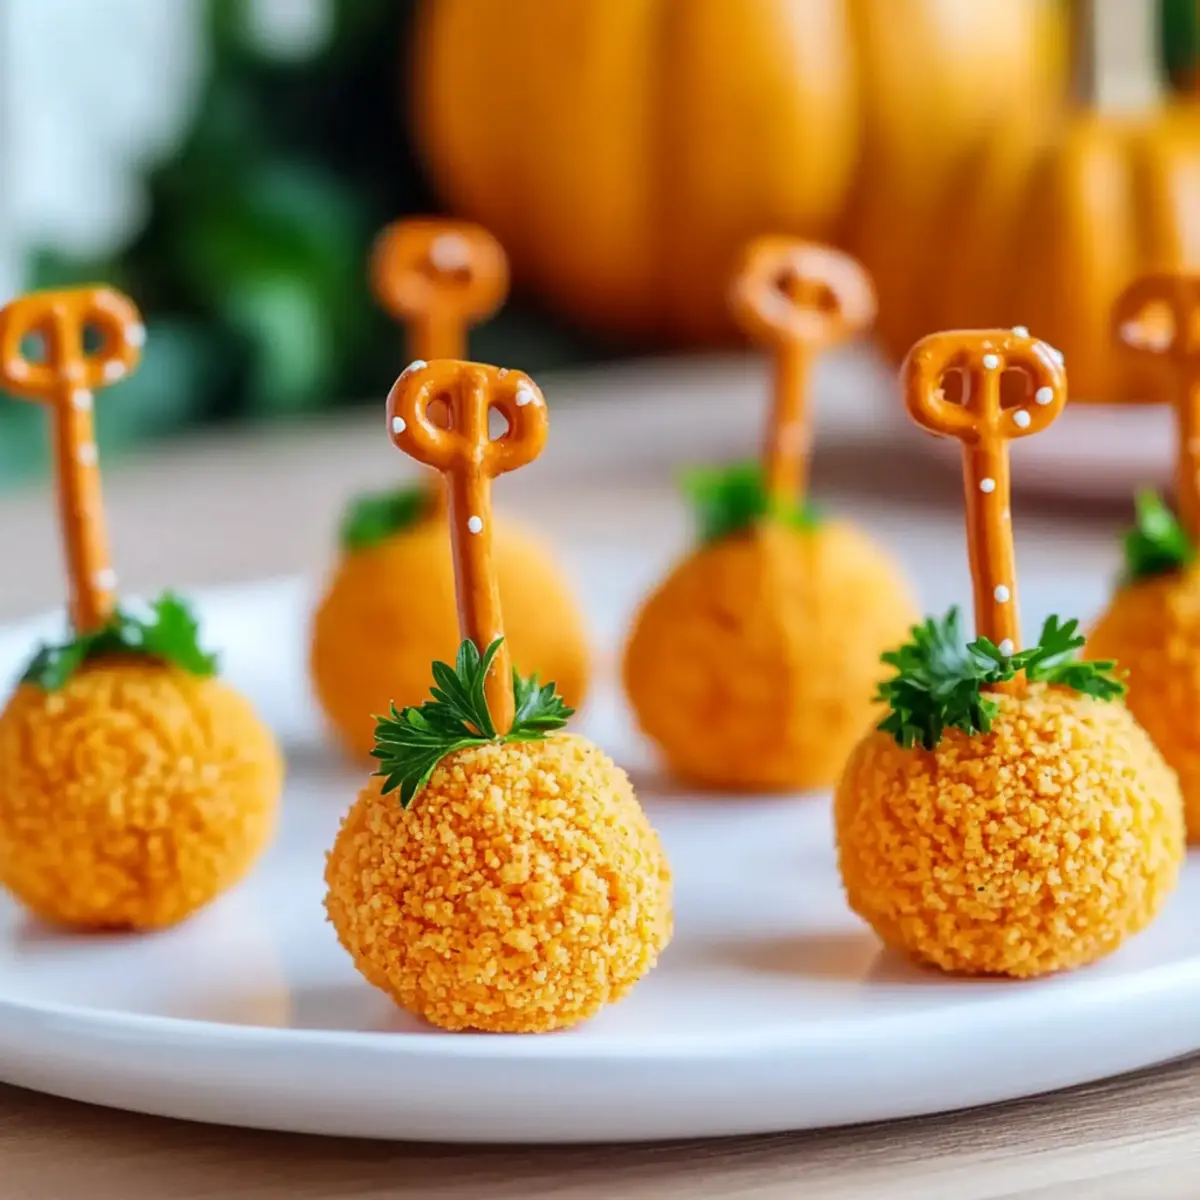
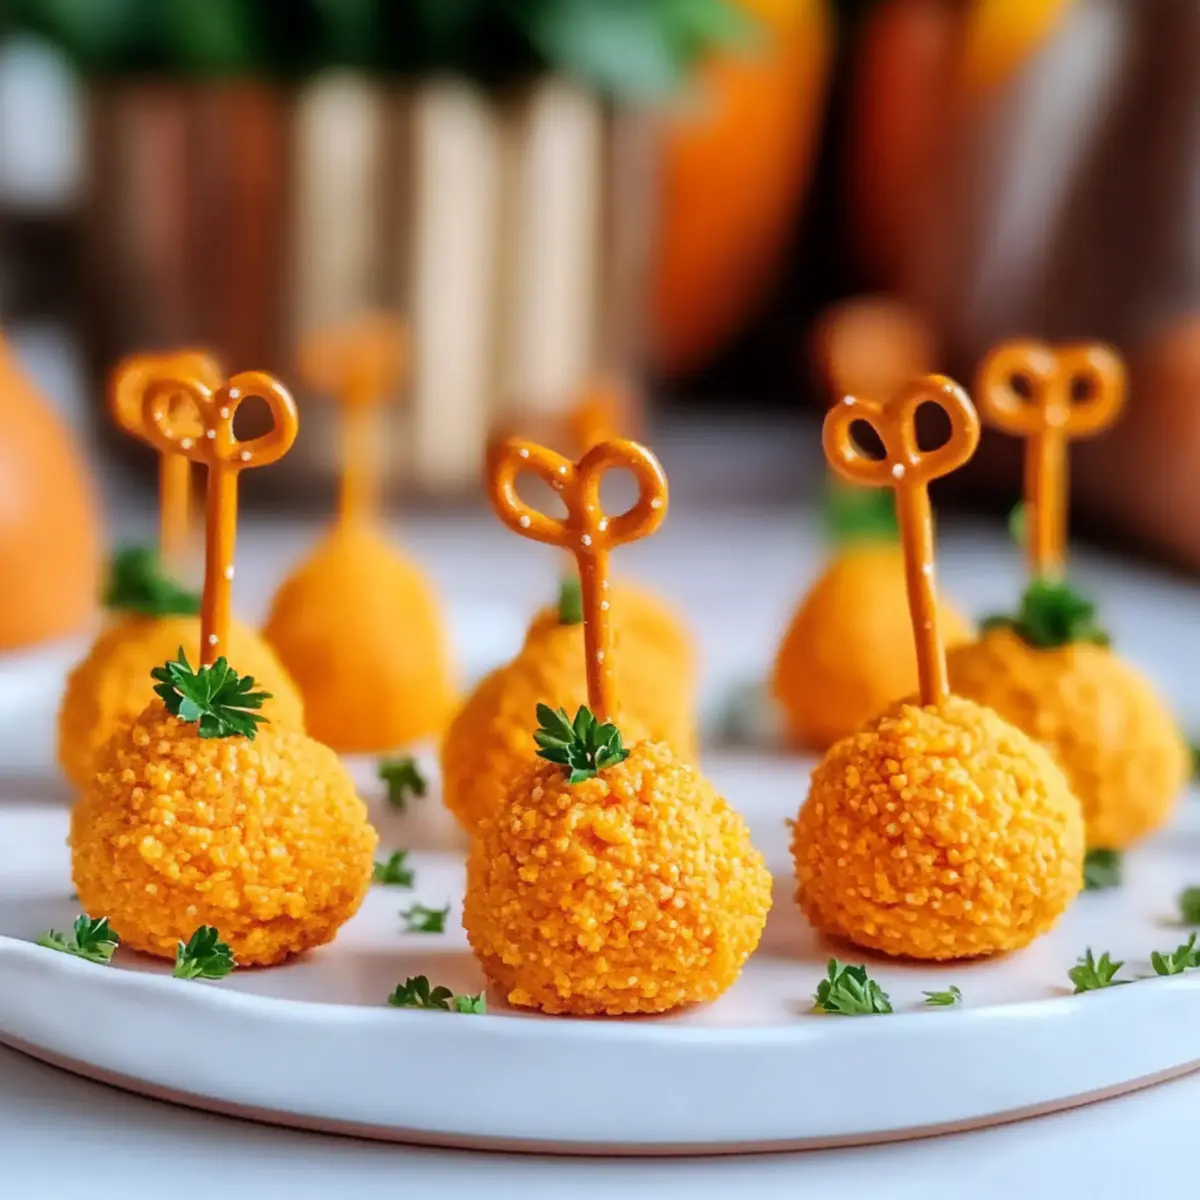
Just before serving, insert half a pretzel stick into the top of each cheese ball to create a charming stem. Add a sprig of flat-leaf parsley at the base to give your Mini Pumpkin Cheese Balls a festive touch. Arrange them on a platter and watch as they become the star of your gathering!
Expert Tips for Mini Pumpkin Cheese Balls
-
Chill Time Matters: Ensure you refrigerate the mixture long enough so it’s easy to shape. A firmer texture will help achieve that perfect pumpkin form.
-
Coating Crunch: For extra crunch, roll the cheese balls in the crushed crackers just before serving. This keeps the coating fresh and prevents sogginess.
-
Hands-On Help: If the mixture feels too sticky while shaping, use lightly oiled hands. This simple trick makes forming the mini pumpkin cheese balls much easier.
-
Flavor Variations: Feel free to experiment! Swap the cheddar for gouda or add different spices like curry powder for a unique twist in your Mini Pumpkin Cheese Balls.
-
Storage Savvy: Store any leftovers in an airtight container in the fridge. These little delights taste great for up to three days!
Mini Pumpkin Cheese Balls Variations
Feel free to unleash your creativity and customize these charming cheese balls to suit your taste buds and dietary preferences!
-
Dairy-Free: Swap the cream cheese with your favorite plant-based cream cheese alternative and use a dairy-free cheese for delicious results.
-
Smoky Twist: Add a few drops of liquid smoke to the cheese mixture for an extra layer of flavor that will delight your senses. This smoky touch brings a new depth to every bite!
-
Spicy Kick: Replace the paprika with cayenne pepper or a splash of hot sauce if you crave a bit of heat. This fiery variation is perfect for those brave enough to handle the spice!
-
Nutty Flavor: Instead of crushed cheese crackers, use finely chopped nuts, like almonds or pecans, for a wonderfully crunchy coating with a nutty twist. It’s a delightful surprise that complements the cheese perfectly!
-
Herbed Delight: Mix in fresh herbs like basil or dill into the cheese mixture for a vibrant and fragrant flavor profile. Think outside the box and bring in fresh flavors that brighten the dish!
-
Savory Swaps: Experiment with flavored cream cheeses like roasted garlic or bacon-infused for an exciting taste sensation. These little changes can turn your recipe into a showstopper.
-
Whole Grain Coating: Switch to crushed whole-grain crackers or seasoned rice cakes for a healthier, nutritious coating while keeping that satisfying crunch intact.
-
Mini Dessert Cups: If you’re keen to continue the autumn theme, consider serving these cheese balls alongside my delightful Mini Dessert Cups filled with seasonal flavors. It’s the perfect pair!
These variations are designed to add flexibility and excitement to your Mini Pumpkin Cheese Balls. Enjoy playing around and discovering your perfect version!
Make Ahead Options
These Mini Pumpkin Cheese Balls are a fantastic choice for busy home cooks! You can prepare the cheese mixture and shape the balls up to 24 hours in advance, storing them covered in the refrigerator. To maintain their delightful crunch, wait to roll them in the crushed cheese crackers until just before serving. This allows the coating to stay crisp and prevents sogginess. When you’re ready to serve, simply garnish them with pretzel sticks and parsley as instructed, and you’ll have a festive, ready-to-go appetizer that leaves you time to enjoy your event! Make-ahead convenience means less stress and more time for celebration!
What to Serve with Mini Pumpkin Cheese Balls?
Elevate your festive gathering with delightful accompaniments that enhance the charm of these whimsical treats.
- Crunchy Crackers: A classic pairing that offers a satisfying crunch, balancing the creamy filling with every bite.
- Crisp Apple Slices: Sweet and juicy, they provide a refreshing contrast to the savory cheese, adding a burst of flavor.
- Roasted Vegetables: Warm, caramelized veggies like carrots or bell peppers bring a hearty element to your appetizer spread.
- Savory Dips: Consider a tangy yogurt-based dip or a zesty hummus that complements the richness of the cheese balls beautifully.
- Mixed Green Salad: A salad with a light vinaigrette adds freshness and brightness to your platter, balancing richer flavors.
- Sparkling Cider: This non-alcoholic option is refreshing and festive, making it a great drink to pair with the appetizers.
- Dark Chocolate Fondue: For a sweet twist, serve warm chocolate to dip leftover apple slices or make dessert an experience!
- Cheese Platter: Variety is key! Add a selection of soft and hard cheeses for guests to explore different flavors alongside the cheese balls.
- Mini Quiches: These savory bites provide additional richness and texture, rounding out a multi-layered appetizer table.
Each of these pairings is designed to enhance the festive charm of your Mini Pumpkin Cheese Balls, creating a feast that will leave everyone smiling!
How to Store and Freeze Mini Pumpkin Cheese Balls
Fridge: Store any leftover Mini Pumpkin Cheese Balls in an airtight container. They will keep well in the refrigerator for up to 3 days, ensuring you can enjoy them again!
Freezer: If you want to save some for later, freeze the uncoated cheese balls on a lined baking sheet. Once frozen solid, transfer them to a freezer bag for up to 2 months.
Reheating: When ready to enjoy, thaw in the fridge overnight and coat with crushed crackers just before serving for that fresh crunch.
Make-Ahead: Preparing these cheese balls a day in advance is a breeze! Just follow the recipe and coat them just before your guests arrive for the best texture.
Mini Pumpkin Cheese Balls Recipe FAQs
What is the best way to select ripe pumpkins?
Absolutely! When picking pumpkins, look for ones that are firm, with a vibrant color and a smooth surface. Avoid pumpkins with dark spots or blemishes. These signs indicate ripeness, while a sturdy stem adds to their freshness.
How should I store leftovers of the Mini Pumpkin Cheese Balls?
To keep your Mini Pumpkin Cheese Balls fresh, store any leftovers in an airtight container in the refrigerator. They will stay delicious for up to 3 days! If you want to keep enjoying them beyond that, consider freezing.
Can Mini Pumpkin Cheese Balls be frozen?
Very! You can freeze the cheese balls before coating them. Just place them on a lined baking sheet until they are solid, then transfer them to a freezer bag. They’ll keep well in the freezer for up to 2 months. When you’re ready to enjoy, thaw them overnight in the fridge and coat with crushed crackers just before serving.
What should I do if my cheese mixture is too sticky to handle?
No worries! If your cheese mixture is sticky, simply chill it for a little longer in the fridge. If it still proves challenging, lightly oil your hands before shaping the balls; this makes it much easier to form and handle the mixture without it sticking to your fingers.
Are these Mini Pumpkin Cheese Balls suitable for those with dairy allergies?
Unfortunately, these delightful bites contain dairy as they are made with cream cheese and cheddar cheese. If you’re catering to guests with dairy allergies, I recommend experimenting with dairy-free cream cheese alternatives and vegan cheese to make a batch that everyone can enjoy!
What can I substitute for crushed cheese crackers?
The more the merrier! While crushed cheese crackers provide a tasty crunch, you can easily swap them for crushed pretzels or even nuts for a unique flavor profile. Just keep in mind that the taste will vary slightly with these alternatives!
Savory Mini Pumpkin Cheese Balls for Festive Gatherings
Ingredients
Equipment
Method
- In a medium mixing bowl, blend together 8 ounces of chive and onion cream cheese, 1 cup of shredded cheddar cheese, 1 teaspoon of smoked paprika, 1 teaspoon of garlic powder, and a pinch of black pepper until smooth and creamy.
- Cover the bowl with plastic wrap and refrigerate for approximately 15 minutes to firm up.
- Scoop out about 1-inch portions and roll them into smooth balls, placing them on a parchment-lined baking sheet.
- Gently roll each cheese ball in the crushed crackers until fully coated.
- Using a toothpick or small knife, press lines into the sides of each cheese ball to create the appearance of pumpkin ridges.
- Cover the baking sheet with plastic wrap and refrigerate for another 45 minutes to an hour.
- Insert half a pretzel stick into the top of each cheese ball and garnish with flat-leaf parsley before serving.
Leave a Reply