
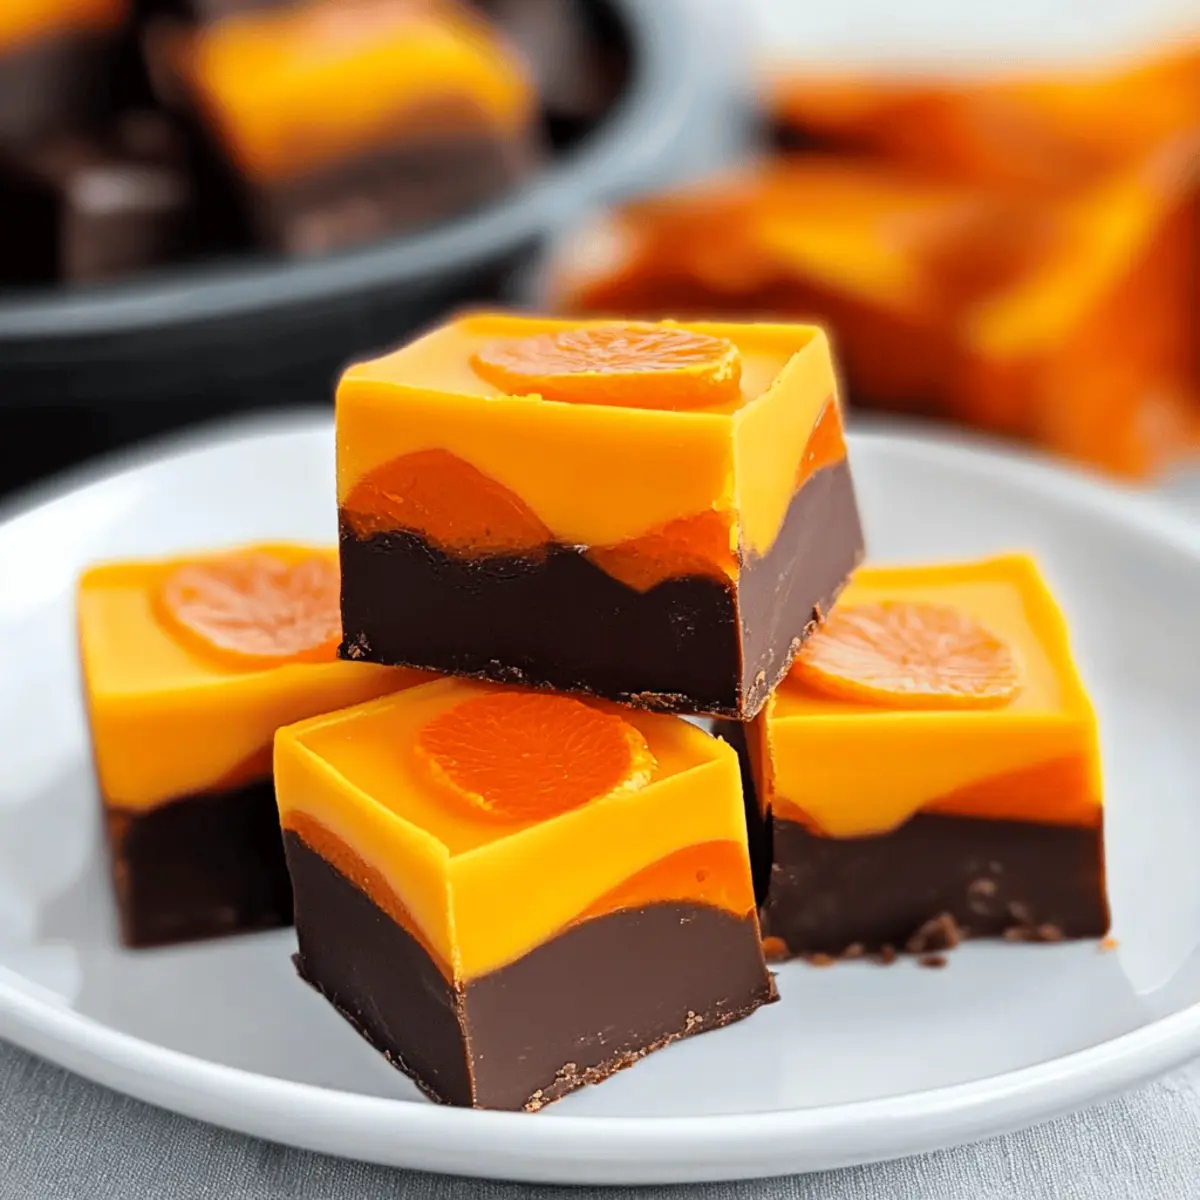
As I unwrapped the first layer of this colorful Halloween Fudge, a whimsical swirl of chocolate and orange danced before my eyes. This easy recipe not only simplifies the Halloween baking hustle but also brings a festive flair to your gatherings. Perfect for class parties or cozy family nights, Halloween Fudge is a no-bake treat that can easily be customized with your favorite colors and toppings. With its creamy, layered texture and delightful presentation, it’s bound to be a hit at any celebration. Plus, it comes together in just a few simple steps, making it a fun project for both seasoned home cooks and beginners alike. Are you ready to get into the spooky spirit with this delectable treat?
Why is Halloween Fudge a Must-Try?
Simplicity at its best: This no-bake fudge comes together quickly, making it perfect for busy schedules.
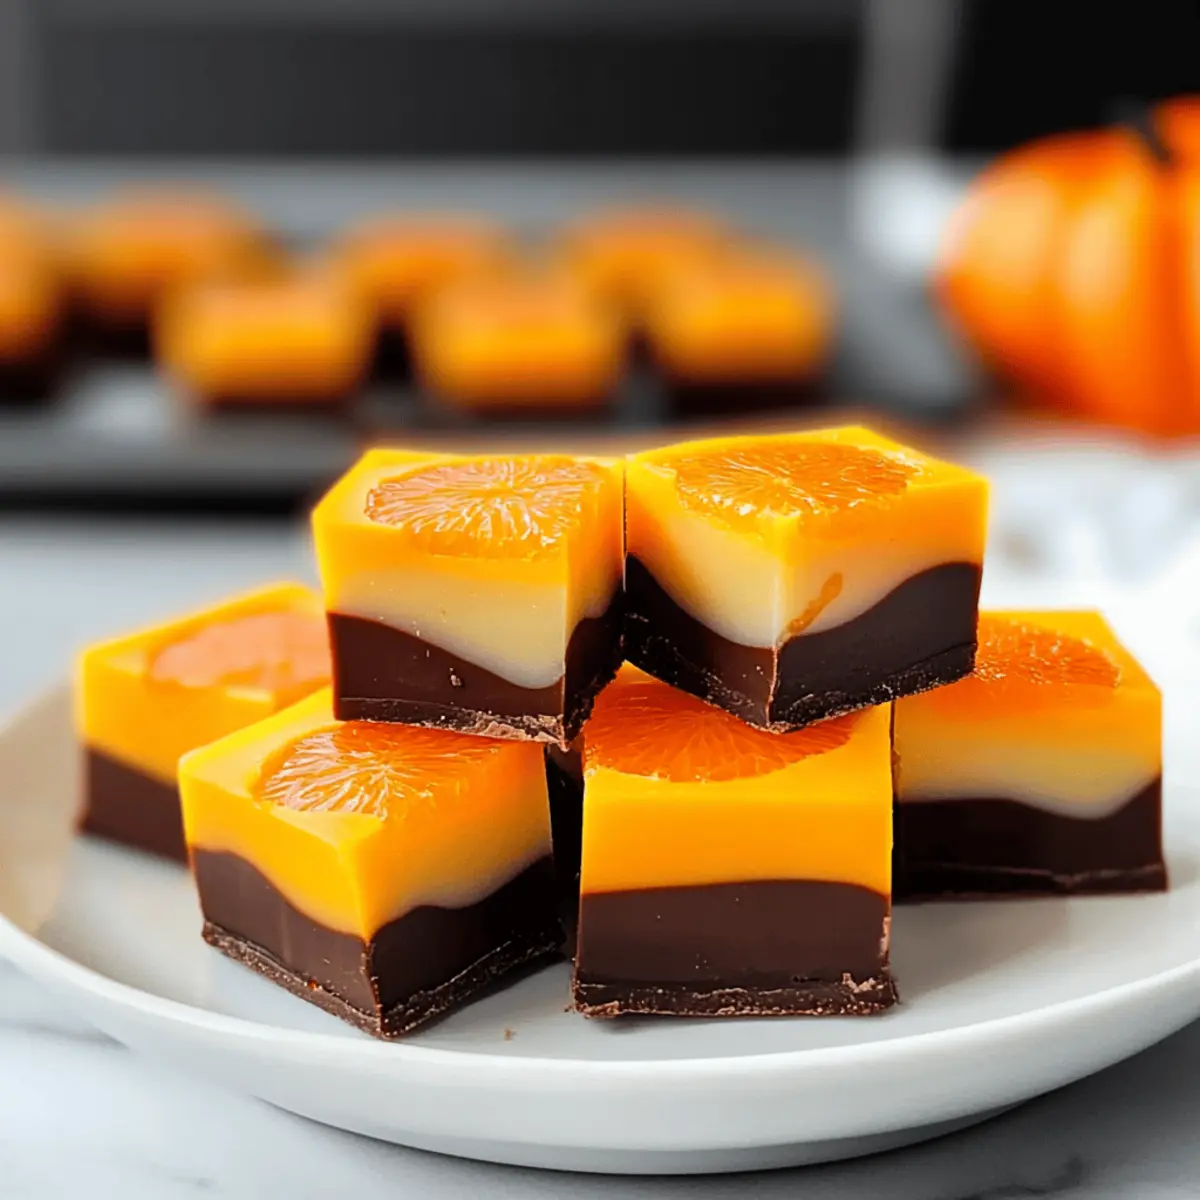
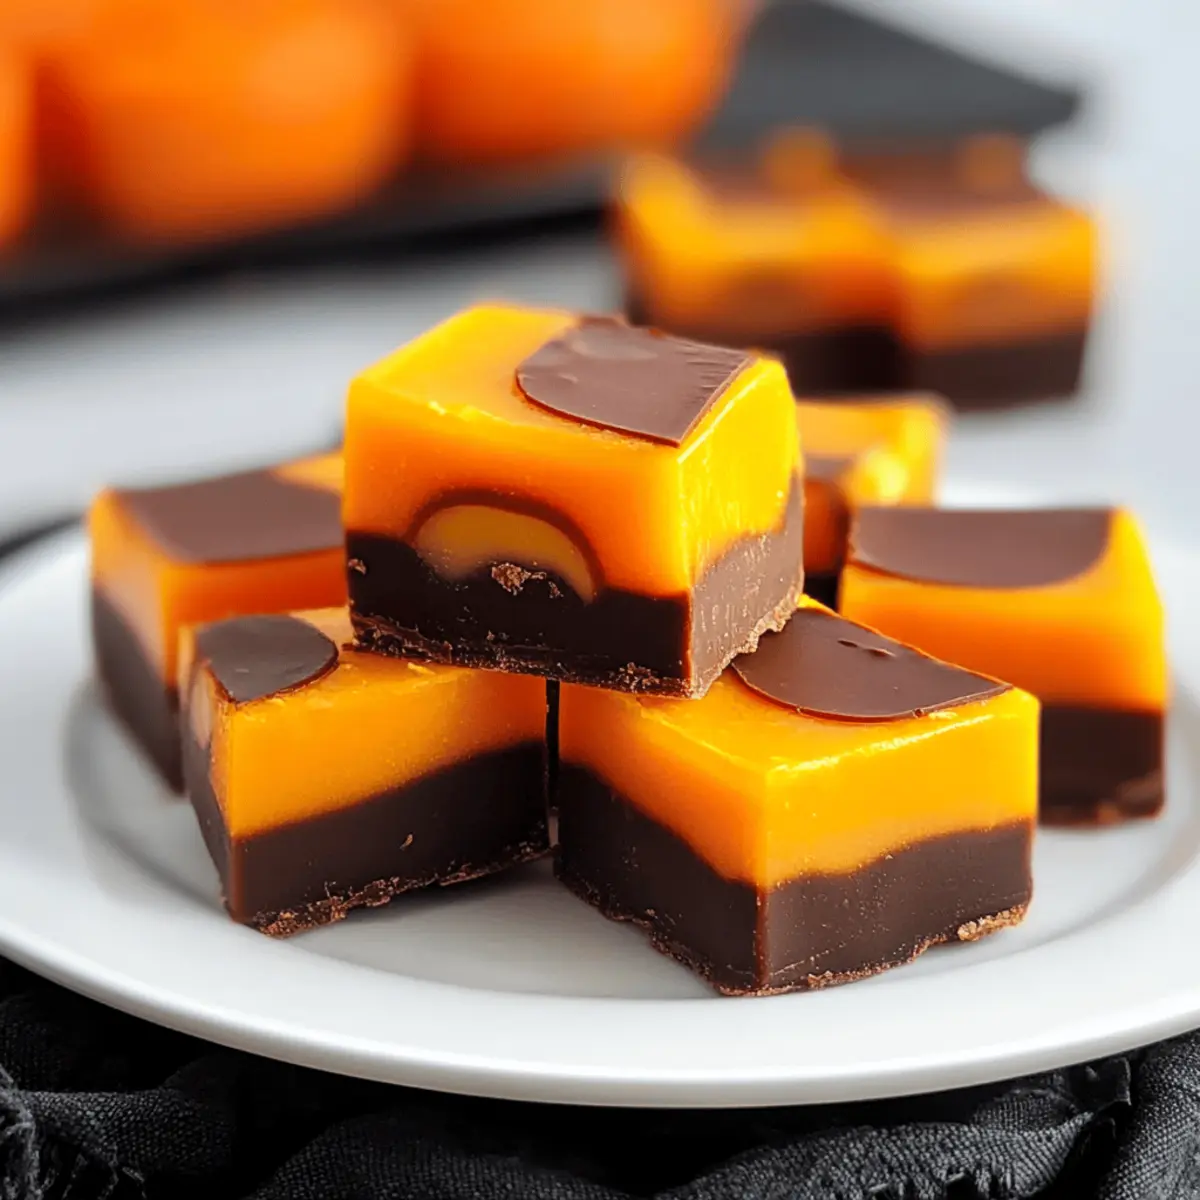
Vibrant layers add a festive touch: The striking orange and chocolate layers create a visual feast that’s sure to impress.
Versatile customization options: Adjust the colors or toppings to fit any holiday theme, from spooky Halloween to merry Christmas.
Crowd-pleasing appeal: Whether at a class party or family gathering, this treat will delight both kids and adults alike.
Texture that tempts: A creamy chocolate base meets a smooth orange layer, offering a delightful bite that feels indulgent yet light.
For more festive ideas, check out Halloween Oreo Roll for a treat that’s equally fun!
Ingredients for Halloween Fudge
• Get ready to indulge in layers!
For the Chocolate Layer
- Semi-sweet chocolate chips – Adds rich chocolate flavor; substitute with dark chocolate for a deeper taste.
- Sweetened condensed milk – Acts as a binder and sweetener; use unsweetened coconut milk for a dairy-free option.
- Vanilla extract – Enhances flavor depth; can be omitted if desired.
For the Orange Layer
- White chocolate chips – Provides a creamy layer; can be swapped with milk chocolate for a sweeter variation.
- Orange Gel Food Coloring – Essential for achieving the festive orange color; avoid liquid dye as it may alter texture.
For Decoration
- Candy corn (or sprinkles) – Used for decoration; optional, based on visual preference.
Step‑by‑Step Instructions for Halloween Fudge
Step 1: Prepare the Pan
Begin by lining an 8-inch square pan with aluminum foil, allowing some overhang for easy removal. Spray the foil with cooking spray to ensure the fudge releases smoothly. This crucial first step sets the stage for your stunning Halloween Fudge to slide out effortlessly once chilled and hardened.
Step 2: Create the Chocolate Layer
In a microwave-safe bowl, combine 1½ cups of semi-sweet chocolate chips with 5 ounces of sweetened condensed milk. Microwave on 50% power for 1 minute, then stir. Continue heating in 30-second intervals until the mixture is completely smooth and melted, around 2-3 minutes in total. Gently fold in ½ teaspoon of vanilla extract before spreading the mixture evenly into the prepared pan.
Step 3: Chill the First Layer
Place the pan in the refrigerator and chill the chocolate layer for about 10 minutes, allowing it to set slightly. Keeping an eye on the texture, it should still be slightly soft but firm enough to hold the next layer without mixing. This short chill helps create distinct layers in your festive Halloween Fudge.
Step 4: Prepare the Orange Layer
For the orange layer, repeat the melting process using 1½ cups of white chocolate chips along with another 5 ounces of sweetened condensed milk. Once melted and smooth, stir in ½ teaspoon of vanilla extract and a few drops of orange gel food coloring until you reach your desired vibrant hue. Carefully spread this mixture over the chilled chocolate layer in your pan.
Step 5: Add the Finishing Touches
Immediately upon spreading the orange layer, press candy corn or your choice of sprinkles gently into the top. This step adds a fun, festive touch to your Halloween Fudge and enhances its visual appeal. Aim for a nice even distribution of decorations for every bite of this delightful treat.
Step 6: Final Chill and Slice
Return the pan to the refrigerator and chill until the fudge is firm, approximately 1-2 hours. Once fully set, lift the fudge out of the pan using the overhanging foil, and transfer it to a cutting board. Slice into squares using a sharp knife for clean edges, ready for serving and indulging in your delicious Halloween Fudge!
Expert Tips for Halloween Fudge
-
Color Choices: Use gel food coloring for vibrant hues. Avoid liquid dyes as they may make the fudge too runny.
-
Chill Time: Give each layer time to chill adequately before adding the next. This ensures clean, defined layers and prevents mixing.
-
Microwave Method: Melt chocolate slowly at 50% power; overheating can cause it to seize. Stir frequently for the best texture.
-
Serving Size: Cut the fudge into small squares for easy serving; this treat is rich and a little goes a long way.
-
Storage Tips: Store your Halloween Fudge in an airtight container at room temperature for up to two weeks, ensuring it stays fresh and delicious.
Make Ahead Options
These Halloween Fudge squares are perfect for meal prep enthusiasts looking to streamline their busy schedules! You can prepare the chocolate and orange layers up to 24 hours in advance by following the initial steps of melting and layering the fudge. Simply cover the pan with plastic wrap, making sure the wrap doesn’t touch the fudge to maintain its texture. When you’re ready to finish, sprinkle on the candy corn or sprinkles, and chill the assembled fudge until firm, which may take an additional 1-2 hours. This process not only saves time but ensures your Halloween Fudge remains just as delicious and festive when it’s time to serve!
How to Store and Freeze Halloween Fudge
Room Temperature: Keep your Halloween Fudge in an airtight container for up to two weeks. This allows the flavors to meld while remaining delectably soft.
Fridge: For longer freshness, store in the refrigerator. The fudge will stay good for about three weeks, maintaining its rich flavor and texture.
Freezer: To freeze, wrap individual squares in plastic wrap and place in an airtight container for up to three months. Thaw at room temperature before enjoying!
Reheating: There’s no need to reheat the fudge as it’s best enjoyed at room temperature, maintaining its creamy layers and delightful taste.
Halloween Fudge Variations & Substitutions
Feel free to get creative with your Halloween Fudge and make it uniquely yours! The possibilities are deliciously endless.
-
Dairy-Free: Swap sweetened condensed milk with unsweetened coconut milk to keep it vegan and delicious. The coconut will add a subtle tropical flavor that nicely complements the chocolate.
-
Nutty Twist: Incorporate ½ cup of chopped nuts, like walnuts or almonds, into the chocolate layer for added crunch and rich flavor. It’s a delightful surprise in every bite!
-
Swirl It Up: Create a marbled effect by swirling in half the chocolate and half the orange layer together before chilling. This adds a fun visual element while keeping the layers distinct.
-
Flavor Infusion: Enhance the vanilla flavor by replacing it with almond extract or orange zest for a zesty aroma. Just a hint will elevate your fudge to new heights!
-
Fun Sprinkles: Instead of candy corn, top your fudge with Halloween-themed sprinkles or chocolate spiders for extra festive flair that kids will love. They’re sure to bring smiles on every plate!
-
Alternative Colors: Use gel food coloring in green or purple for a fresh Halloween twist. This could be perfect for themed parties or a unique twist on your holiday fare.
-
Caramel Drizzle: Drizzle melted caramel on top of the set fudge for a sweet finish that adds richness and indulgent flavor. The gooey texture pairs beautifully with the creamy layers.
-
Spicy Kick: For adults looking for a twist, sprinkle a little cayenne pepper into your chocolate layer for a surprising hint of heat. Pair with dark chocolate for an extra bold flavor profile!
To explore more festive mixes, don’t miss trying out a delicious Halloween Oreo Roll or its variations for even more trick-or-treat vibes!
What to Serve with Halloween Fudge
Indulging in a slice of Halloween Fudge opens the door to a world of delightful pairings that would elevate your spooky celebrations!
-
Pumpkin Spice Cookies: Perfectly spiced and soft, these cookies complement the rich chocolate layers, adding an aromatic contrast.
-
Caramel Apple Slices: The gooey sweetness of caramel-drizzled apples brightens the palate, transforming your treat platter into a fall favorite.
-
Vibrant Fruit Salad: A medley of fresh fruit adds a refreshing crunch, balancing the fudgy richness while enhancing that festive Halloween feel.
-
Hot Chocolate Bar: Create a cozy hot drink station with marshmallows and whipped cream for dipping—perfect for those chilly October evenings.
-
Ginger Snap Cookies: Spicy and crisp, ginger snaps offer a delightful textural contrast, enhancing the smoothness of the fudge.
-
Choco-Mint Milkshake: This fun beverage brings a refreshing twist to your dessert table, tying in the chocolatey notes perfectly.
-
Candy Corn Cocktails: A playful drink that mimics the flavor of candy corn adds a fun, festive touch to your gathering.
Each pairing enhances not just the flavors but also the joyous spirit of Halloween, ensuring your table is vibrant and inviting!

Halloween Fudge Recipe FAQs
How do I choose ripe ingredients for Halloween Fudge?
Absolutely! For the best results, opt for high-quality semi-sweet and white chocolate chips. Look for brands that offer a smooth texture and rich flavor, ensuring your fudge turns out delicious. Make sure the sweetened condensed milk is fresh and well within its expiration date, as this ingredient significantly contributes to the fudge’s consistency and sweetness.
How should I store Halloween Fudge to keep it fresh?
For optimal freshness, store your Halloween Fudge in an airtight container at room temperature for up to two weeks. If you prefer, you can also keep it in the fridge, where it will remain delicious for about three weeks. Just ensure the container is sealed well to prevent any flavor absorption from other items.
Can I freeze Halloween Fudge, and if so, how?
Certainly! Freezing is a great option if you want to save some for later. Here’s how to do it: wrap individual squares tightly in plastic wrap and place them in an airtight container or a zip-top freezer bag. Make sure to label it with the date. Your fudge will stay fresh for up to three months! When you’re ready to enjoy, simply thaw at room temperature, and it will be just as delightful.
What should I do if my fudge turns out too soft?
If your Halloween Fudge ends up a bit too soft, don’t worry! This can happen if the chocolate wasn’t melted correctly or if it wasn’t chilled long enough. You can fix it by placing the fudge back in the refrigerator to firm up. If it still doesn’t set, try adding a bit more chocolate—melt additional chips, mix them in, and then chill again until firm.
Are there any dietary considerations for Halloween Fudge?
Very! If you’re catering to dietary restrictions, you can easily customize this recipe. Use unsweetened coconut milk instead of sweetened condensed milk for a dairy-free alternative. For those who are allergic to chocolate, white chocolate chips can be substituted with carob chips. Always double-check labels for common allergens if you’re serving to guests with dietary concerns.
Can I make Halloween Fudge in different colors or flavors?
The more the merrier! Feel free to get creative with colors and flavors. You can swap out the orange gel food coloring for other colors, like red and green for a Christmas twist, or even experiment with flavors by adding extracts like peppermint! Just remember to stick with gel food coloring for best results and avoid adding too much liquid, which can alter the texture.
Halloween Fudge: Easy, Festive Layers for Spooky Fun
Ingredients
Equipment
Method
- Prepare the pan by lining an 8-inch square pan with aluminum foil, allowing some overhang for easy removal. Spray the foil with cooking spray.
- Create the chocolate layer by combining 1.5 cups of semi-sweet chocolate chips with 5 ounces of sweetened condensed milk in a microwave-safe bowl. Microwave on 50% power for 1 minute, then stir. Continue heating in 30-second intervals until smooth, about 2-3 minutes total. Fold in 0.5 teaspoon of vanilla extract before spreading evenly into the prepared pan.
- Chill the first layer in the refrigerator for about 10 minutes, until slightly set but still soft enough to hold the next layer.
- Prepare the orange layer by melting 1.5 cups of white chocolate chips and 5 ounces of sweetened condensed milk in the same manner. Stir in 0.5 teaspoon of vanilla extract and a few drops of orange gel food coloring until the desired color is achieved. Spread this mixture over the chilled chocolate layer.
- Add decorations by pressing candy corn or sprinkles gently into the top of the orange layer immediately after spreading.
- Final chill the fudge in the refrigerator until firm, about 1-2 hours. Lift out using the overhanging foil and slice into squares for serving.
Leave a Reply