
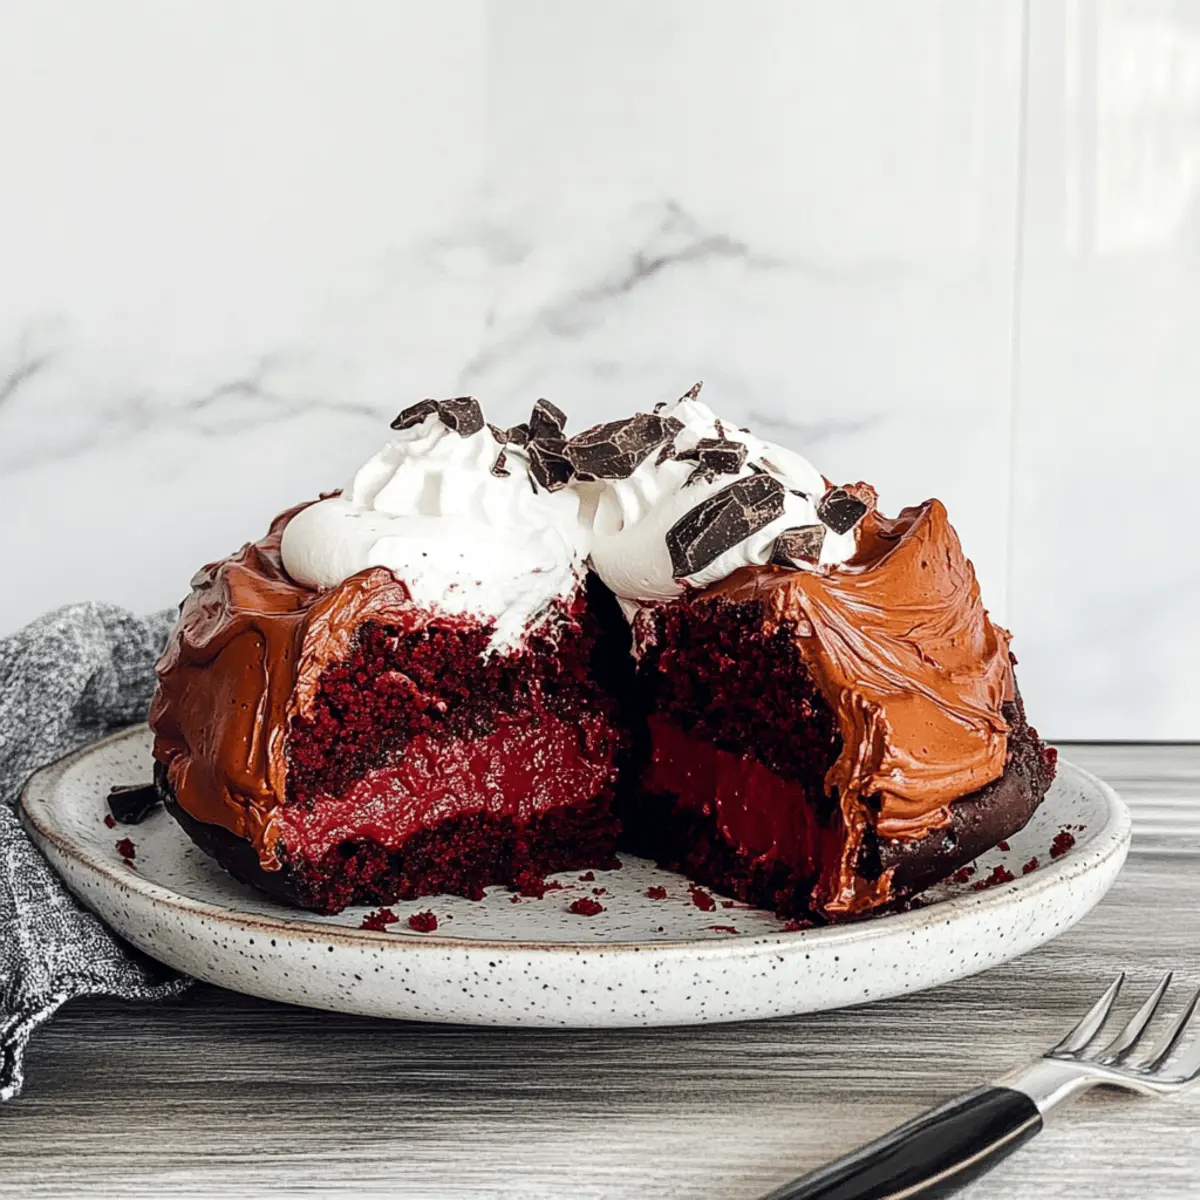
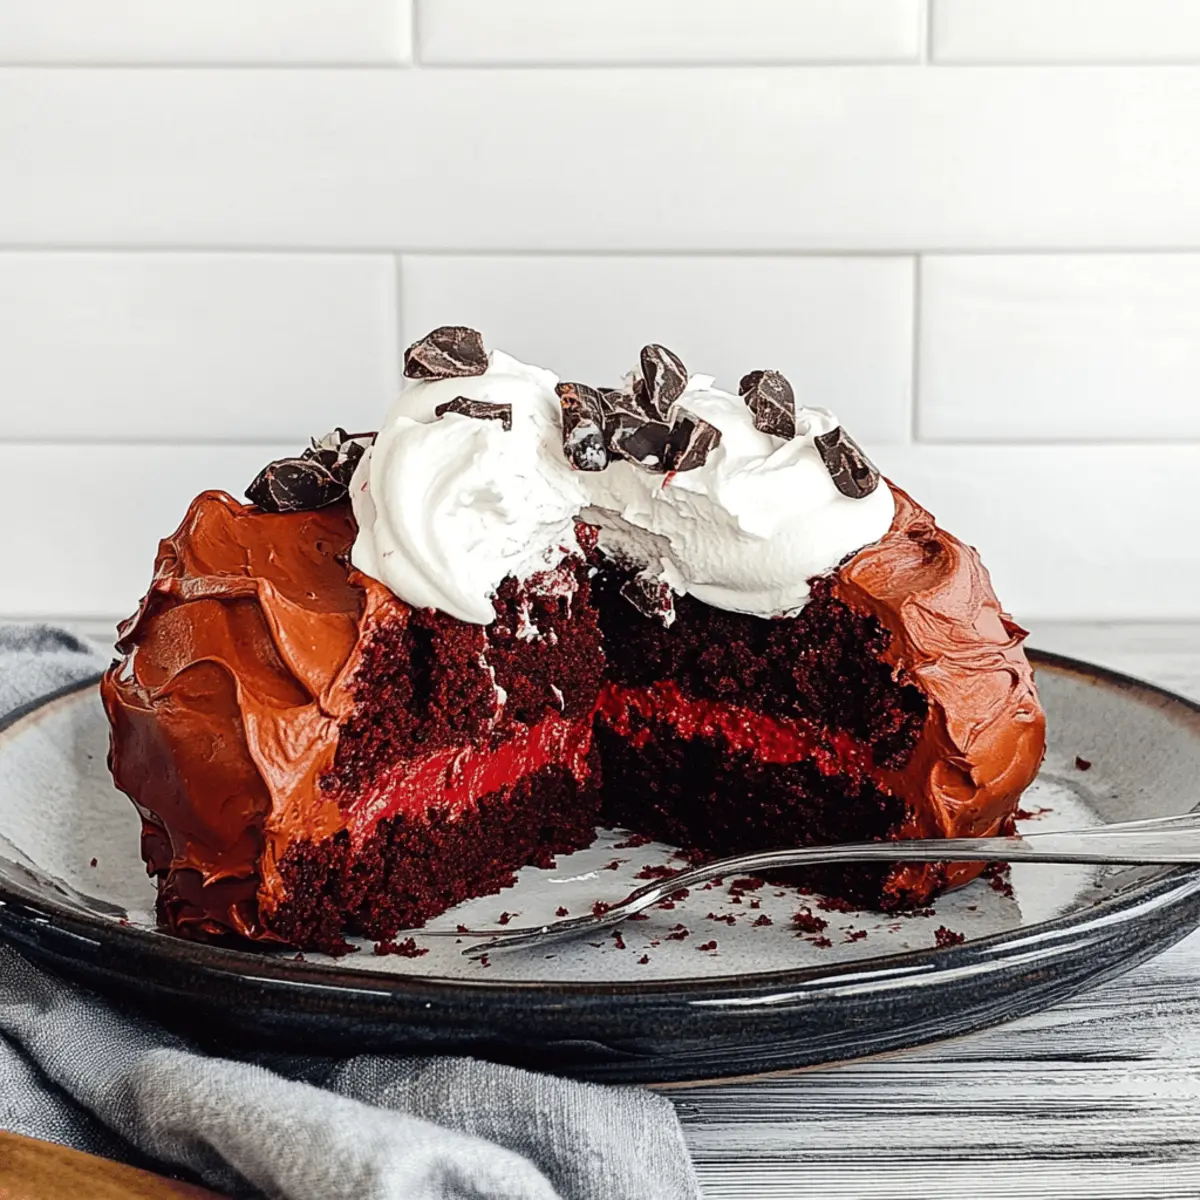
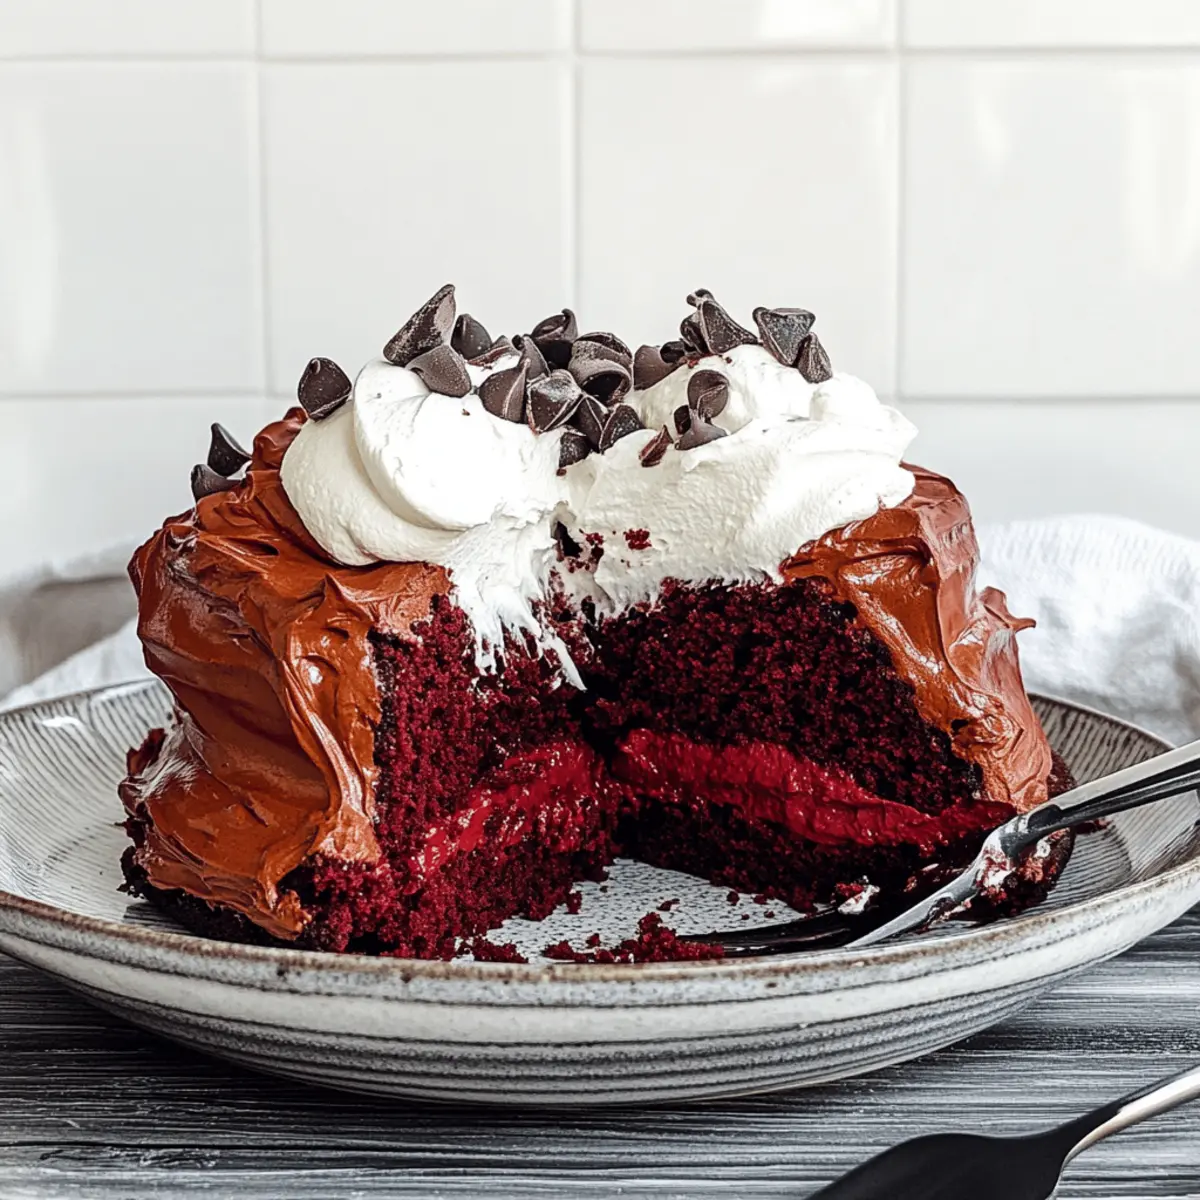
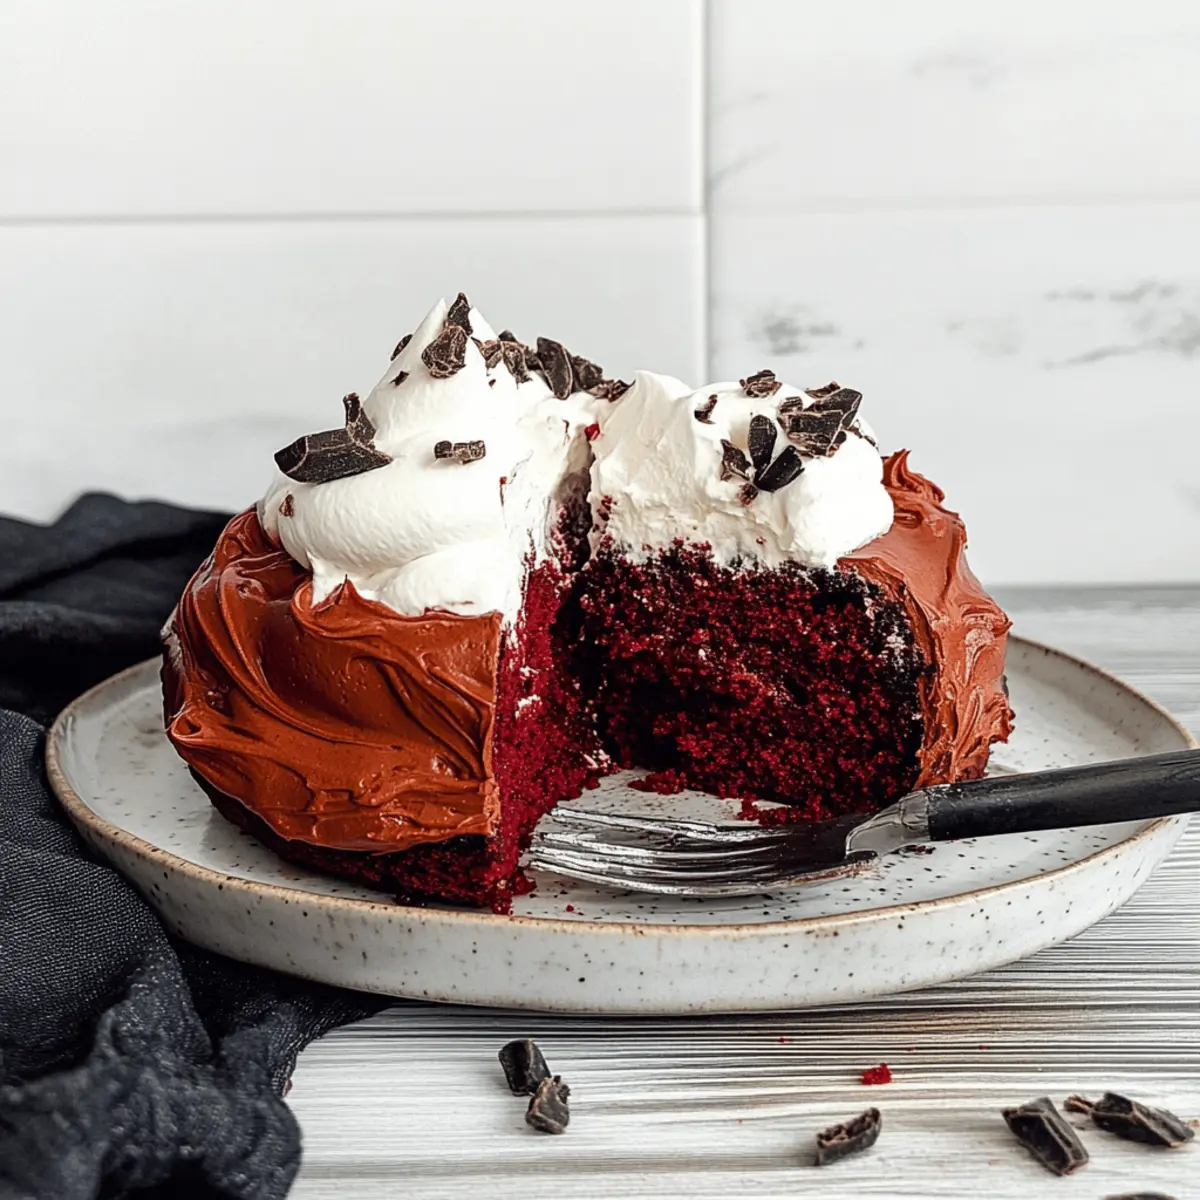
As I glanced out the window, the first signs of spring were emerging, and it was that perfect moment to bake something extraordinary. Let me introduce you to the Flourless Red Velvet Cake—a luxurious treat that captures the essence of festive delight. This gluten-free dessert isn’t just a feast for the eyes with its vibrant hue; it’s also a quick triumph that will impress anyone lucky enough to savor it. The rich, chocolatey goodness harmonizes beautifully with a crispy meringue crust, making it a crowd-pleaser for any occasion. Plus, pairing it with a smooth cream cheese vanilla bean whipped cream transforms each slice into an indulgent experience. Are you ready to elevate your dessert game and impress your friends and family with this stunning cake? Let’s dive in!
Why is this cake a must-try?
Decadence at its Finest: This Flourless Red Velvet Cake is the ultimate indulgence, combining rich chocolate with the iconic look of red velvet.
Gluten-Free Goodness: Perfectly suited for gluten sensitivities, you can delight all your guests without worry.
Quick and Easy: You’ll love how simple it is to whip up a dessert that impresses, taking you just over an hour.
Versatile Flavors: The optional cranberries or fresh berries add a pop of flavor, making it customizable!
Stunning Presentation: Imagine serving a slice with a dollop of cream cheese vanilla bean whipped cream—it’s a showstopper for any gathering!
For a fun twist, pair it with some Wheat Pumpkin Pancakes at brunch or check out the delightful Strawberry Crunch Cheesecake for another crowd-pleaser!
Flourless Red Velvet Cake Ingredients
For the Cake Batter
- Semi-sweet Chocolate – Provides the primary chocolate flavor; use high-quality chocolate for the best results.
- Unsalted Butter – Adds richness and moisture; can substitute with dairy-free butter for a vegan option.
- Eggs – Created the structure of the cake; separate yolks and whites for whipped aeration.
- Granulated Sugar – Sweetens the cake and contributes to the meringue texture; can be replaced with granulated erythritol for a sugar-free version.
- Dutch Process Cocoa – Enhances the chocolate flavor; regular cocoa can be used but may alter the color slightly.
- Pure Vanilla Extract – Adds depth and warmth to the flavor profile.
- Fine Sea Salt – Balances sweetness and enhances overall flavor; use the specified measure for best outcomes.
- Red Food Coloring – Provides the signature color of red velvet; gel food coloring is recommended for a vibrant hue.
For the Frosted Cranberries
- Cranberries – Fresh or frozen cranberries add a tart contrast; perfect for garnishing the cake.
For the Whipped Cream
- Cream Cheese – Creates a creamy whipped topping; ensure it’s softened before use for better incorporation.
- Heavy Whipping Cream – Whips into a light topping; be careful not to over-whip for soft peaks.
With this Flourless Red Velvet Cake, you’ll craft a dessert that will leave everyone asking for seconds! Happy baking!
Step‑by‑Step Instructions for Flourless Red Velvet Cake
Step 1: Prepare Your Baking Pan
Begin by preheating your oven to 350°F (177°C). While it heats, grab an 8- or 9-inch round cake pan and generously coat it with cooking spray. To prevent sticking, line the bottom with parchment paper. This preparation ensures your decadent flourless red velvet cake releases easily after baking, keeping its beautiful shape intact.
Step 2: Melt Chocolate and Butter
In a heatproof bowl set over a simmering pot of water, melt semi-sweet chocolate along with unsalted butter. Stir continuously for about 5 minutes until the mixture is smooth and glossy, forming a luscious ganache. Remove from heat and allow it to cool slightly while you whisk together the other ingredients, ensuring this step provides a rich foundation for the cake.
Step 3: Mix Egg Yolks and Dry Ingredients
In a large mixing bowl, whisk together the egg yolks, ½ cup of granulated sugar, pure vanilla extract, fine sea salt, and Dutch process cocoa. Continue mixing until well combined, which should take about 2-3 minutes. Next, stir in the cooled chocolate ganache and the vibrant red food coloring until smooth, creating a deep, inviting batter for your flourless red velvet cake.
Step 4: Whip Egg Whites
In a separate, clean bowl, use an electric mixer to whip the four egg whites on medium speed until you achieve medium-stiff peaks, which should take about 4-5 minutes. Gradually add in the remaining sugar, continuing to whip until fully incorporated. The whites will become glossy and hold their shape, adding the crucial lift and airiness to your cake.
Step 5: Fold Meringue into Batter
Gently fold the whipped egg whites into the chocolate mixture using a large spatula. Start by adding a small amount of meringue to lighten the batter, then incorporate the rest in increments. Be careful not to deflate the whites, preserving the airy texture that is characteristic of your flourless red velvet cake.
Step 6: Bake the Cake
Pour the luscious batter into the prepared pan, smoothing the top with a spatula. Carefully transfer it to the preheated oven and bake for 35-50 minutes. The cake is done when it has risen slightly and forms a delicate crackled top, emitting a deep chocolate aroma. Keep an eye on the time depending on your pan size for the perfect bake.
Step 7: Cool the Cake
Once baked, remove the cake from the oven and let it cool in the pan on a wire rack for about 15 minutes. As it cools, it will settle and create a slight crack, which is normal for this flourless red velvet cake. After cooling slightly, run a knife around the edges and invert it onto a plate to cool completely.
Step 8: Prepare Frosted Cranberries
For a festive touch, make the frosted cranberries. In a small saucepan, combine 1 cup of water and 1 cup of sugar, bringing it to a gentle boil to create a syrup. Soak the cranberries in this syrup for about 10 minutes, then remove and let dry before rolling them in granulated sugar for a sweet and tart topping.
Step 9: Make the Whipped Cream
In a mixing bowl, combine softened cream cheese, vanilla bean seeds, and granulated sugar. Beat until smooth, then slowly add heavy whipping cream while continuing to whip until soft peaks form—this step should take about 3-4 minutes. Be cautious not to over-whip; you want a creamy texture to complement your flourless red velvet cake.
Step 10: Serve with a Decadent Finish
Slice your cooled flourless red velvet cake, and generously dollop the cream cheese vanilla bean whipped cream on top. Complete with a sprinkle of frosted cranberries for a pop of color and a touch of tartness. This beautiful presentation makes it perfect for any gathering, ensuring everyone delights in this stunning dessert!
Expert Tips for Flourless Red Velvet Cake
Egg Temperature Matters: Ensure your eggs are at room temperature before whipping; this maximizes volume and helps achieve the perfect cake structure.
Check for Doneness: Insert a skewer in the center of the cake. It should come out with moist crumbs, indicating the flourless red velvet cake is perfectly baked.
Watch the Meringue: Beat egg whites until medium-stiff peaks—over-whipping can lead to dryness. Stop once the peaks are firm and glossy.
Cool Properly: Allow the cake to cool completely in the pan, which helps it settle and develop that signature crackled top.
Frost Just Before Serving: Keep the whipped cream separate until serving time to maintain its texture and give your cake a freshly made look.
How to Store and Freeze Flourless Red Velvet Cake
Room Temperature: Keep the cake covered in an airtight container at room temperature for up to 3 days. This helps maintain its moistness and texture.
Fridge: If you want to extend freshness, refrigerate in a covered container for up to a week. Be sure to store the whipped cream separately until serving.
Freezer: To freeze, wrap the cooled cake tightly in plastic wrap, then aluminum foil. It can be frozen for up to 2 months without losing flavor.
Reheating: Thaw the cake in the fridge overnight before serving. If desired, warm individual slices in the microwave for about 10-15 seconds for that freshly-baked feel.
Flourless Red Velvet Cake Variations
Feel free to get creative with this delightful cake—your taste buds will thank you!
- Dairy-Free: Substitute unsalted butter with coconut oil or a dairy-free butter for a vegan-friendly option that still delivers on flavor.
- Sugar-Free: Replace granulated sugar with granulated erythritol for a low-calorie alternative that keeps the cake sweet without compromising taste.
- Nutty Flair: Add ground almonds or crushed pecans into the batter for a subtle crunch and a lovely nutty flavor that enhances the richness.
Imagine how delightful a layer of crunch could be in each bite, adding texture to the smooth, fudgy interior.
- Berry Bliss: Swap cranberries for fresh raspberries or blueberries to create a bright, tart contrast that pops beautifully against the rich cake.
Picture how the vibrant berries bring both flavor and a splash of color, making each slice even more visually appealing!
- Chocolate-Orange Twist: Infuse the ganache with a hint of orange zest for a sophisticated and refreshing flavor profile that everyone will adore.
The zesty aroma will awaken your senses before you even take a bite, making it a truly irresistible treat!
- Adult Upgrade: Drizzle a touch of cognac or whiskey into the ganache for a decadent adult version that adds a warm, boozy depth to the cake.
This twist transforms the cake into a luxurious dessert, perfect for special occasions!
- Spicy Kick: Add a dash of cayenne pepper or cinnamon to the batter for a subtle heat that contrasts beautifully with the chocolate richness.
A little warmth adds complexity, making your dessert something to remember for its unique flavor experience.
For something equally captivating, try pairing with some Mini Dessert Cake or an elegant slice of Strawberry Crunch Cheesecake to keep your dessert table vibrant and diverse!
Make Ahead Options
These Flourless Red Velvet Chocolate Cakes are perfect for busy home cooks looking to save time! You can prepare the cake up to 24 hours in advance; simply bake and let it cool completely on a wire rack. Once cooled, store the cake at room temperature in a covered container to maintain its fudgy texture. For the cream cheese vanilla bean whipped cream, whip it just before serving to ensure it stays fresh and airy. If you’re planning to include frosted cranberries, make those up to 3 days ahead and keep them in the refrigerator until you’re ready to top your cake. This way, when it’s time to serve, you can quickly assemble and impress your guests with minimal effort!
What to Serve with Flourless Red Velvet Chocolate Cake
Elevate your dessert experience with delicious pairings that complement the rich flavors of this indulgent treat.
-
Creamy Vanilla Ice Cream: The coolness and creamy texture balance the cake’s rich chocolate, creating a delightful contrast.
-
Fresh Mixed Berries: Juicy strawberries, blueberries, or raspberries add a burst of freshness and tartness that cuts through the sweetness.
-
Chocolate Ganache Drizzle: A silky chocolate sauce drizzled atop each slice enhances the chocolate flavor and adds a touch of elegance.
-
Nutty Whipped Cream: Whip in some toasted nuts into your cream for a crunchy texture, contrasting beautifully with the cake’s smoothness.
-
Spiced Chai Latte: A warm latte infused with spices complements the chocolate decadence while adding a comforting, aromatic experience.
-
Sparkling Rosé: Cheers to celebrations! A glass of sparkling rosé enhances the festive vibe, its lightness offsetting the cake’s richness.
-
Lemon Sorbet: This refreshing, tart sorbet serves as a palate cleanser, preparing you for another sweet bite.
By thoughtfully choosing pairings, each bite of your Flourless Red Velvet Chocolate Cake becomes a delightful experience, both on its own and within a full meal setting.
Flourless Red Velvet Cake Recipe FAQs
What type of chocolate should I use for the cake?
Absolutely! I recommend using high-quality semi-sweet chocolate for the best flavor. It enhances the rich, fudgy chocolatey goodness that is essential for this Flourless Red Velvet Cake. If you’re feeling adventurous, you could also try dark chocolate for a deeper flavor.
How should I store the cake, and how long does it last?
The cake can be stored at room temperature in an airtight container for up to 3 days. This keeps it moist and delicious! If you want to extend its life, refrigerate it in a covered container for up to a week. Just remember to keep the whipped cream separate until you’re ready to serve, to maintain that fluffy texture.
Can I freeze the Flourless Red Velvet Cake?
Very! To freeze, first make sure the cake is completely cooled. Then, wrap it tightly in plastic wrap followed by a layer of aluminum foil to protect it from freezer burn. You can freeze it for up to 2 months. When you’re ready to enjoy it again, thaw it in the refrigerator overnight and, if desired, warm slices in the microwave for about 10-15 seconds.
What should I do if the cake cracks too much while baking?
Don’t worry! A slight crack on top is normal and adds to the character of this cake, especially with the flourless nature. If you find your cake has cracked more than desired, it might be due to overbaking. Keep an eye on the baking time—check for doneness around the 35-minute mark until it rises and develops a light crust.
Is this cake suitable for people with dietary restrictions?
Absolutely! This Flourless Red Velvet Cake is naturally gluten-free, making it perfect for those with gluten sensitivities. Keep in mind that the whipped cream contains dairy; if you’re looking for a dairy-free alternative, you could use a plant-based whipped cream or coconut whipped cream for a creamy topping.
Can I make substitutions in the ingredients?
Very! If you need a sugar-free option, you can substitute granulated sugar with granulated erythritol. For a vegan version, replace the unsalted butter with dairy-free butter, and the eggs could be substituted with flax eggs (1 tablespoon of ground flaxseed mixed with 2.5 tablespoons of water per egg) for a similar binding effect.
Irresistibly Rich Flourless Red Velvet Cake to Wow Your Guests
Ingredients
Equipment
Method
- Preheat oven to 350°F (177°C) and prepare your cake pan with cooking spray and parchment paper.
- Melt semi-sweet chocolate and unsalted butter over simmering water, stirring until smooth. Let cool.
- Whisk egg yolks, 1/2 cup sugar, vanilla extract, salt, and cocoa until combined; stir in cooled chocolate and red food coloring.
- Whip egg whites until medium-stiff peaks form, then slowly add remaining sugar until glossy.
- Gently fold whipped egg whites into the chocolate mixture without deflating the whites.
- Pour batter into prepared pan and bake for 35-50 minutes until cracked on top.
- Cool in the pan for 15 minutes, then invert onto a plate to cool completely.
- Prepare frosted cranberries by boiling sugar and water, soaking cranberries, and rolling in sugar.
- Beat cream cheese with vanilla bean seeds and sugar, then add heavy whipping cream until soft peaks form.
- Serve cake with whipped cream and frosted cranberries on top.
Leave a Reply