
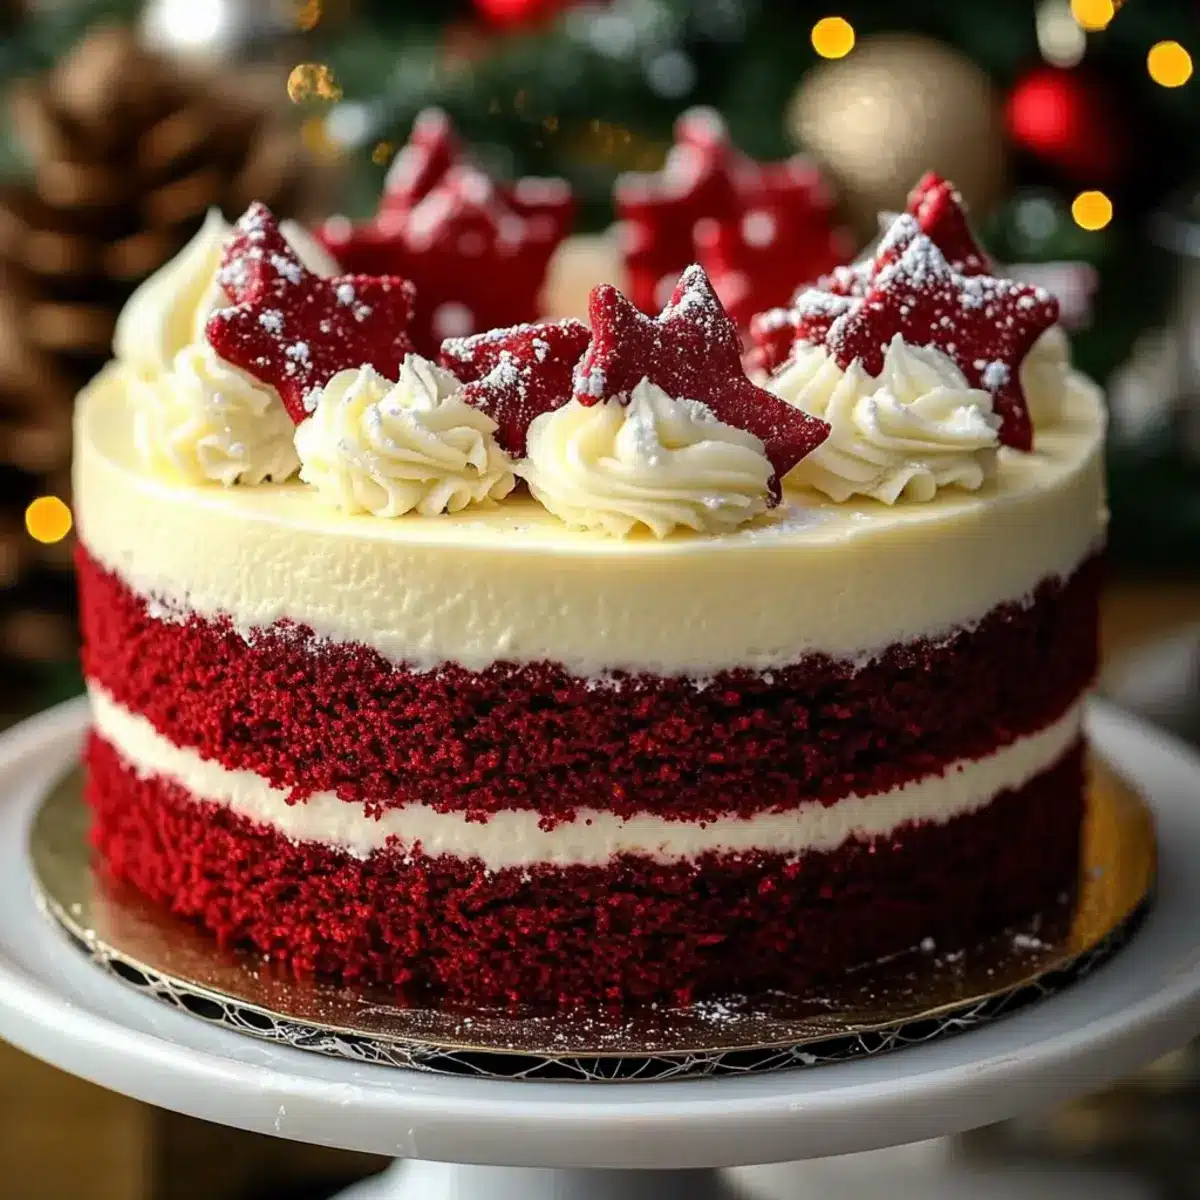
The smell of warm cake wafting through the house is like a hug on a chilly holiday evening. As holiday gatherings approach, I can’t help but dream about this stunning Christmas Red Velvet Cheesecake. This festive showstopper beautifully marries the velvety richness of red velvet with creamy cheesecake layers, creating a dessert that not only tastes divine but looks absolutely dazzling on the table. Beyond its eye-catching appearance, this indulgent treat is a breeze to whip up, making it perfect for both seasoned home-chefs and kitchen novices. Plus, with each slice, you’ll be treating your loved ones to a memorable taste of the season. Curious how to create this masterpiece that will steal the spotlight at your next gathering? Let’s dive into the recipe!
Why is this cheesecake a holiday must?
Indulgent Flavor: The combination of creamy cheesecake and moist red velvet cake creates a delightful fusion that will keep everyone coming back for seconds.
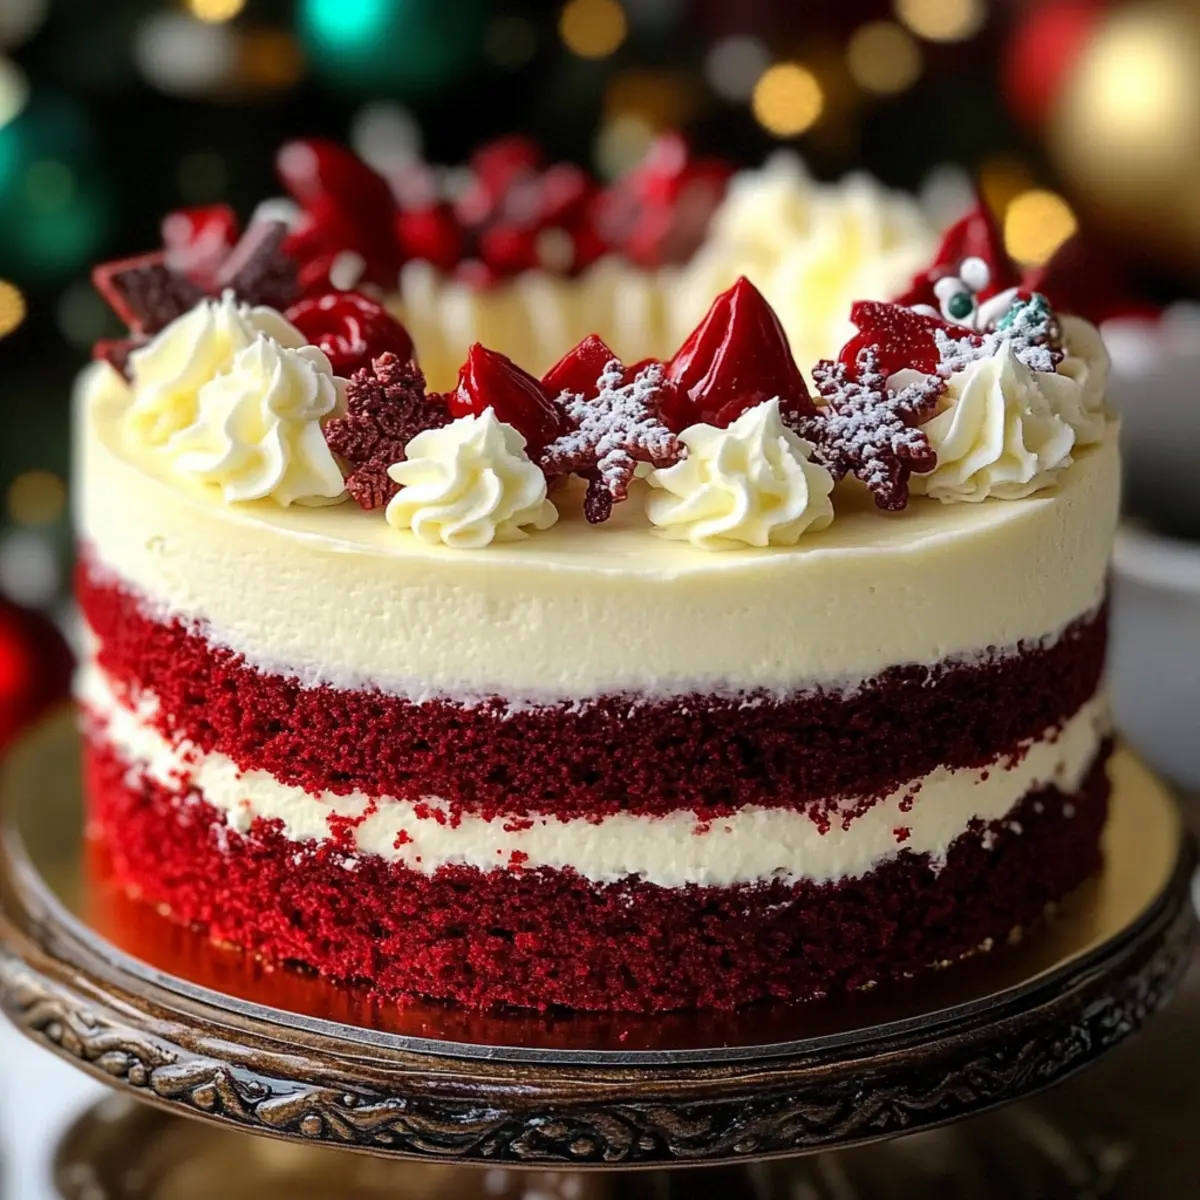
Visually Striking: With its luscious red and white layers, this cheesecake makes for a stunning centerpiece, elevating any festive table setting.
Easy to Make: Even if you’re a beginner, you’ll find the straightforward steps in this recipe easy to follow, ensuring success every time.
Perfect for Celebrations: Whether it’s Christmas or another holiday, this dessert captures the festive spirit and is sure to impress family and friends.
Make-Ahead Delight: Prepare it a day in advance for hassle-free entertaining, allowing the flavors to deepen and develop overnight.
Add a special touch to your festivities with this show-stopping dessert, or explore other crowd-pleasers like my Flourless Red Velvet and Strawberry Crunch Cheesecake for a memorable dessert spread!
Christmas Red Velvet Cheesecake Ingredients
For the Cake Layers
- All-purpose flour – Essential for a sturdy cake base that holds everything together.
- Unsweetened cocoa powder – Enhances the flavor with a chocolaty richness, perfect for complementing the red velvet.
- Baking powder – It’s a leavening agent that helps your cake rise, creating a fluffy texture.
- Baking soda – Reacts with the vinegar to add lift and ensure a light crumb.
- Salt – Balances the sweetness, bringing out all the delicious flavors.
- Granulated sugar – Provides the needed sweetness that makes this Christmas Red Velvet Cheesecake truly indulgent.
- Vegetable oil – Keeps the cake moist and tender, perfectly complementing the creamy layers.
- Buttermilk – Adds flavor and acidity, which not only enriches the cake but also aids in its rise.
- Eggs – They bind everything together while adding richness to the cake!
- Red food coloring – Vital for that iconic festive hue; opt for gel for more vibrancy without affecting texture.
- Vanilla extract – Elevates the flavor profile in both the cake and cheesecake layers.
- White vinegar – Works wonders for the cake’s color and texture by reacting with baking soda for leavening.
For the Cheesecake Layer
- Cream cheese – The star of the cheesecake layer, giving it that rich, creamy texture we all love.
- Granulated sugar (for cheesecake layer) – Balances out the tanginess of the cream cheese beautifully.
- Sour cream – Adds both moisture and a delightful tang, enhancing the cheesecake’s creaminess.
For the Frosting
- Unsalted butter – Provides creaminess and stability to the frosting, ensuring it holds its shape.
- Powdered sugar – Creates a smooth and sweet texture, making the frosting easy to spread.
With these ingredients at hand, you’re well on your way to creating a standout Christmas Red Velvet Cheesecake that will leave your guests in awe!
Step‑by‑Step Instructions for Christmas Red Velvet Cheesecake
Step 1: Prep the Cake Batter
In a large mixing bowl, whisk together 2 cups of all-purpose flour, 1 cup of unsweetened cocoa powder, 1 teaspoon of baking powder, 1 teaspoon of baking soda, and a pinch of salt until well combined. In another bowl, mix 2 cups of granulated sugar, 1 cup of vegetable oil, 1 cup of buttermilk, 2 large eggs, 2 tablespoons of red food coloring, 2 teaspoons of vanilla extract, and 1 tablespoon of white vinegar until smooth. Gradually mix the wet ingredients into the dry ingredients until just combined.
Step 2: Bake Cake Layers
Preheat your oven to 350°F (175°C). Grease and flour two 9-inch round cake pans, then evenly pour the red velvet cake batter into the pans. Bake for 25-30 minutes, or until a toothpick inserted in the center comes out clean. Once baked, remove the pans from the oven, let them cool for about 10 minutes before transferring the cakes to wire racks to cool completely.
Step 3: Prepare Cheesecake Layer
While the cake layers cool, make the cheesecake layer. In a large mixing bowl, beat 16 ounces of cream cheese and 1 cup of granulated sugar until smooth and creamy, about 2-3 minutes. Add in 1 cup of sour cream, 2 large eggs, and 1 teaspoon of vanilla extract, mixing until fully combined and the mixture is lump-free. Pour the cheesecake batter into a greased springform pan, spreading it out evenly.
Step 4: Bake Cheesecake
Bake the cheesecake layer in the oven at 350°F (175°C) for 45-50 minutes. You want it to be set around the edges but still slightly jiggly in the center. This will ensure a creamy texture once cooled. After baking, turn off the oven and leave the cheesecake inside for an additional 30 minutes to cool gradually, preventing cracks.
Step 5: Assemble
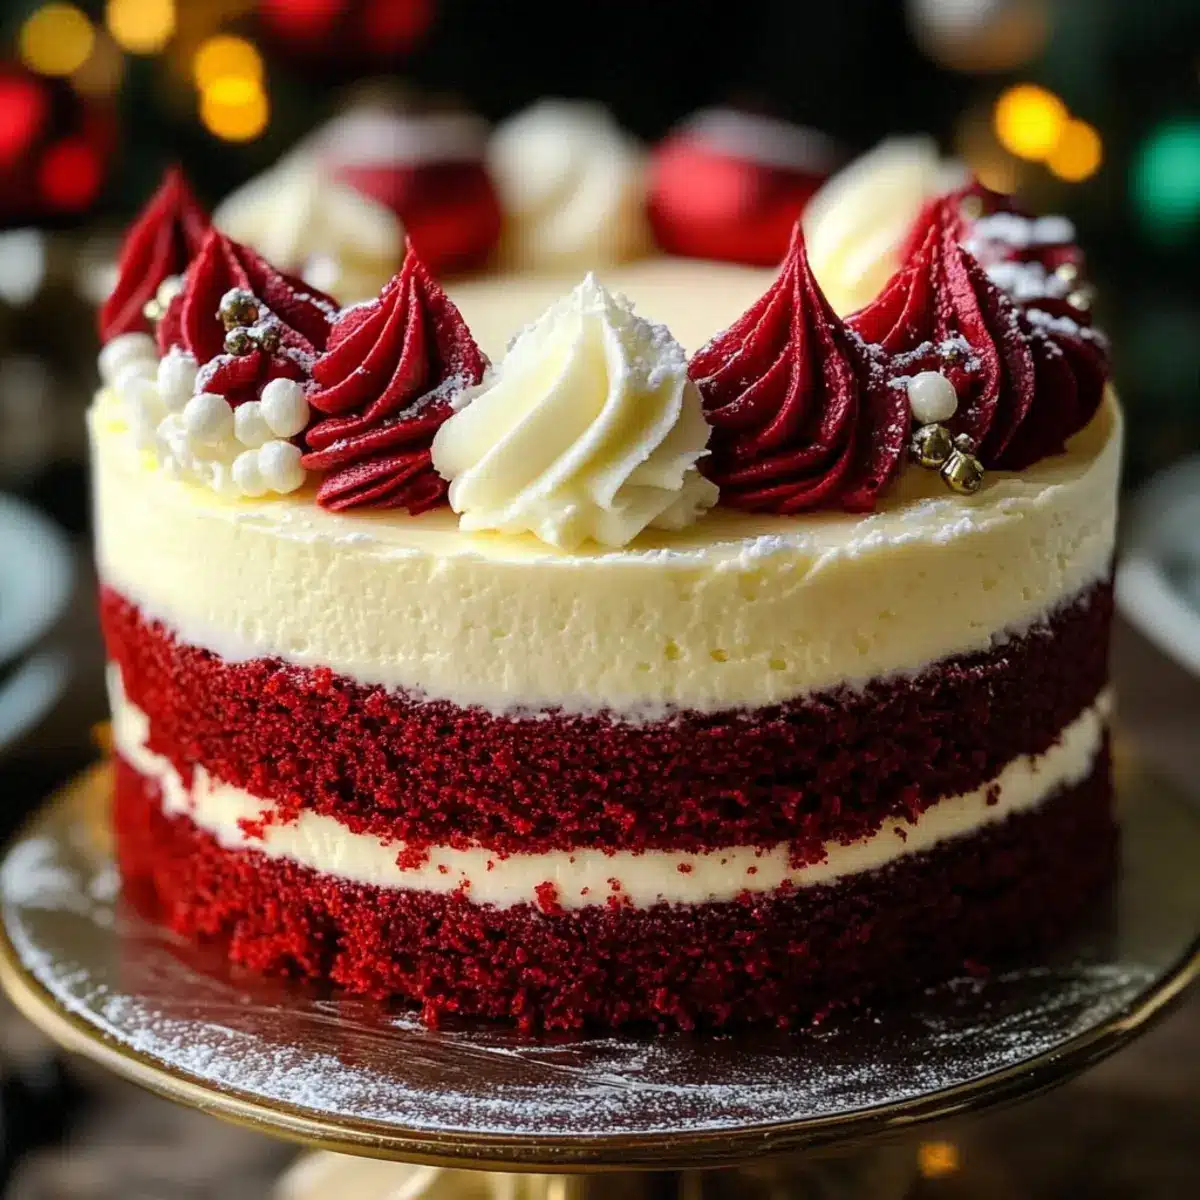
Once both the cake layers and cheesecake have completely cooled, it’s time to assemble your Christmas Red Velvet Cheesecake! Begin by placing one red velvet cake layer on a serving platter, followed by the cheesecake layer on top. Finally, add the second cake layer over the cheesecake, creating a beautiful three-layered masterpiece.
Step 6: Chill Before Serving
Prepare your frosting by mixing together 8 ounces of softened unsalted butter with 4 cups of powdered sugar until smooth. Frost the top and sides of the assembled cake. For best results, chill the entire cheesecake in the refrigerator for at least 4 hours, or overnight if possible, to allow the flavors to meld and the layers to set beautifully.
Expert Tips for Christmas Red Velvet Cheesecake
-
Use Quality Ingredients: Always opt for high-quality cream cheese and real vanilla extract; they elevate your Christmas Red Velvet Cheesecake’s flavor profile significantly.
-
Cool Completely: Make sure both your cake layers and cheesecake layer cool completely before assembling to prevent melting the frosting and compromising the look of your dessert.
-
Avoid Overmixing: When combining wet and dry ingredients, mix just until incorporated to maintain the ideal texture. Overmixing can lead to a tough cake.
-
Room Temperature Ingredients: Keep your cream cheese and eggs at room temperature before mixing. This helps create a smooth cheesecake filling, free of lumps.
-
Chill for Best Results: Allow the assembled cheesecake to chill for at least 4 hours before serving. This helps flavors meld and keeps layers intact while slicing.
-
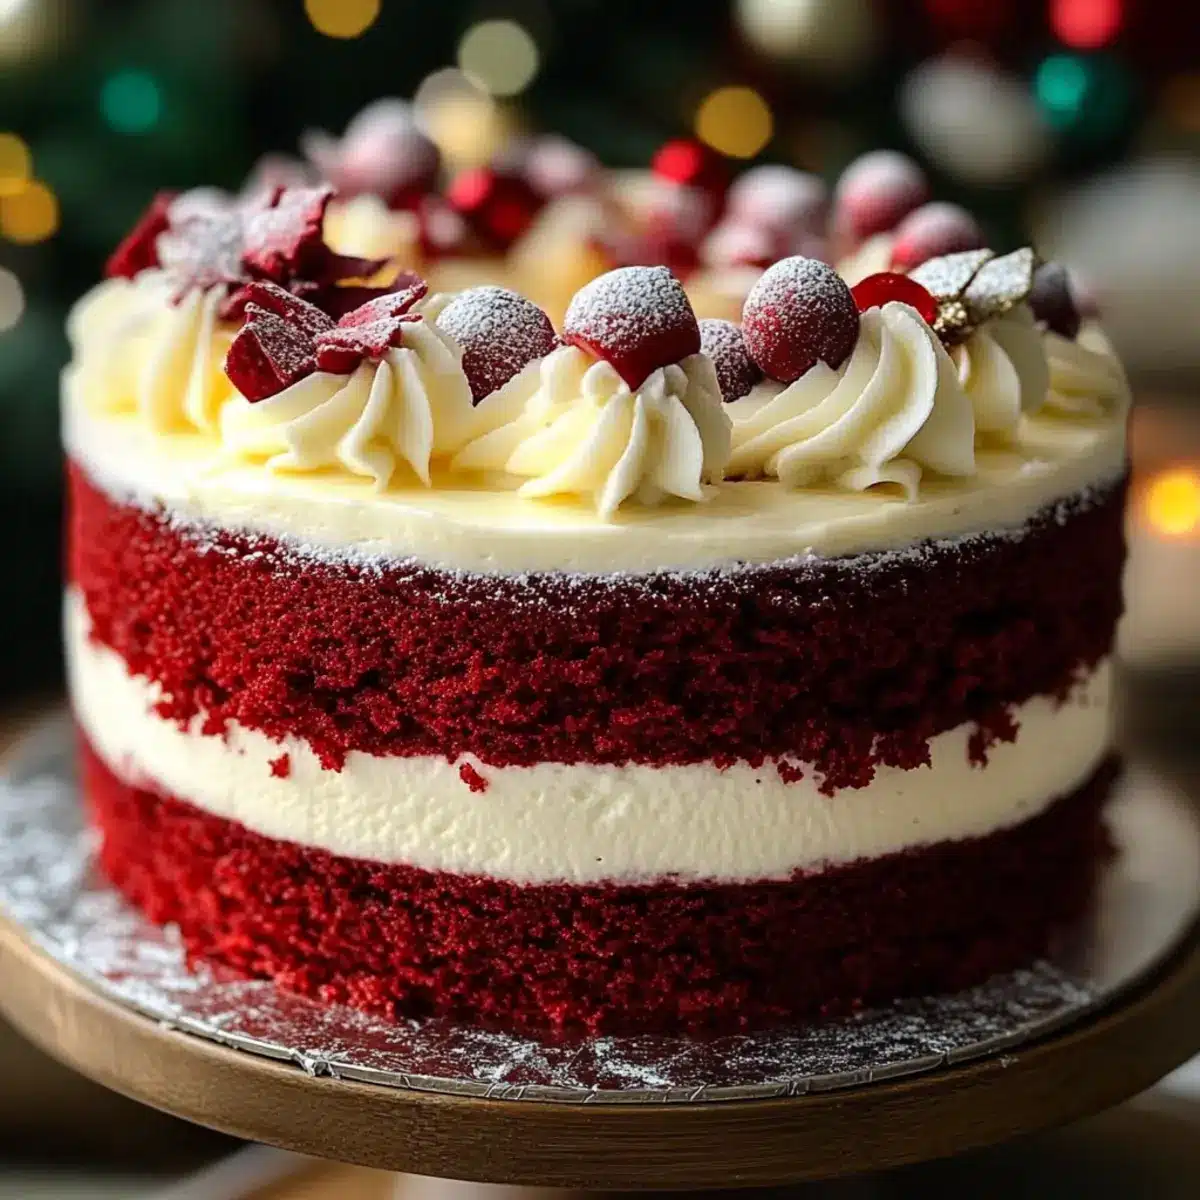
Decorative Touches: For a festive finish, consider garnishing with whipped cream, chocolate shavings, or pomegranate seeds to enhance both flavor and presentation.
What to Serve with Christmas Red Velvet Cheesecake?
As the holiday season approaches, consider bringing joy to your table with delightful pairings that elevate your festive feast.
- Creamy Mashed Potatoes: The buttery richness offers a comforting contrast to the sweet, velvety cheesecake, perfect for balancing flavors.
- Honey Glazed Carrots: Their natural sweetness and tender texture harmonize with the dessert’s indulgence, adding a pop of color to your plate.
- Garlic Roasted Brussels Sprouts: The earthy bitterness of these sprouts beautifully offsets the sweetness, making each bite a delightful experience.
- Spiced Chai: This warm, aromatic beverage complements the rich cheesecake, enhancing the festive mood with its comforting, holiday spices.
- Chocolate Dipped Strawberries: The combination of fresh fruit and chocolate provides a refreshing contrast, making for a light, indulgent treat alongside the cheesecake.
- Peppermint Hot Cocoa: With its cozy notes and festive flair, this drink offers a sweet touch that pairs wonderfully with your creamy dessert.
- Pecan Pie: The nutty crunch of this classic dessert adds texture and an extra layer of indulgence that holiday guests will adore.
Each of these pairings creates a well-rounded meal that complements the luscious Christmas Red Velvet Cheesecake while celebrating the flavors of the season.
Make Ahead Options
These Christmas Red Velvet Cheesecake layers are perfect for meal prep! You can bake the cake layers and cheesecake up to 24 hours in advance, allowing for an effortless assembly later. Once cooled, wrap each cake layer tightly in plastic wrap and refrigerate, while the cheesecake should be covered with a lid or plastic wrap to maintain its creamy texture. When you’re ready to serve, simply stack the layers and frost your cheesecake. For the best flavor, chilling the assembled dessert overnight helps the flavors meld beautifully. With these make-ahead options, you’ll have a stunning dessert ready to impress with minimal effort!
Christmas Red Velvet Cheesecake Variations
Feel free to unleash your creativity and personalize this festive cheesecake, making it truly your own!
-
Gluten-Free Flour: Substitute all-purpose flour with a gluten-free blend to accommodate guests with dietary restrictions without sacrificing flavor.
-
Cheesecake Swirls: Add dollops of chocolate or raspberry sauce to the cheesecake batter before baking and swirl with a knife for a beautiful marbled effect. This adds a delightful twist and flavor pop!
-
Different Colors: Experiment with gel food coloring to create a fun, vibrant look for different holidays (think green for St. Patrick’s Day or purple for Easter). Each occasion deserves a unique flair!
-
Rich Fillings: For a decadent surprise, tuck in crushed candy canes or chocolate chips between the cake and cheesecake layers. You’ll love the textural contrast and surprise flavors!
-
Creamy Vanilla Bean: Swap vanilla extract for real vanilla bean for an extra gourmet touch. The tiny specks of vanilla will elevate your dessert visually and in taste.
-
Nutty Addition: Fold in finely chopped walnuts or pecans into either the cake or cheesecake batter for a crunchy surprise in every bite. It’s a delightful textural contrast!
-
Decadent Frosting: Elevate the standard cream cheese frosting by mixing in a splash of bourbon or a sprinkle of espresso powder for a sophisticated twist that will tantalize the taste buds.
Enhance your holiday experience by pairing this cheesecake with a steaming cup of hot cocoa or try it alongside a slice of Lobster Alfredo Decadent for a truly indulgent evening. Whatever variations you choose, rest assured that this beautiful dessert will be a hit!
How to Store and Freeze Christmas Red Velvet Cheesecake
Fridge: Store leftover cheesecake in an airtight container for up to 5 days. Ensure it’s tightly covered to maintain freshness.
Freezer: Freeze slices wrapped in plastic wrap and aluminum foil for up to 2 months. Thaw in the fridge overnight to retain texture and flavor before serving.
Reheating: For best results, serve chilled straight from the fridge. If desired, lightly microwave individual slices for about 10-15 seconds to soften slightly.
Make-Ahead: For optimal taste, consider preparing your Christmas Red Velvet Cheesecake a day in advance, allowing the flavors to develop beautifully overnight.
Christmas Red Velvet Cheesecake Recipe FAQs
How do I choose ripe ingredients for my cheesecake and cake?
Absolutely! When selecting your ingredients, especially for the dairy components, ensure your cream cheese and sour cream are fresh and not close to their expiration dates. For the eggs, choose ones that are farm-fresh if possible, as they impart richness and better flavor. And when it comes to food coloring, opt for gel rather than liquid for a more vibrant red without altering the cake’s texture.
What’s the best way to store leftover cheesecake?
Very! To store your Christmas Red Velvet Cheesecake, make sure it’s in an airtight container and place it in the fridge, where it will stay fresh for up to 5 days. Before closing the container, you might also want to use a layer of plastic wrap right against the frosting to help keep moisture in and avoid the cake drying out.
Can I freeze this cheesecake for later?
Absolutely! Freezing is a great option for prolonging the life of your cheesecake. Wrap individual slices in plastic wrap, then in aluminum foil, to keep them free from freezer burn. You can store them in the freezer for up to 2 months. When you’re ready to enjoy, just transfer a slice to the fridge the night before to thaw it gently while preserving that creamy texture.
What should I do if my cheesecake cracks during baking?
No worries; this can happen even to the best of us! To prevent cracks, make sure to cool the cheesecake gradually by leaving it in the oven after it’s done baking. If a crack does occur, simply cover it with frosting or a sprinkle of fresh berries—it will still taste delicious! Also, remember not to overbeat your mixture; a gentle approach prevents air bubbles that can expand and cause cracks.
Is this cheesecake suitable for those with allergies?
Very! This recipe contains common allergens like dairy, eggs, and gluten. If you need to cater for dietary restrictions, consider using gluten-free flour to replace all-purpose flour and substituting the cream cheese with a dairy-free alternative. Always make sure to double-check ingredient labels for cross-contamination if you’re cooking for someone with severe allergies.
Can my pet eat cheesecake?
No, it’s best to avoid giving cheesecake to pets, especially because of the sugar and dairy content which can be harmful to them. Stick to pet-friendly treats to keep them happy and healthy!
Christmas Red Velvet Cheesecake: A Festive Indulgence
Ingredients
Equipment
Method
- In a large mixing bowl, whisk together the all-purpose flour, cocoa powder, baking powder, baking soda, and salt until well combined.
- In another bowl, mix the granulated sugar, vegetable oil, buttermilk, eggs, red food coloring, vanilla extract, and white vinegar until smooth.
- Gradually mix the wet ingredients into the dry ingredients until just combined.
- Preheat your oven to 350°F (175°C). Grease and flour two 9-inch round cake pans, then evenly pour the red velvet cake batter into the pans.
- Bake for 25-30 minutes, or until a toothpick inserted in the center comes out clean. Let them cool for about 10 minutes before transferring to wire racks to cool completely.
- While the cake layers cool, beat the cream cheese and granulated sugar until smooth and creamy. Add the sour cream, eggs, and vanilla, mixing until fully combined.
- Pour the cheesecake batter into a greased springform pan and spread it out evenly.
- Bake the cheesecake at 350°F (175°C) for 45-50 minutes until set around the edges but slightly jiggly in the center.
- Turn off the oven and leave the cheesecake inside for an additional 30 minutes to cool gradually.
- Once cooled, assemble by placing one red velvet cake layer on a serving platter, followed by the cheesecake layer on top, and lastly the second cake layer.
- Mix the softened unsalted butter with powdered sugar until smooth, then frost the top and sides of the assembled cake.
- Chill the cheesecake in the refrigerator for at least 4 hours or overnight before serving.
Leave a Reply