
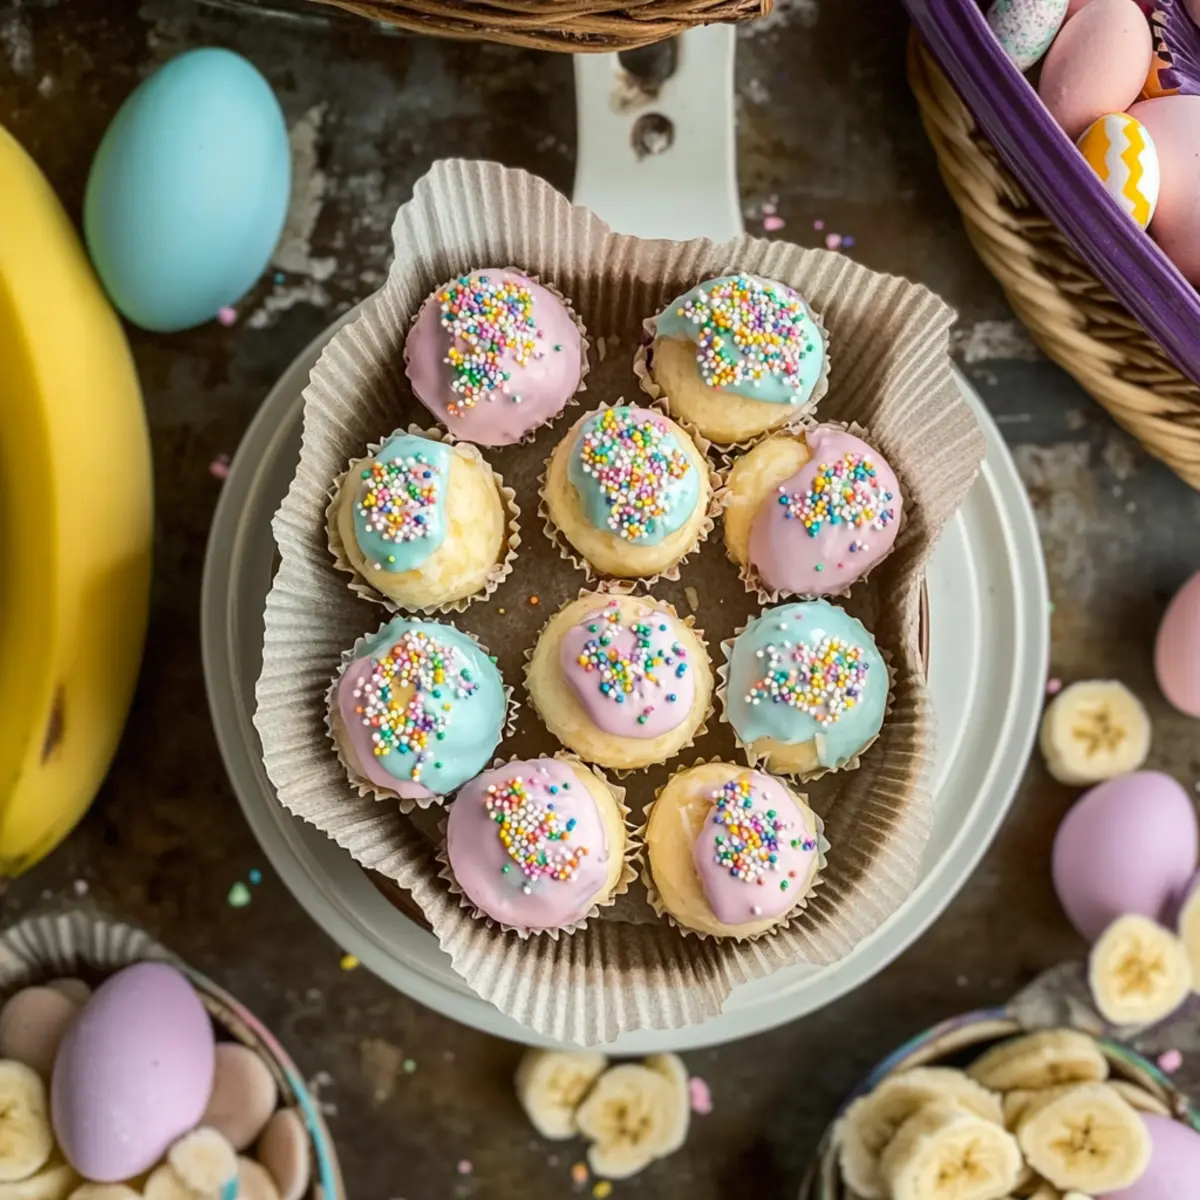
While rummaging through my pantry last week, I stumbled upon a box of vanilla wafers, and a delightful idea sparked: Banana Pudding Easter Truffles! This no-bake treat beautifully combines the nostalgic flavors of banana pudding with a playful twist, perfect for spring celebrations. These truffles are not only a breeze to make but also aim to please both kids and adults alike with their festive colors and creamy filling. Imagine treating your loved ones to bite-sized morsels that taste as delightful as they look—no fancy baking skills required! Whether you’re planning for an Easter gathering or simply want to indulge, these Banana Pudding Easter Truffles are sure to become a new favorite. Curious to see how easy it is to whip these up? Let’s dive into the recipe!

Why Are These Truffles So Irresistible?
Simplicity: No-bake means you can whip these up in no time—perfect for last-minute gatherings!
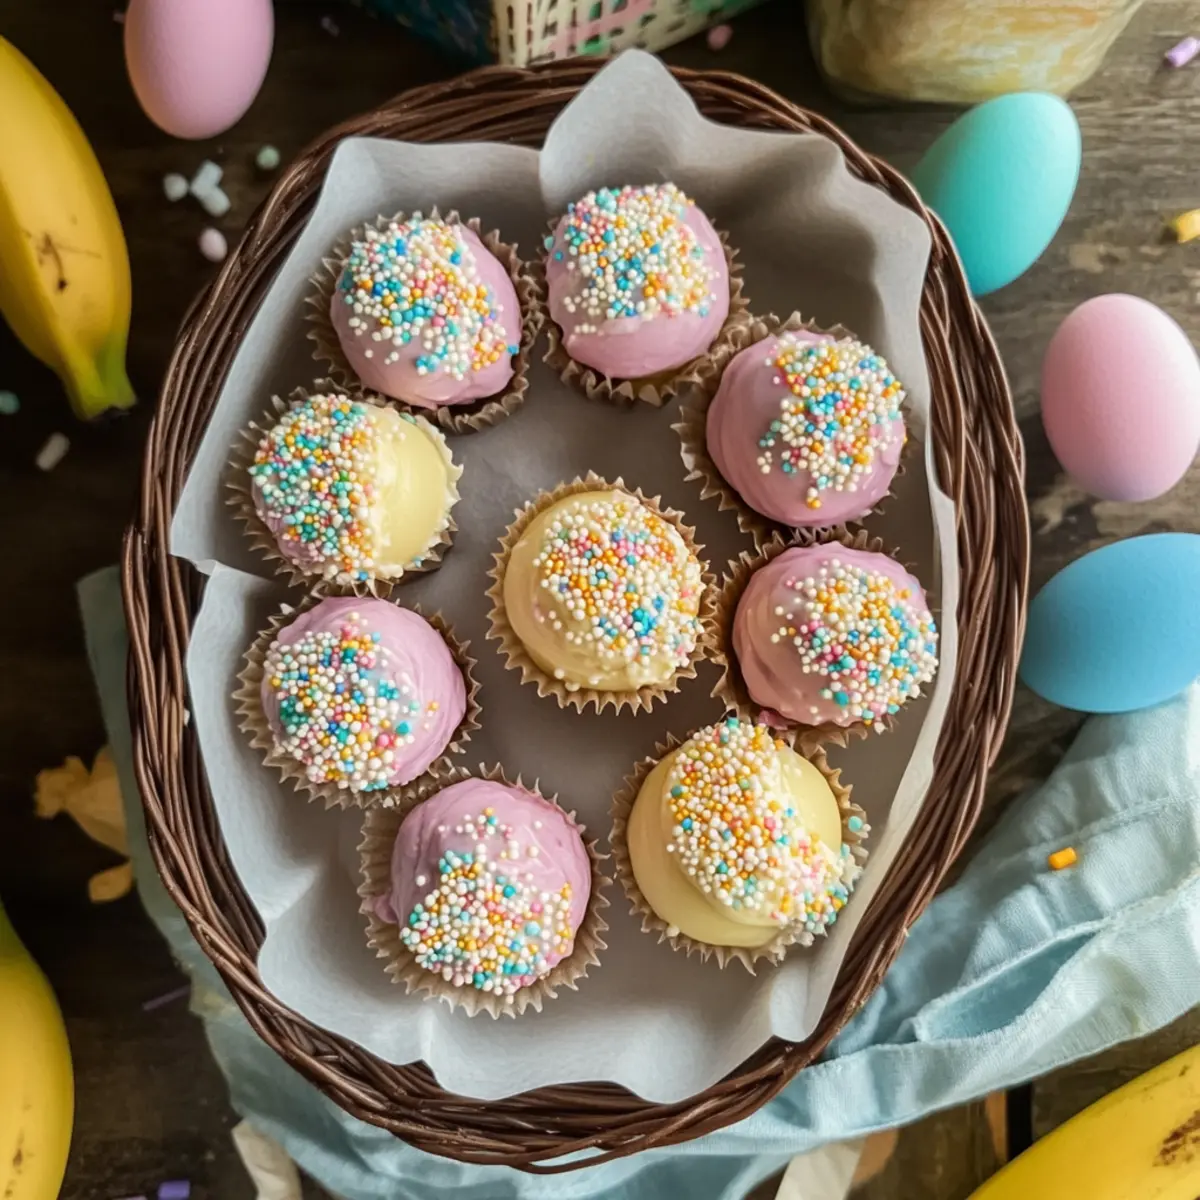
Festive Appeal: Drenched in pastel colors, these truffles add a joyful touch to any table.
Creamy Texture: The combination of cream cheese and banana pudding delivers a rich mouthfeel that melts in your mouth.
Customizable: Swap ingredients like using almond extract or dark chocolate for a twist that suits your taste.
Kid-Friendly Fun: The easy preparation makes it a perfect activity for the little ones, ensuring they’ll be begging for seconds! These delightful bites are sure to charm everyone, just like my Easter Smoked Salmon or a cozy bowl of Banana Baked Oatmeal.
Banana Pudding Easter Truffles Ingredients
• A delightful mix of flavors and textures awaits you!
For the Filling
- Crushed Vanilla Wafers – These add sweetness and crunch to the truffles; feel free to substitute with graham cracker crumbs for a different texture.
- Cream Cheese (softened) – This provides richness and creaminess to the truffle filling, and you can use mascarpone cheese for a lighter flavor.
- Banana Pudding Mix (3.4 oz package, dry) – Delivers the classic banana pudding flavor that brings nostalgia; consider using a different flavored pudding mix for a twist.
- Milk (2 tablespoons) – Helps to bind the filling together; coconut milk is a great dairy-free alternative.
- Vanilla Extract (1 teaspoon) – Enhances the overall flavor profile; almond extract can provide a lovely aromatic variation.
For the Coating
- White Chocolate Chips or Candy Melts (2 cups) – These create a sweet and smooth finish for the truffles with an option for dark chocolate for a richer taste.
- Food Coloring (pastel colors) – Using these can add a festive touch to the chocolate coating, making it even more appealing.
For Decoration
- Crushed Vanilla Wafers/Easter Sprinkles – These not only add visual appeal but also a delightful crunch to the finished truffles.
Now that you have all the ingredients ready, let’s move on to making these scrumptious Banana Pudding Easter Truffles that everyone will love!
Step‑by‑Step Instructions for Banana Pudding Easter Truffles
Step 1: Prepare the Filling
In a large mixing bowl, combine 1 cup of crushed vanilla wafers, 8 ounces of softened cream cheese, 3.4 ounces of banana pudding mix, 2 tablespoons of milk, and 1 teaspoon of vanilla extract. Mix until a smooth and cohesive dough forms, ensuring there are no lumps. This should take about 3-5 minutes, and you’ll know it’s ready when the mixture holds together easily.
Step 2: Shape the Truffles
Using a tablespoon, scoop even portions of the banana pudding mixture and roll them into smooth balls, each about an inch in diameter. Place these truffle balls on a parchment-lined baking sheet, allowing a little space between each. You should have roughly 15 to 20 truffles, and they should be uniform in size for even coating later.
Step 3: Chill
Cover the tray with plastic wrap and refrigerate the truffle balls for 30-45 minutes, or until they are firm to the touch. Chilling is crucial for achieving the right consistency, making them easier to coat later. The truffles will feel solid and firm when they are properly chilled, ready to take on their chocolate coating.
Step 4: Melt the Chocolate
In a microwave-safe bowl, add 2 cups of white chocolate chips or candy melts. Heat them in the microwave in 30-second intervals, stirring well after each interval until fully melted and smooth. This process should take about 1-2 minutes. If using food coloring, add it to the melted chocolate, mixing until you reach your desired pastel hue for the Banana Pudding Easter Truffles.
Step 5: Coat the Truffles
Carefully dip each chilled truffle into the melted chocolate, using a fork to ensure each one is fully coated. Tap off any excess chocolate, allowing it to drip back into the bowl. Place the coated truffles back onto the parchment-lined baking sheet. You’ll want a gleaming, even layer of chocolate on each truffle, giving them a delightful finish.
Step 6: Decorate
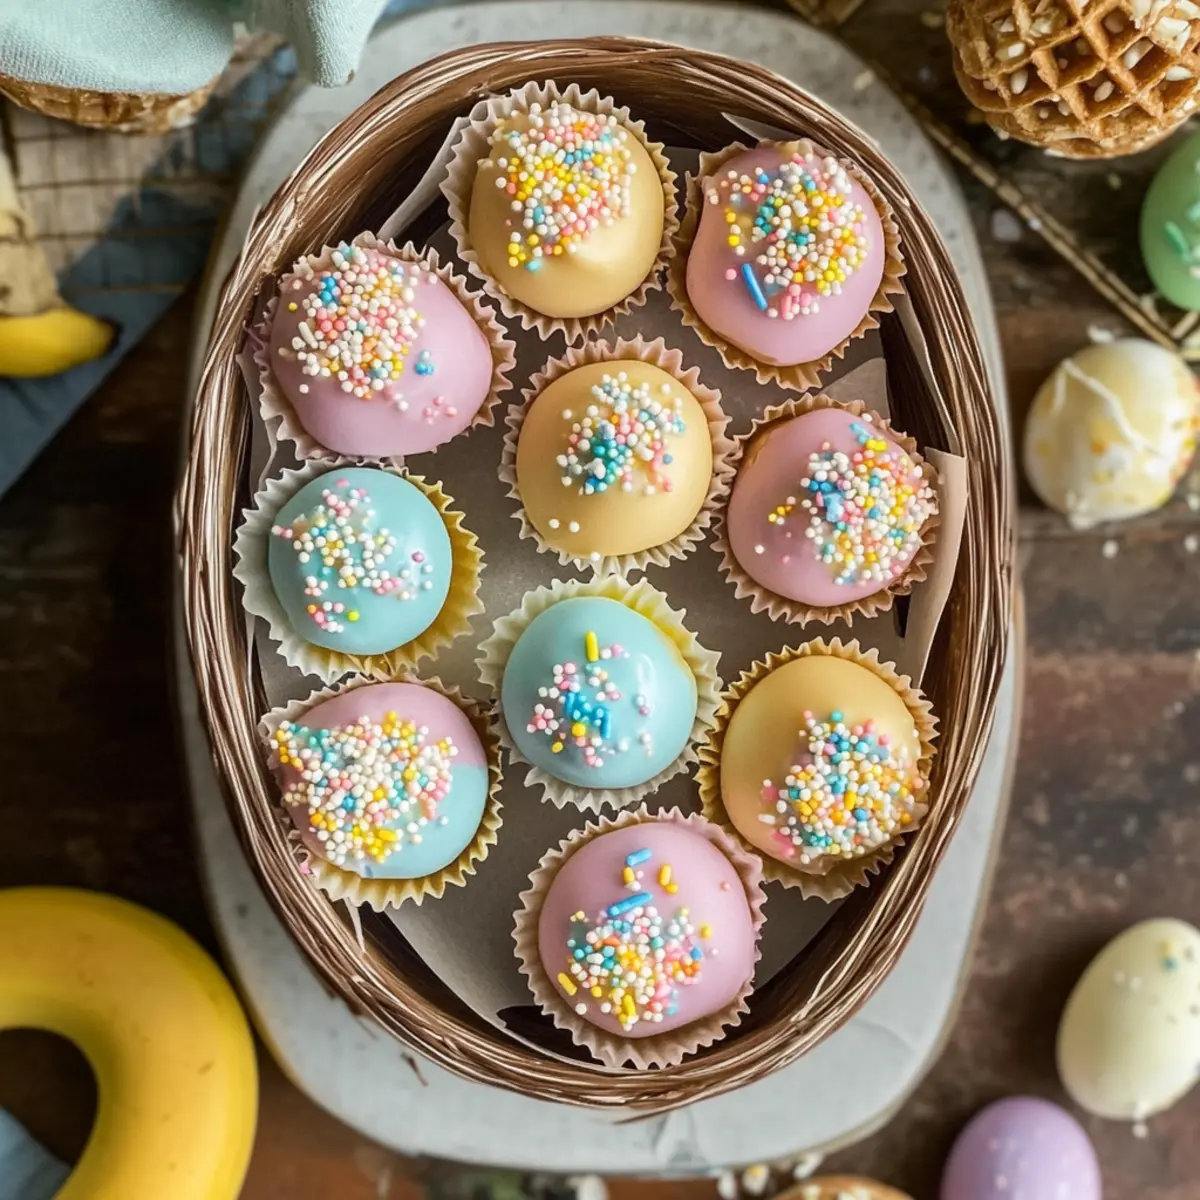
Before the chocolate coating sets, sprinkle each coated truffle with crushed vanilla wafers or festive Easter sprinkles. This adds a charming touch to your Banana Pudding Easter Truffles. Work quickly, as the chocolate firms up easily. The vibrant colors of the sprinkles will create an eye-catching visual appeal.
Step 7: Set and Serve
Let the decorated truffles sit at room temperature for about 15-20 minutes, or refrigerate for faster hardening. Once set, your Banana Pudding Easter Truffles are ready to be served! Present them in decorative containers or on a festive platter, making them an inviting treat for any spring gathering.
Expert Tips for Banana Pudding Easter Truffles
- Choose Ripe Bananas: Use ripe bananas in your filling for a stronger, natural banana flavor that enhances your truffles.
- Melt Chocolate Carefully: Heat chocolate slowly to avoid seizing; stirring frequently is key to achieving a smooth, silky coating.
- Chill Before Coating: Ensure your truffles are properly chilled to make coating easier and help maintain their shape during the dipping process.
- Personalize Colors: Feel free to mix different pastel hues into your chocolate for fun color combinations that perfectly match your Easter theme.
- Check for Firmness: Before serving, ensure the truffles are firm to the touch after setting; this helps them maintain a perfect bite-sized shape.
How to Store and Freeze Banana Pudding Easter Truffles
Room Temperature: Keep truffles in an airtight container at room temperature for up to 5 days. This makes them easily accessible for snacking.
Fridge: For slightly longer storage, place your truffles in the fridge where they’ll stay fresh for about a week. They’ll taste just as delicious chilled!
Freezer: If you want to prepare in advance, freeze the Banana Pudding Easter Truffles for up to 2 months. Ensure they are in a sealed freezer bag or container to prevent freezer burn.
Thawing: When ready to enjoy, transfer the frozen truffles to the fridge to thaw overnight. This helps maintain their delicious texture and flavor.
What to Serve with Banana Pudding Easter Truffles
Treat your loved ones to a delightful spread that makes your festive gathering even more memorable!
-
Fresh Strawberries: The natural sweetness and acidity of strawberries complement the creamy truffles, adding a refreshing touch. Serve them alongside for an elegant presentation.
-
Chocolate Drizzled Pretzels: Crunchy and salty, these pretzels pair beautifully with the sweetness of the truffles, creating a perfect sweet-salty balance.
-
Mini Fruit Skewers: Assemble colorful skewers of pineapple, kiwi, and grapes for a vibrant, juicy contrast against the rich truffles. This adds a fresh element that everyone will love.
-
Easter-Themed Cookies: Celebrate the festive spirit with playful, frosted cookies that can tie in with the truffle colors, enhancing the theme while satisfying the sweet tooth.
-
Lemonade or Iced Tea: Refreshing beverages like homemade lemonade or a chilled herbal iced tea add a contrasting brightness to the rich flavors of the truffles, keeping your guests feeling light and happy.
-
Vanilla Ice Cream: A scoop of creamy vanilla ice cream can elevate the dessert experience, providing a cold and velvety contrast that perfectly complements the softness of the truffles.
Banana Pudding Easter Truffles Variations
Feel free to explore these fun twists to make your truffles uniquely yours!
-
Chocolate Coated: Swap white chocolate for milk or dark chocolate for a richer flavor. This twist provides a delightful contrast to the creamy filling.
-
Coconut Delight: Roll the truffles in toasted shredded coconut after coating them in chocolate. The tropical flavor pairs beautifully with banana, evoking a vacation feel.
-
Nutty Crunch: Incorporate chopped nuts like pecans or walnuts into the filling for an added crunch. This variation brings in a delicious texture that complements the creamy elements.
-
Peanut Butter Twist: Add a few tablespoons of peanut butter to the filling for a nutty surprise. The combination of banana and peanut butter is a classic for a reason!
-
Dairy-Free Option: Replace cream cheese with coconut cream and use coconut milk to keep the truffles creamy without dairy. Perfect for vegan friends or those with dietary needs!
-
Flavor Variety: Try using different flavored pudding mixes such as vanilla or chocolate for a new twist. Each flavor will give your truffles a unique taste experience—endless possibilities!
-
Zingy Citrus: A teaspoon of lemon or orange zest enhances the flavor profile, adding a refreshing brightness to the truffles that cuts through the sweetness.
-
Spicy Kick: Add a pinch of cinnamon or a dash of chili powder to the filling for an unexpected warmth that contrasts nicely with the sweet banana flavor.
These variations not only elevate the sweetness but create an experience tailored to every palate, much like how my Easter Smoked Salmon or hearty Banana Baked Oatmeal can cater to different tastes. Enjoy experimenting with these ideas!
Make Ahead Options
These Banana Pudding Easter Truffles are a fantastic choice for meal prep, saving you valuable time during the busy holiday season! You can prepare the truffle filling (crushed vanilla wafers, cream cheese, banana pudding mix, milk, and vanilla extract) up to 24 hours in advance. Simply combine the ingredients, roll into balls, and refrigerate as instructed. To maintain their delicious quality, be sure to store the truffles in an airtight container once coated and decorated; they stay fresh in the fridge for up to 5 days. When you’re ready to serve, let them sit at room temperature for a few minutes, so they soften slightly, making them a delightful treat that’s just as tasty as when made fresh!
Banana Pudding Easter Truffles Recipe FAQs
How do I select ripe bananas for the filling?
Absolutely! When choosing bananas, look for ones that are ripe with a few brown spots on the peel, as this indicates they are sweet and flavorful. Avoid bananas that are overly mushy or have extensive dark spots, as this may affect the texture of your truffles.
What’s the best way to store leftover truffles?
Very! Store your Banana Pudding Easter Truffles in an airtight container at room temperature for up to 5 days, or refrigerate them for up to a week. Just ensure they’re properly sealed to keep them fresh and tasty.
Can I freeze the truffles for future enjoyment?
Absolutely! To freeze your Banana Pudding Easter Truffles, place them in a sealed freezer bag, ensuring to remove as much air as possible. They can last for up to 2 months in the freezer. When you’re ready to enjoy, simply transfer them to the refrigerator to thaw overnight, allowing them to retain their delightful texture.
What should I do if my chocolate coating seizes up while melting?
Don’t worry, it happens to the best of us! If your chocolate seizes, try adding a teaspoon of vegetable oil or shortening and gently reheating it in the microwave in short bursts with stirring in between—this should help create a smooth consistency again. Just remember to melt the chocolate slowly for best results!
Are these truffles suitable for those with dietary restrictions?
Yes, indeed! To make the Banana Pudding Easter Truffles gluten-friendly, choose gluten-free vanilla wafers, and for a dairy-free option, substitute the cream cheese with a vegan cream cheese and use coconut milk. Always double-check labels for allergens, especially if you’re gifting them or bringing them to gatherings!
Creamy Banana Pudding Easter Truffles: A Festive Delight
Ingredients
Equipment
Method
- In a large mixing bowl, combine the crushed vanilla wafers, softened cream cheese, banana pudding mix, milk, and vanilla extract. Mix until a smooth and cohesive dough forms, about 3-5 minutes.
- Using a tablespoon, scoop even portions of the banana pudding mixture and roll them into balls about an inch in diameter. Place these truffle balls on a parchment-lined baking sheet.
- Cover the tray with plastic wrap and refrigerate the truffle balls for 30-45 minutes, or until firm to the touch.
- In a microwave-safe bowl, add the white chocolate chips or candy melts. Heat in 30-second intervals, stirring until fully melted and smooth. Add food coloring as desired.
- Dip each chilled truffle into the melted chocolate, using a fork to ensure full coating. Tap off excess chocolate and place back onto the baking sheet.
- Before the chocolate sets, sprinkle each coated truffle with crushed vanilla wafers or festive Easter sprinkles.
- Let the decorated truffles sit at room temperature for about 15-20 minutes or refrigerate for faster hardening before serving.
Leave a Reply