
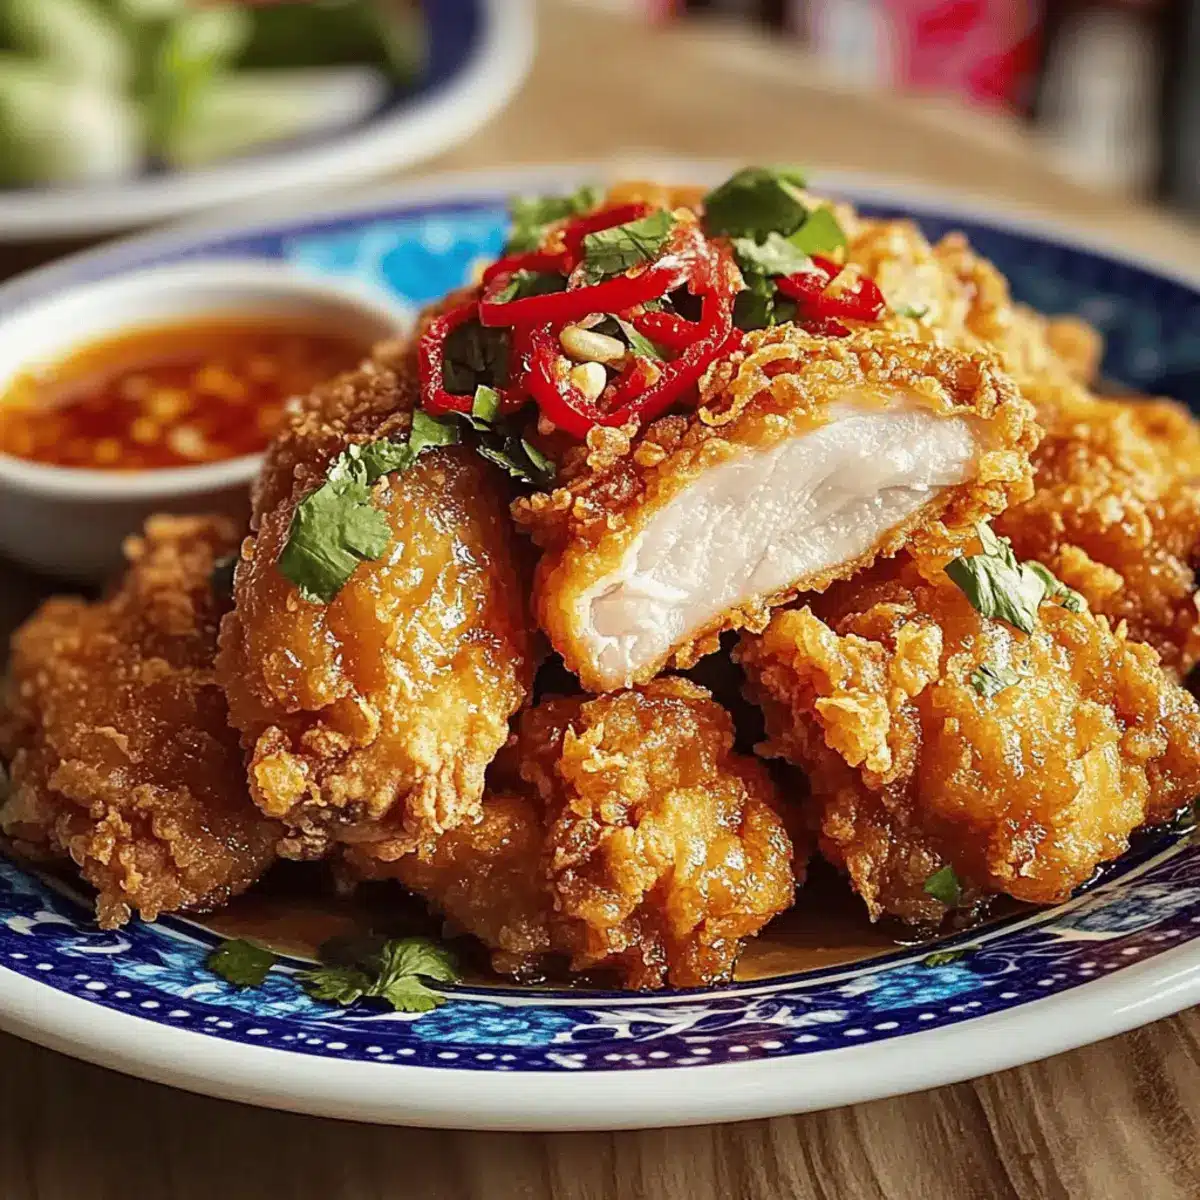
As I watched the oil shimmer in my frying pan, I felt a wave of excitement thinking about the Crispy Gai Tod Thai Fried Chicken I was about to create. This delightful dish brings the vibrant flavors of Thailand right into my kitchen, and I swear, every crunch will have you craving more! With a perfectly crispy exterior and tender, juicy chicken marinated in aromatic spices, it’s a fantastic option for both casual dinners and impressive gatherings. Plus, it’s gluten-free if you choose to swap out the all-purpose flour, making it a versatile recipe that can cater to all dietary needs. Ready to elevate your cooking game and impress your guests with this crispy delight? Let’s dive into this delicious adventure together!
What Makes This Thai Fried Chicken Irresistible?
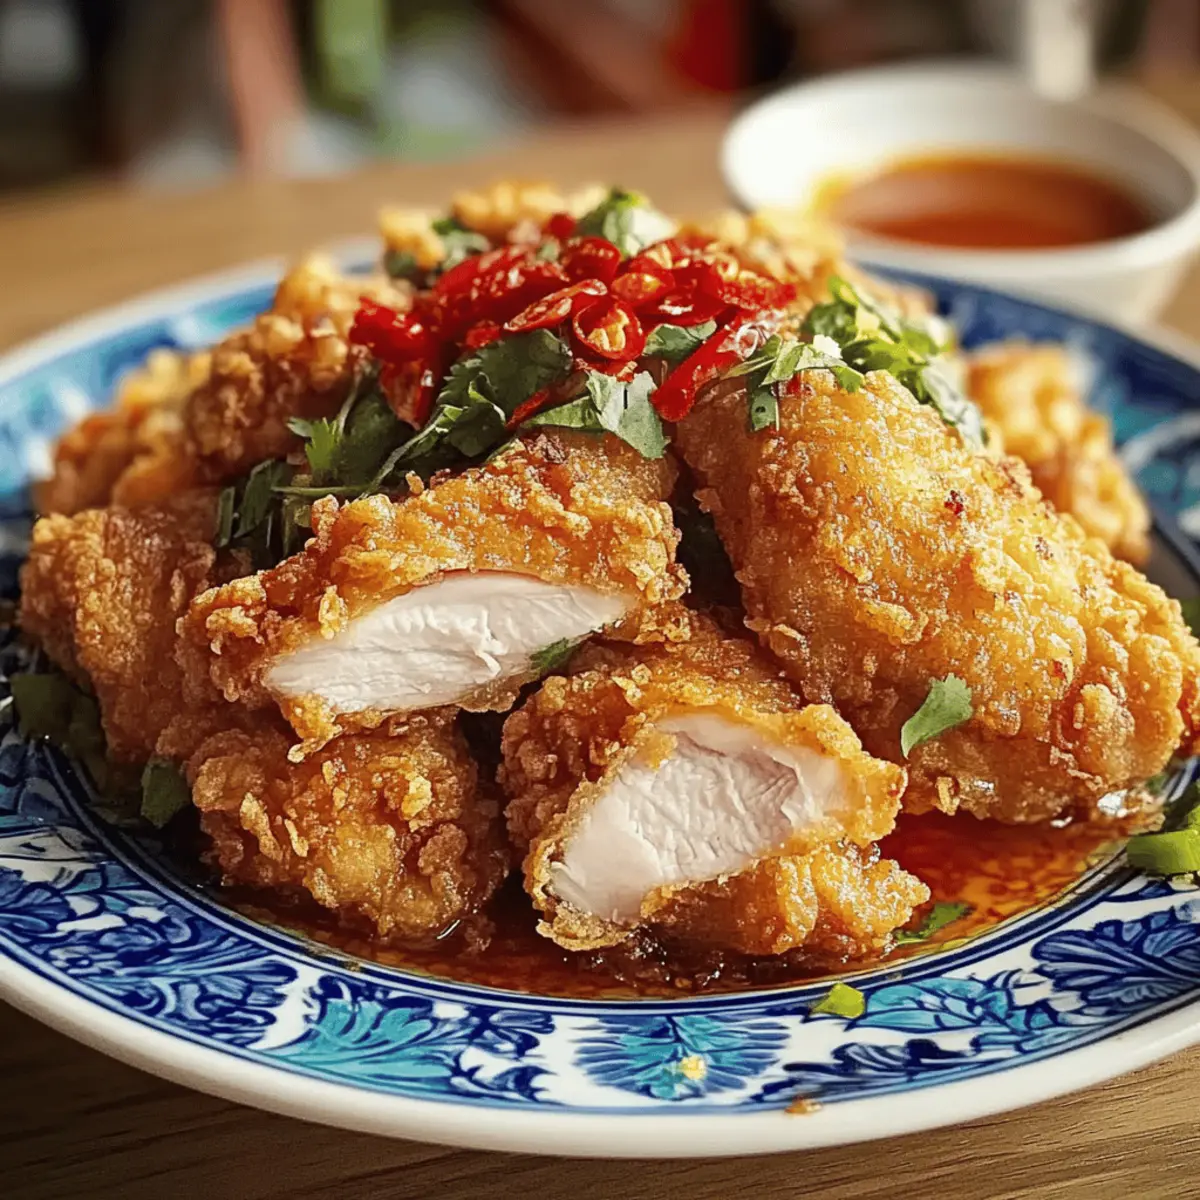
Crispy Texture: The secret lies in a perfect combination of rice and all-purpose flour that delivers an incredibly crunchy coating.
Flavor Explosion: Infused with aromatic Thai spices and a touch of garlic, this chicken is a flavor bomb that your taste buds will adore.
Easy to Prepare: With simple steps and a marinating phase that builds flavor, you’ll be amazed at how quickly this dish comes together.
Gluten-Free Option: Want to cater to everyone? Just swap the all-purpose flour for a gluten-free blend – deliciousness guaranteed!
Crowd-Pleaser: Whether it’s a weeknight dinner or a gathering, this dish will have everyone clamoring for seconds, just like our Karaage Chicken Umami or Greek Chicken Gyro!
Perfect Pairing: Serve it hot with sweet chili sauce and lime wedges for the ultimate dipping experience.
Crispy Gai Tod Thai Fried Chicken Ingredients
For the Chicken Marinade
- Chicken – Skin-on drumsticks or thighs provide the best flavor and texture; skinless options can also be used for a lighter dish.
- Garlic – Fresh garlic is ideal for maximum flavor; in a pinch, garlic powder makes a decent substitute.
- Fish Sauce – Essential for that unique umami taste; soy sauce can replace it, but expect a different flavor profile.
- Sugar – Balances the savory marinade flavors; don’t skip this for a rounded taste.
For the Coating
- Rice Flour – The key to achieving irresistibly crispy chicken; substitute cornstarch if unavailable.
- All-Purpose Flour – Adds body to the coating; swap it with gluten-free flour for a gluten-free option.
- Turmeric – An optional ingredient for color; it won’t impact the taste drastically.
For Frying
- Vegetable Oil – Use for frying; heat to 350°F (175°C) to ensure proper cooking and crispiness.
With these ingredients on hand, you’re well on your way to making the best Crispy Gai Tod Thai Fried Chicken that everyone will love.
Step‑by‑Step Instructions for Crispy Gai Tod Thai Fried Chicken
Step 1: Marinate Chicken
Start by mincing garlic and mixing it with white pepper, fish sauce, soy sauce, sugar, and ground coriander in a bowl. Coat the chicken pieces thoroughly in this aromatic marinade, ensuring every nook is covered. Once coated, cover the bowl and refrigerate for at least 1 hour, or ideally overnight. This marinating phase enhances the flavor of your Crispy Gai Tod, making the chicken succulent and delicious.
Step 2: Prepare Coating
While the chicken is marinating, prepare the coating by whisking together all-purpose flour, rice flour (or cornstarch), and a pinch of baking powder in a large mixing bowl. This mixture is key to achieving the perfect crunch. Set it aside; when the marinating time is up, you’ll be ready to coat the chicken and get cooking.
Step 3: Coat Chicken
After marination, remove the chicken from the fridge and let any excess marinade drip off. Carefully dredge each piece in the flour mixture, ensuring an even coating by pressing gently. The goal is to create a thick, clinging layer that will fry up beautifully. This step is crucial for the magnificent texture of your Crispy Gai Tod Thai Fried Chicken.
Step 4: Heat Oil
In a deep frying pan or wok, pour enough vegetable oil to submerge the chicken pieces, typically about 2 inches deep. Heat the oil to 350°F (175°C); you can test the temperature by dropping in a small amount of the flour mixture—if it sizzles immediately, you’re ready to fry. Achieving the right temperature is vital for that coveted crispy exterior.
Step 5: Fry Chicken
Carefully add the coated chicken pieces to the hot oil in batches, avoiding overcrowding to maintain crispiness. Fry them for about 8 to 12 minutes, turning occasionally until they are golden brown and cooked through. Use a meat thermometer to ensure that the internal temperature reaches 165°F (74°C), ensuring your Crispy Gai Tod is both safe and succulent.
Step 6: Drain
Once fried to perfection, use a slotted spoon to remove the chicken from the oil and allow it to drain on paper towels. This step is essential to remove excess oil, keeping your dish crispy and less greasy. As you do this, make sure to keep an eye on the remaining batches in the oil to maintain quality and heat.
Step 7: Serve
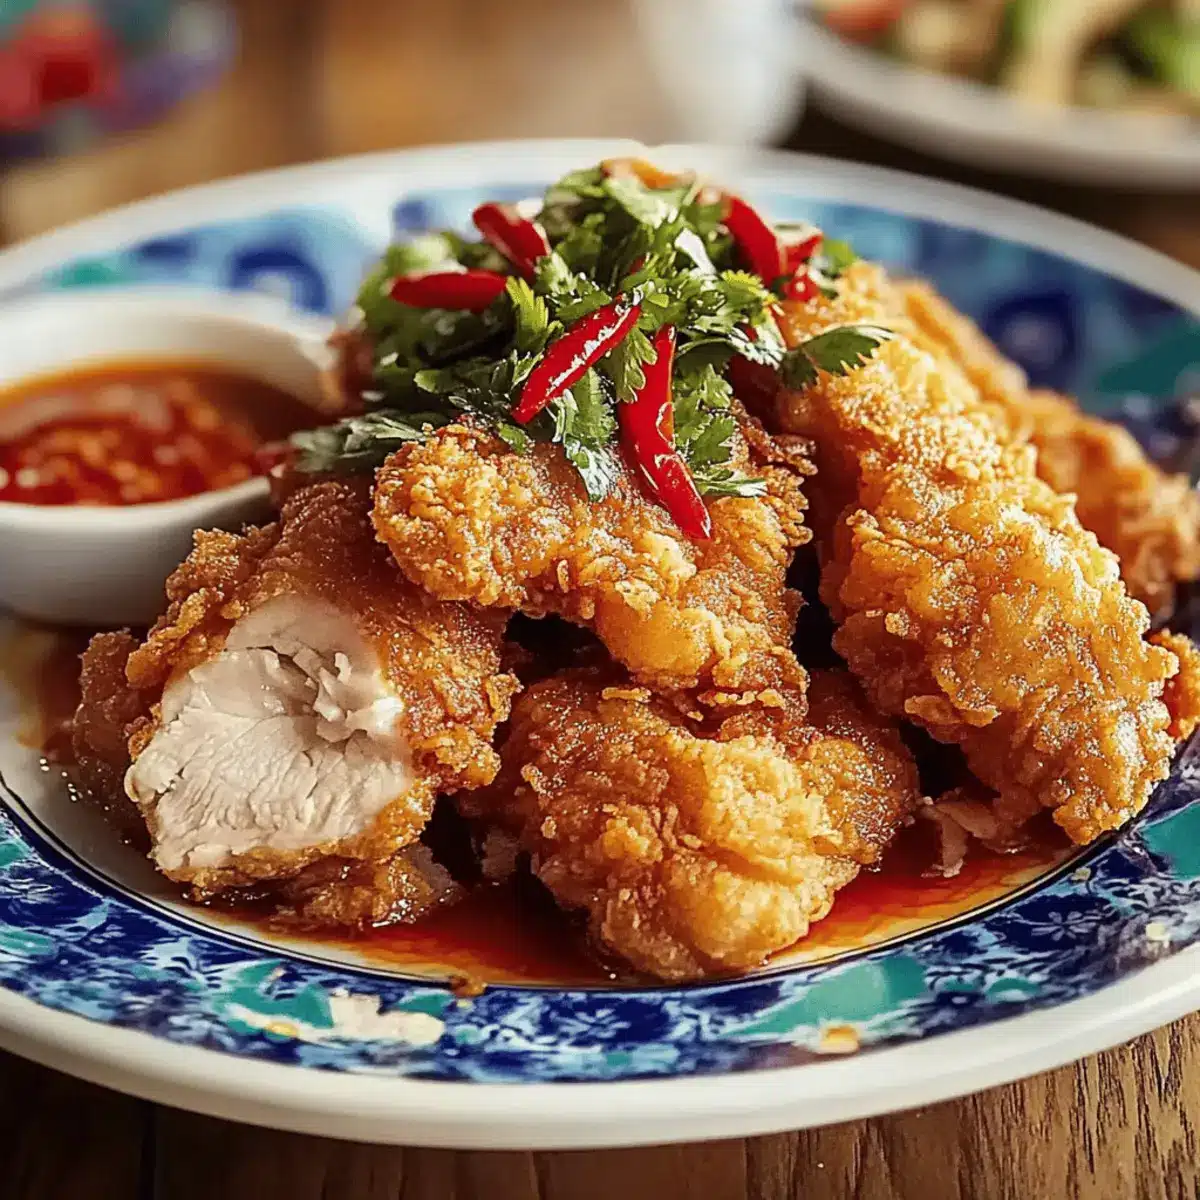
Your Crispy Gai Tod Thai Fried Chicken is now ready to be enjoyed! Serve the hot, golden pieces on a platter with a side of sweet chili sauce and lime wedges for dipping. This delightful combo elevates the flavors and adds a refreshing note that everyone will love, making for an exceptional dining experience.
Expert Tips for Crispy Gai Tod
Marinate Longer: The longer you marinate your chicken, the more flavor it will absorb, leading to an unforgettable Crispy Gai Tod. Aim for overnight if possible.
Temperature Matters: Always check your oil temperature before frying. Too low, and you’ll get greasy chicken; too high, and it burns before cooking through.
Avoid Overcrowding: Fry in small batches to prevent steaming instead of frying – this ensures that every piece stays crispy and golden brown.
Use a Meat Thermometer: Verify that your chicken reaches an internal temperature of 165°F (74°C) to ensure it’s cooked perfectly and safe to eat.
Experiment with Spice: Don’t be afraid to play with spices in the marinade; it’s a fun way to customize your Crispy Gai Tod to suit your taste.
Make Ahead Options
These Crispy Gai Tod Thai Fried Chicken pieces are perfect for busy home cooks looking to save time without sacrificing flavor! You can marinate the chicken up to 24 hours in advance to infuse it with all those delightful Thai spices. Just mix the marinade and coat the chicken, then cover and refrigerate until you’re ready to fry. Additionally, you can prepare the flour coating ahead of time and store it in an airtight container for up to 3 days. When you’re ready to serve, simply dredge the marinated chicken in the coating and fry it up for a crispy, golden result that’s just as delicious as if you cooked it fresh! This way, you can enjoy restaurant-quality Thai fried chicken with minimal effort during your busy weeknight dinners.
Crispy Gai Tod Variations & Substitutions
Ready to put your personal spin on this Crispy Gai Tod? Let your creativity shine in the kitchen with these fun twists!
- Gluten-Free Flour: Swap out all-purpose flour with a gluten-free blend for a delightful gluten-free version that’s just as tasty.
- Cornstarch Boost: Use only cornstarch in place of rice flour for an ultra-crisp texture that’s sure to impress your guests.
- Bone-In Chicken Breasts: Try bone-in chicken breasts for a different cut, keeping in mind they may require a bit more cooking time.
- Extra Spice: Add a teaspoon of chili flakes to the marinade for a touch of heat that livens up the dish, perfect for spice lovers!
- Coconut Essence: Incorporate a splash of coconut milk in the marinade for a subtly sweet twist that complements the spices beautifully.
- Herb Infusion: Enhance the flavor by tossing in fresh chopped cilantro or Thai basil into the marinade for an aromatic lift.
- Buttermilk Bath: Soak your chicken in buttermilk before marinating for an intensified juiciness and added tanginess.
- Sesame Oil: Drizzle a small amount of sesame oil into the marinade to introduce a nutty flavor that pairs wonderfully with the other ingredients.
Don’t forget, this dish is a fantastic companion to a refreshing cucumber salad or some steamed jasmine rice alongside. For your next family dinner or casual gathering, these adjustments will have everyone thinking you’ve taken a trip to Thailand, just like serving our Paprika Chicken Cozy or Hungarian Chicken Paprikash!
How to Store and Freeze Crispy Gai Tod
Fridge: Store leftover Crispy Gai Tod in an airtight container in the refrigerator for up to 3 days. Make sure to cool completely before sealing to maintain texture.
Freezer: For longer storage, freeze the cooked chicken in a single layer on a baking sheet until solid, then transfer to an airtight container or freezer bag for up to 3 months.
Reheating: To reheat, thaw in the fridge overnight, then bake at 375°F (190°C) for about 10-15 minutes to get that crispy texture back.
Avoid Soggy Coating: If reheating from frozen, make sure to place the chicken on a wire rack in the oven to keep it crispy, avoiding any sogginess.
What to Serve with Crispy Gai Tod Thai Fried Chicken
Complement your crispy Gai Tod with delightful sides and flavors that elevate your meal.
-
Thai Cucumber Salad: Fresh, crunchy cucumbers tossed in a tangy vinegar dressing provide a refreshing contrast to the savory chicken.
-
Jasmine Rice: Fluffy and fragrant, jasmine rice is a classic pairing that balances the crispy texture and absorbs the chicken’s tasty juices perfectly.
-
Stir-Fried Vegetables: Colorful stir-fried veggies add a burst of flavor and nutrients, rounding out the meal with delightful textures and freshness.
-
Sweet Chili Sauce: A must-have dip that enhances the chicken’s deliciousness, this sauce brings sweetness and spice that elevates every bite.
-
Coconut Sticky Rice: Serve alongside for a sweet, chewy contrast to the crispy chicken. The coconut flavor complements the Thai spices beautifully.
-
Hot and Sour Soup: This warming soup provides a contrast in temperatures and flavors — its tartness perfectly complements the savory chicken.
-
Mango Sticky Rice: For dessert, this sweet treat offers a creamy finish that pairs beautifully with the flavors of the fried chicken.
-
Thai Iced Tea: Refreshing and creamy, this sweet beverage enhances the meal’s flavors while offering a delightful, chilled sip.
Enjoying these combinations will take your Crispy Gai Tod experience to new heights, satisfying every craving!
Crispy Gai Tod Thai Fried Chicken Recipe FAQs
How do I choose the right chicken for Crispy Gai Tod?
Absolutely! For the best flavor and texture, I recommend using skin-on drumsticks or thighs. If you want a lighter option, skinless pieces still work well, but you might miss that extra crunch and flavor from the skin.
How should I store leftover Crispy Gai Tod?
Leftovers can be stored in an airtight container in the refrigerator for up to 3 days. Be sure to let the chicken cool completely before sealing it up; this helps maintain its crunchy texture!
Can I freeze Crispy Gai Tod for later?
Yes, you can! To freeze, lay the cooked chicken in a single layer on a baking sheet and freeze until solid. Once frozen, transfer the pieces to an airtight container or freezer bag. You can store them for up to 3 months. To reheat, thaw in the fridge overnight, then bake at 375°F (190°C) for about 10-15 minutes to restore that amazing crispiness.
What if my coating doesn’t turn out crispy?
Very often, the culprit is overcrowding the pan while frying. Always fry in small batches to keep the oil temperature consistent and avoid steaming the chicken. Ensure the oil is hot enough (350°F/175°C) before you add the chicken, and monitor the temperature throughout the cooking process. If the coating still isn’t crispy, try using more rice flour or cornstarch in your coating mix—it can make all the difference!
Is there a gluten-free option for this recipe?
Yes! For a gluten-free version of Crispy Gai Tod, simply swap out the all-purpose flour for a gluten-free flour blend. Additionally, make sure that your fish sauce or soy sauce is labeled gluten-free. Everyone can enjoy this crunchy delight, regardless of dietary restrictions!
Can my dog eat any leftover chicken?
While plain, cooked chicken can be a tasty treat for your furry friend, avoid giving them any seasoned or fried pieces. The garlic and spices used in the marinade are not suitable for dogs. If you want to share, set aside some plain, unseasoned pieces before marinating. Always consult your vet if you’re unsure about any ingredients!

Crispy Gai Tod Thai Fried Chicken That Everyone Will Love
Ingredients
Equipment
Method
- Start by mincing garlic and mixing it with white pepper, fish sauce, soy sauce, sugar, and ground coriander in a bowl. Coat the chicken pieces thoroughly in this aromatic marinade, ensuring every nook is covered. Once coated, cover the bowl and refrigerate for at least 1 hour, or ideally overnight.
- While the chicken is marinating, prepare the coating by whisking together all-purpose flour, rice flour (or cornstarch), and a pinch of baking powder in a large mixing bowl.
- After marination, remove the chicken from the fridge and let any excess marinade drip off. Carefully dredge each piece in the flour mixture, ensuring an even coating by pressing gently.
- In a deep frying pan or wok, pour enough vegetable oil to submerge the chicken pieces, typically about 2 inches deep. Heat the oil to 350°F (175°C).
- Carefully add the coated chicken pieces to the hot oil in batches, avoiding overcrowding. Fry them for about 8 to 12 minutes, turning occasionally until they are golden brown and cooked through.
- Once fried to perfection, use a slotted spoon to remove the chicken from the oil and allow it to drain on paper towels.
- Your Crispy Gai Tod Thai Fried Chicken is now ready to be enjoyed! Serve the hot, golden pieces on a platter with a side of sweet chili sauce and lime wedges for dipping.
Leave a Reply