
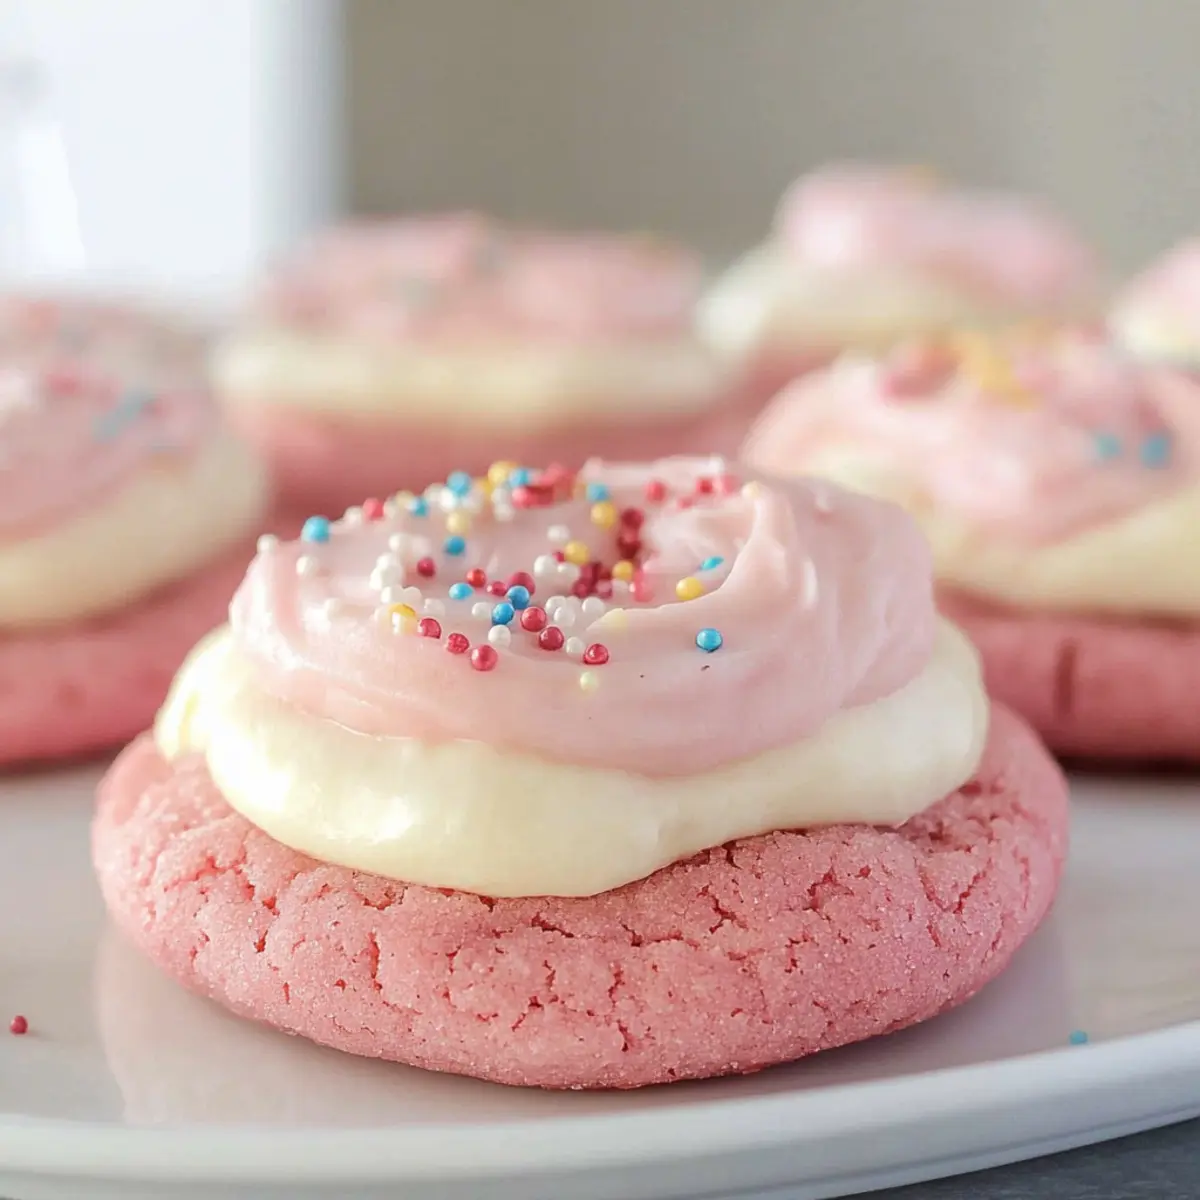
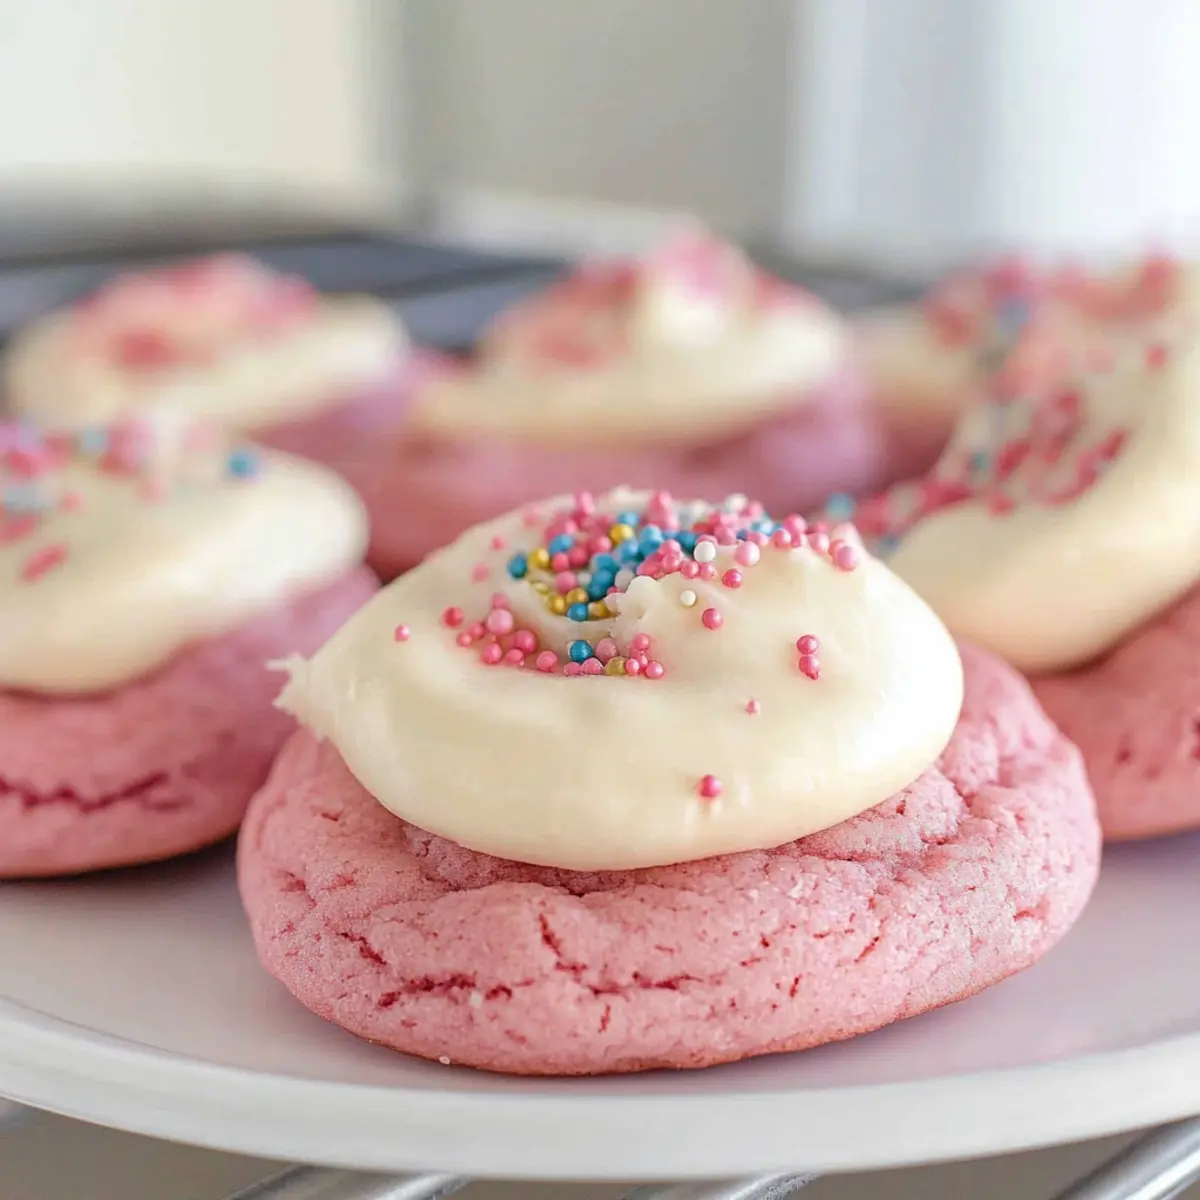
Amidst the chaos of a busy day, there’s nothing quite like a simple and delightful baking session to lift your spirits. Enter the Copycat Crumbl Pink Velvet Cookies with Cream Cheese Frosting! These cheerful treats not only boast a stunning pink hue but also promise a satisfying, cake-like texture that melts in your mouth. Whipping them up couldn’t be easier, thanks to a clever use of cake mix, making them a fantastic option for anyone tired of fast food and looking for a sweet homemade indulgence. Plus, the zesty cream cheese frosting adds that creamy twist that elevates each bite to pure bliss. Whether you’re baking for a special celebration or just to add some joy to everyday life, these cookies are bound to steal the show. Curious to learn how to create these delightful confections? Let’s dive in!
Why Are These Cookies So Irresistible?
Delightful Texture: Each bite of these Pink Velvet Cookies combines a pillowy softness with a subtle cake-like chewiness, offering a unique and satisfying dessert experience.
Effortless Preparation: Using cake mix makes whipping up a batch a breeze, perfect for busy days or baking enthusiasts looking to save time.
Vibrant Presentation: The stunning pink color not only makes these cookies visually appealing but also adds a fun element to any gathering or celebration.
Creamy Frosting: The rich cream cheese frosting perfectly complements the cookies, elevating their flavor and adding a decadent touch that will impress your guests. For an extra treat, try pairing them with Pumpkin Smores Cookies or serving alongside classic Egg Cheese Toasts for a delightful dessert spread!
Crowd Pleaser: Whether you’re entertaining guests or just savoring a quiet moment, these cookies are sure to win hearts and leave a lasting impression.
Pink Velvet Cookies Ingredients
For the Cookies
• White Cake Mix – This forms the base, and you can substitute with vanilla cake mix for a similar flavor.
• All-Purpose Flour – Adds the necessary structure to keep the cookies from being too soft.
• Eggs – Provide moisture and act as a binding agent for the cookie dough.
• Melted Butter – Enhances flavor and richness; feel free to use vegetable oil for a softer texture.
• Sour Cream – Adds moisture and a slight tang, with Greek yogurt as a viable substitute.
• Pink Food Coloring – Essential for giving the cookies their signature pink hue; gel food coloring works best for vibrant color.
For the Frosting
• Cream Cheese – The creamy base of the frosting; make sure it’s softened for easy blending.
• Butter – Adds richness to the frosting; ensure it’s softened to mix well.
• Vanilla Extract – A splash of this enhances the flavor of the frosting beautifully.
• Powdered Sugar – Sweetens the frosting and creates a smooth, luscious texture.
• Milk – Useful for thinning the frosting to achieve your desired consistency.
Now that you have gathered all the necessary components, you’re just a step away from bringing the joy of these Pink Velvet Cookies with Cream Cheese Frosting to your kitchen!
Step‑by‑Step Instructions for Pink Velvet Cookies with Cream Cheese Frosting
Step 1: Preheat the Oven
Begin by preheating your oven to 350°F (175°C). This ensures a perfectly baked batch of Pink Velvet Cookies right from the start. While the oven warms up, gather your baking sheets and line them with silicone mats or parchment paper for easy removal later.
Step 2: Prepare the Cookie Dough
In a large mixing bowl, combine the white cake mix, all-purpose flour, eggs, melted butter, sour cream, and pink food coloring. Using an electric mixer, beat the mixture on medium speed until a thick and vibrant dough forms, about 2-3 minutes. The batter should be smooth with a bright pink hue, indicative of your delicious Pink Velvet Cookies.
Step 3: Form the Cookies
Next, take a 1/4 cup measure and portion out the dough, rolling each portion into a disc shape. Place your rounded dough balls onto the prepared baking sheets, leaving about 2 inches of space between each for spreading. This step will yield even, cake-like cookies that are fun and easy to decorate.
Step 4: Bake the Cookies
Slide the baking sheets into your preheated oven and bake for 9-11 minutes. Keep an eye on them, as you want the edges to turn lightly golden while the centers remain soft. Once done, remove the cookies from the oven and let them cool on the baking sheets for 5 minutes before transferring them to a wire rack to cool completely.
Step 5: Make the Cream Cheese Frosting
While the cookies cool, prepare the creamy frosting. In a mixing bowl, beat the softened cream cheese and butter together until they’re fluffy and well-combined. Add in the vanilla extract and powdered sugar, mixing until the frosting is smooth. If the frosting is too thick, add a splash of milk to achieve your desired consistency for spreading.
Step 6: Assemble the Cookies
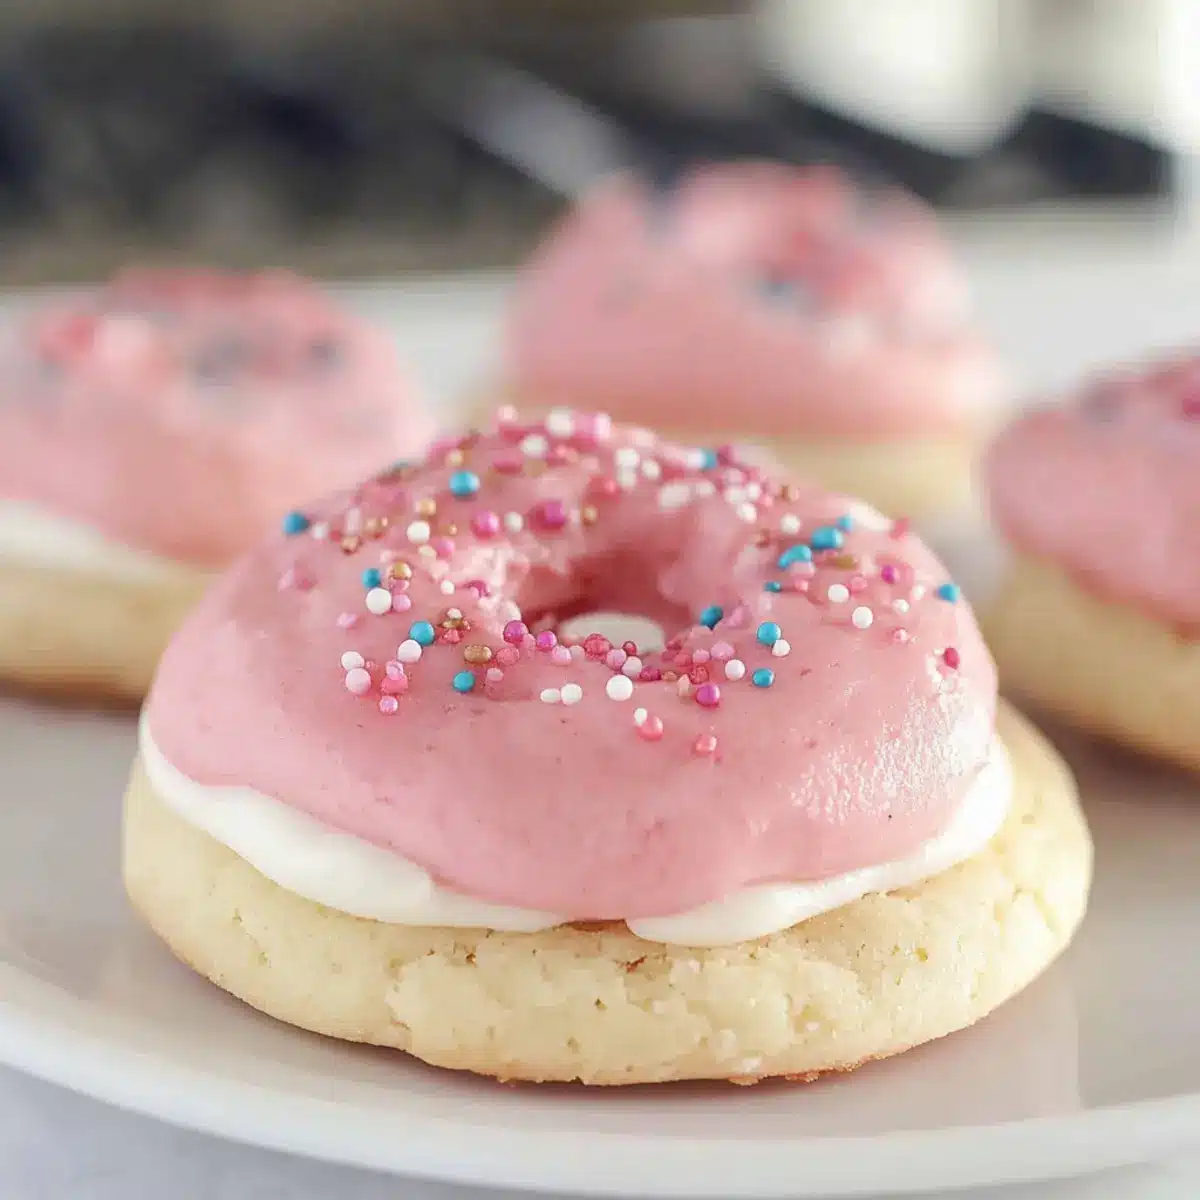
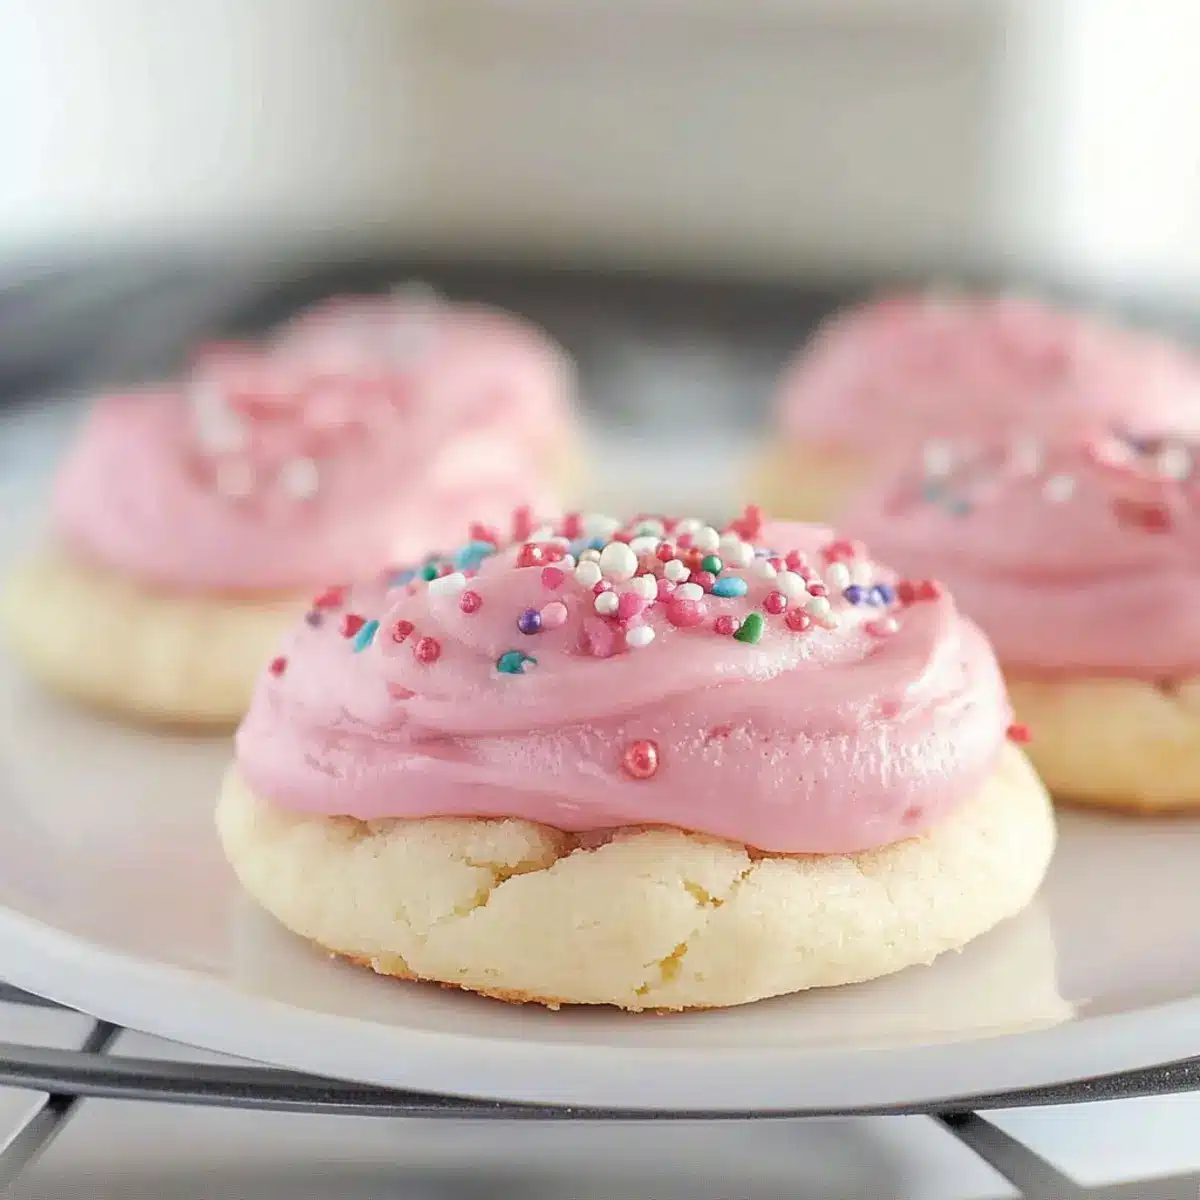
Once the cookies are cooled, it’s time to add the finishing touch! Using a piping bag or a spatula, generously frost the tops of your Pink Velvet Cookies. For an extra pop of texture and flavor, sprinkle some cookie crumbs on top of the frosting.
Step 7: Serve and Enjoy
Display your beautifully decorated cookies on a decorative platter, perfect for sharing or celebrating. These delightful Pink Velvet Cookies with Cream Cheese Frosting are ready to be enjoyed, showcasing their vibrant color and rich flavor. Perfect for any occasion, they’re sure to be a hit with friends and family alike!
Make Ahead Options
These delightful Pink Velvet Cookies with Cream Cheese Frosting are perfect for busy home cooks looking to save time without sacrificing flavor! You can prepare the cookie dough up to 24 hours in advance by mixing all the ingredients and storing it in an airtight container in the refrigerator to maintain freshness. Alternatively, bake the cookies and let them cool completely before layering them between sheets of parchment paper and refrigerating them for up to 3 days. To keep the vibrant color and texture intact, frost the cookies just before serving to ensure they remain soft and delectable. With these prep strategies, you’ll create impressive, homemade treats while keeping your schedule free for other important tasks!
What to Serve with Copycat Crumbl Pink Velvet Cookies
Elevate your dessert experience by pairing these charming cookies with delightful companions that enhance their sweetness and flavor.
-
Chilled Milk: A classic pairing that complements the sweetness, making every bite more enjoyable. Nothing beats the nostalgia of cookies and milk!
-
Creamy Vanilla Ice Cream: Serving these cookies warm with a scoop of vanilla ice cream creates an indulgent treat, perfect for cooling off on warm days.
-
Fresh Berries: A side of juicy strawberries or raspberries adds a refreshing contrast, balancing sweetness with a burst of tartness. Their vibrant color also mirrors the cookies!
-
Sparkling Water with Lemon: For a lighter option, sip on sparkling water infused with fresh lemon. The citrus notes brighten the overall dessert experience, cleansing the palate.
-
Chocolate Dipping Sauce: For those who crave extra decadence, drizzle some warm chocolate sauce over your cookies. The contrast of flavors will delight any chocoholic!
-
Cream Cheese Frosting Dip: Serve extra frosting in a small bowl for dipping. A novel idea that lets you enjoy more of that creamy goodness—pure bliss in every bite!
-
Coffee or Espresso: Pairing these cookies with a cup of coffee enhances their flavor while providing a lovely balance of richness and sweetness. It’s an ideal afternoon treat.
-
Mini Cupcakes: Serve alongside a couple of mini cupcakes for a playful dessert spread. This whimsical touch adds variety and elevates your dessert table to a whole new level!
-
Fruit Tart: Adding a light fruit tart to your dessert table with these Pink Velvet Cookies can create a beautiful contrast in flavors, making for a feast of colors and tastes.
These pairing ideas ensure a delightful experience that transforms a simple dessert into a memorable occasion!
Expert Tips for Pink Velvet Cookies
-
Softening Ingredients: Ensure cream cheese and butter are thoroughly softened before mixing; this leads to a smooth and creamy frosting without lumps.
-
Proper Measurement: Always pre-measure your ingredients accurately. This is especially important for the cake mix and flour to achieve the perfect texture in your Pink Velvet Cookies.
-
Baking Time Vigilance: Keep an eye on your cookies as they bake; pulling them out just as the edges turn golden will ensure they remain soft and chewy.
-
Cooling Strategy: Allow cookies to cool on the baking sheet for a few minutes before transferring them to a wire rack; this helps maintain their shape and texture.
-
Frosting Consistency: Adjust the frosting’s consistency by gradually adding milk; a creamy, spreadable mix is essential for achieving that irresistible topping on your cookies.
-
Fun Variations: Feel free to play with the frosting by adding sprinkles or cookie crumbs for texture, or even swapping the pink food coloring for a different color to match any occasion.
Variations & Substitutions for Pink Velvet Cookies
Feel free to get creative with these delightful Pink Velvet Cookies, allowing you to tailor them to your taste buds!
- Color Twist: Replace pink food coloring with blue or green for a colorful cookie that fits any occasion. Imagine a vibrant platter of festive treats!
- Flavor Boost: Add chocolate chips or sprinkles to the cookie dough for a fun texture and extra sweetness. A little crunch here and there can add joy to each bite!
- Sour Cream Swap: Use Greek yogurt instead of sour cream for a lighter, tangy flavor in your cookies, making them just as delicious while offering a twist.
- Less Sweet: Feel free to reduce the powdered sugar in the frosting for a more balanced sweetness that won’t overwhelm your palate. If you prefer, drizzle a bit of honey instead.
- Nutty Flavor: Incorporate some chopped nuts like walnuts or pecans into the dough for added richness and a satisfying crunch. Just imagine that nutty bite with every soft morsel.
- Gluten-Free Option: Choose a gluten-free cake mix and flour to create a gluten-free version while still maintaining that scrumptious cake-like texture.
- Cream Cheese Variation: Experiment with a flavored cream cheese for the frosting, such as strawberry or vanilla; this subtle shift can really rev up the flavor profile.
- Heat It Up: Add a pinch of cayenne pepper or a few drops of hot sauce to the frosting if you enjoy a sweet and spicy combo that’ll surprise the taste buds.
Remember, these are just starting points. The world of baking is all about personal expression and flavor exploration, so have fun making these cookies uniquely yours! And for a delightful pairing, consider serving them alongside Grilled Cheese Burrito or adding a touch of festive charm with Pumpkin Goat Cheese. Enjoy your baking adventure!
Storage Tips for Pink Velvet Cookies
Room Temperature: Store cookies in an airtight container for up to 4 days to maintain their soft, chewy texture while keeping them fresh and delicious.
Fridge: If not consumed within a few days, keep cookies in the fridge for up to a week. Ensure they are in an airtight container to prevent drying out.
Freezer: These Pink Velvet Cookies can be frozen for up to 3 months. Arrange them in a single layer in a freezer-safe container, separating layers with parchment paper.
Reheating: To enjoy warm cookies, microwave them for about 10-15 seconds. This brings back their delightful softness, making them even more irresistible!
Pink Velvet Cookies with Cream Cheese Frosting Recipe FAQs
What type of cake mix should I use for these cookies?
You can use a white cake mix for a classic flavor, but I often opt for vanilla cake mix as a delicious alternative! Both will give you that perfect base for these delightful Pink Velvet Cookies.
How should I store my Pink Velvet Cookies?
Store your cookies in an airtight container at room temperature for up to 4 days. If you anticipate them lasting longer, the fridge can keep them fresh for up to a week, just remember to use airtight containers to prevent drying out.
Can I freeze these cookies? If so, how?
Absolutely! You can freeze your Pink Velvet Cookies for up to 3 months. Start by layering them in a single layer in a freezer-safe container, separating each layer with parchment paper to prevent sticking. When you want to enjoy them, simply thaw them in the fridge or let them sit at room temperature.
What if my frosting is too thick?
If you find that your frosting is too thick, don’t worry! Just gradually add a splash of milk while mixing until you reach your desired creamy consistency. Start with half a teaspoon and mix; you can add more if needed! This ensures a smooth and spreadable frosting for your cookies.
How do I know when my cookies are baked perfectly?
Great question! You want to pull them out of the oven when the edges are lightly golden but the centers are still soft. Typically, this takes about 9-11 minutes. Let them cool on the baking sheet for a few minutes before transferring them to a wire rack—they will set perfectly as they cool!
Are there any dietary considerations to keep in mind?
Yes! These Pink Velvet Cookies contain gluten and dairy. If you have allergies, be cautious, especially with the cream cheese and butter in the frosting. For those with dietary restrictions, consider using allergy-friendly substitutes, like non-dairy cream cheese and a gluten-free cake mix.
Delicious Pink Velvet Cookies with Cream Cheese Frosting Recipe
Ingredients
Equipment
Method
- Preheat the oven to 350°F (175°C) and prepare baking sheets with silicone mats or parchment paper.
- In a large mixing bowl, combine the white cake mix, all-purpose flour, eggs, melted butter, sour cream, and pink food coloring. Beat until a thick dough forms.
- Use a 1/4 cup measure to portion the dough, rolling each into a disc shape. Place on baking sheets, leaving space for spreading.
- Bake for 9-11 minutes until edges are lightly golden and centers remain soft. Let cool on sheets for 5 minutes before transferring to a wire rack.
- In a mixing bowl, beat softened cream cheese and butter until fluffy. Add vanilla extract and powdered sugar, mixing until smooth. Adjust consistency with milk as needed.
- Once cooled, frost the tops of the cookies with the cream cheese frosting. Sprinkle cookie crumbs on top if desired.
- Serve on a decorative platter and enjoy!
Leave a Reply