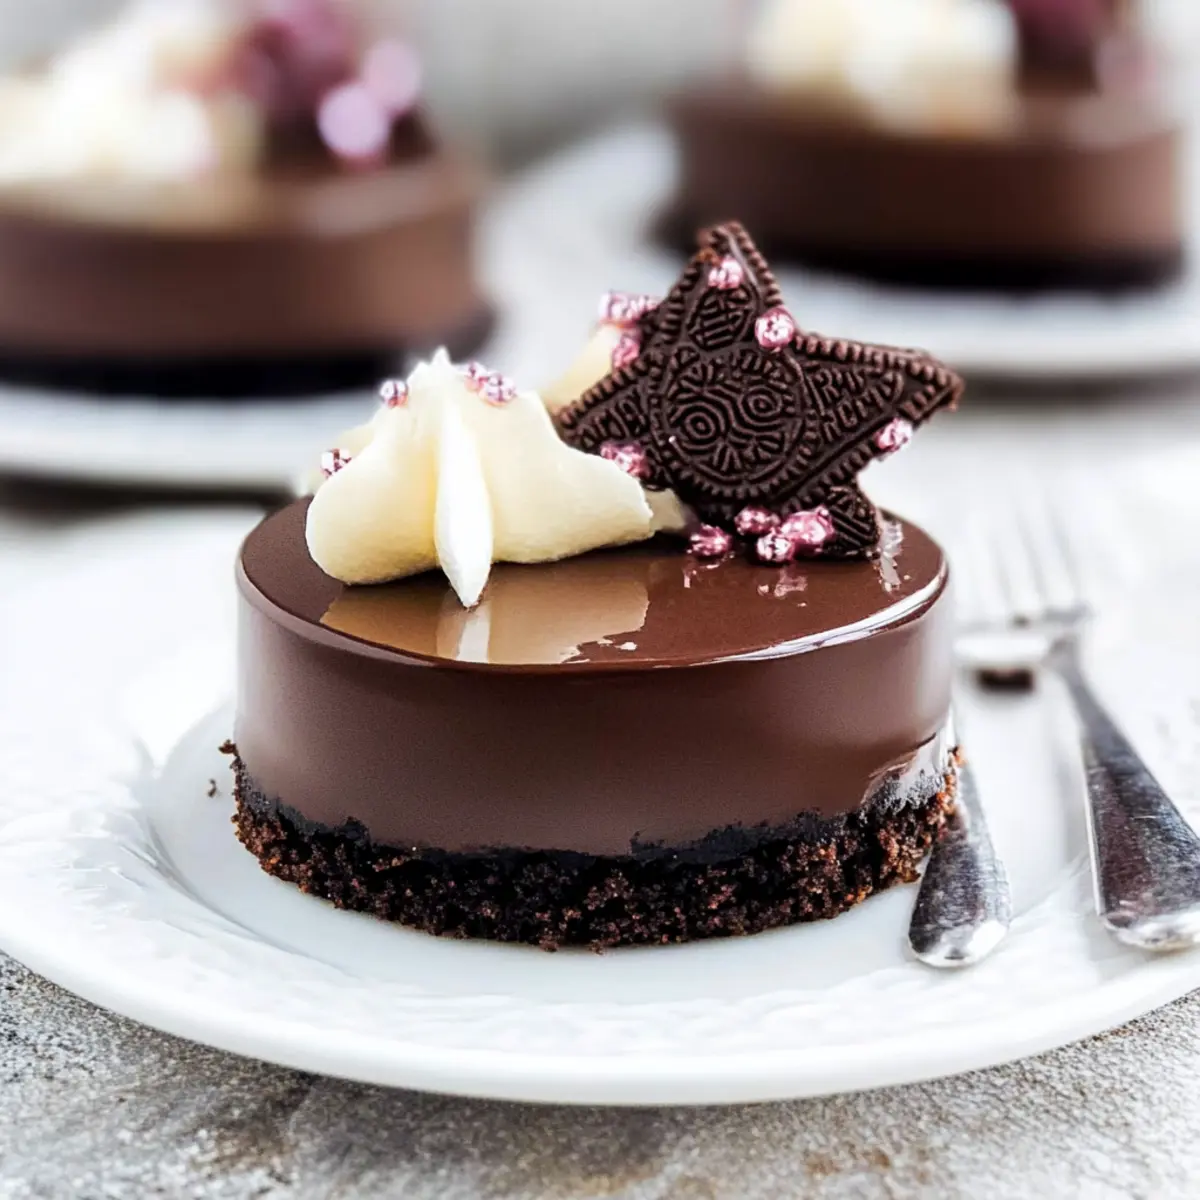
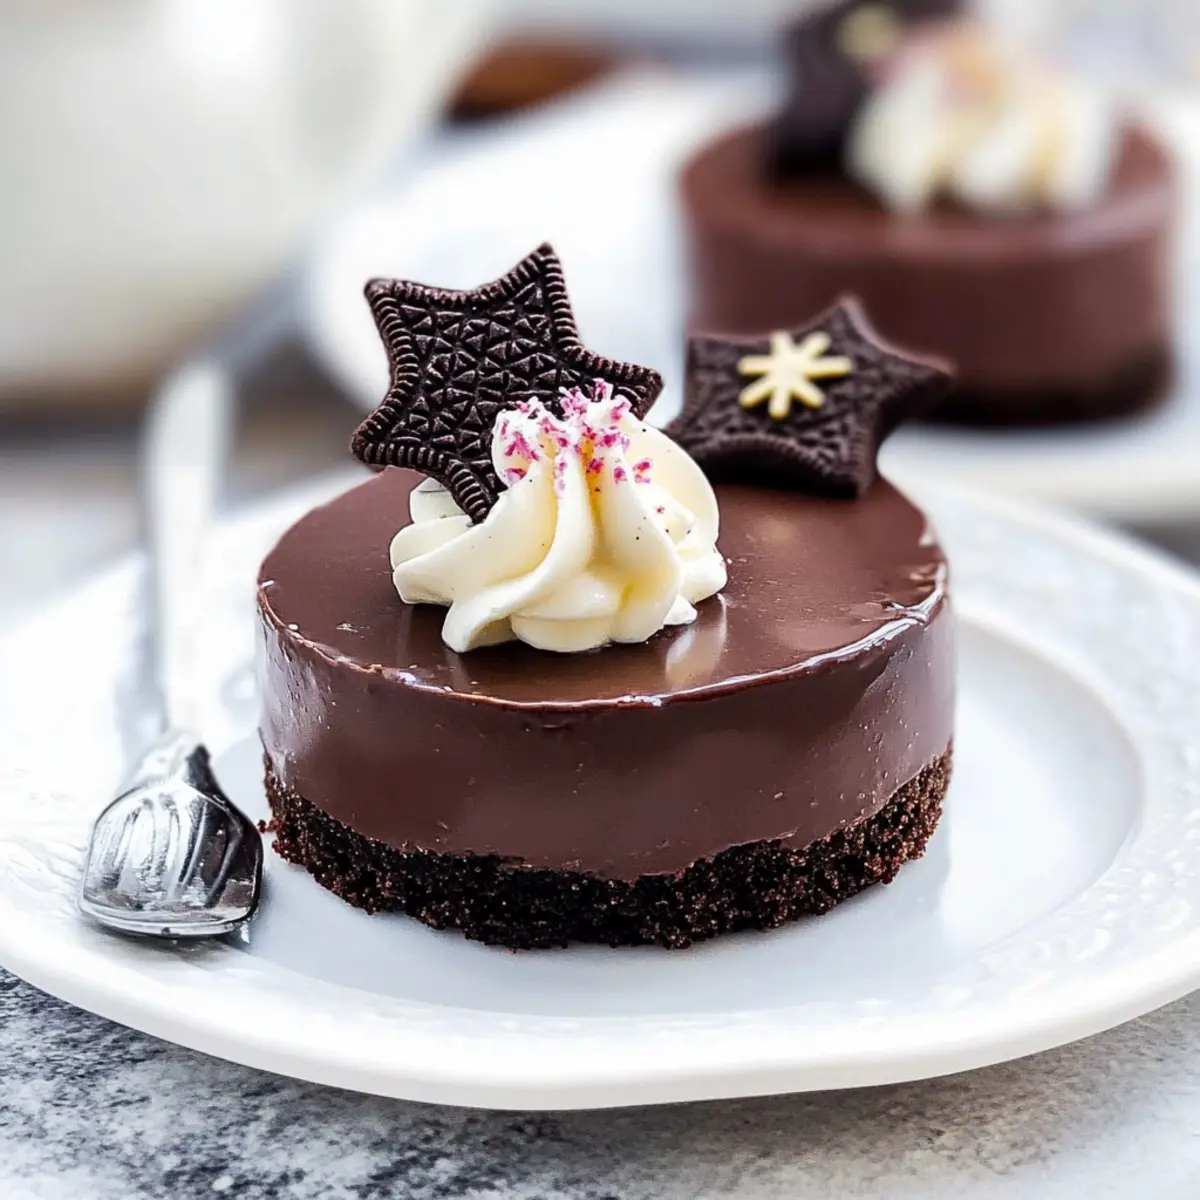
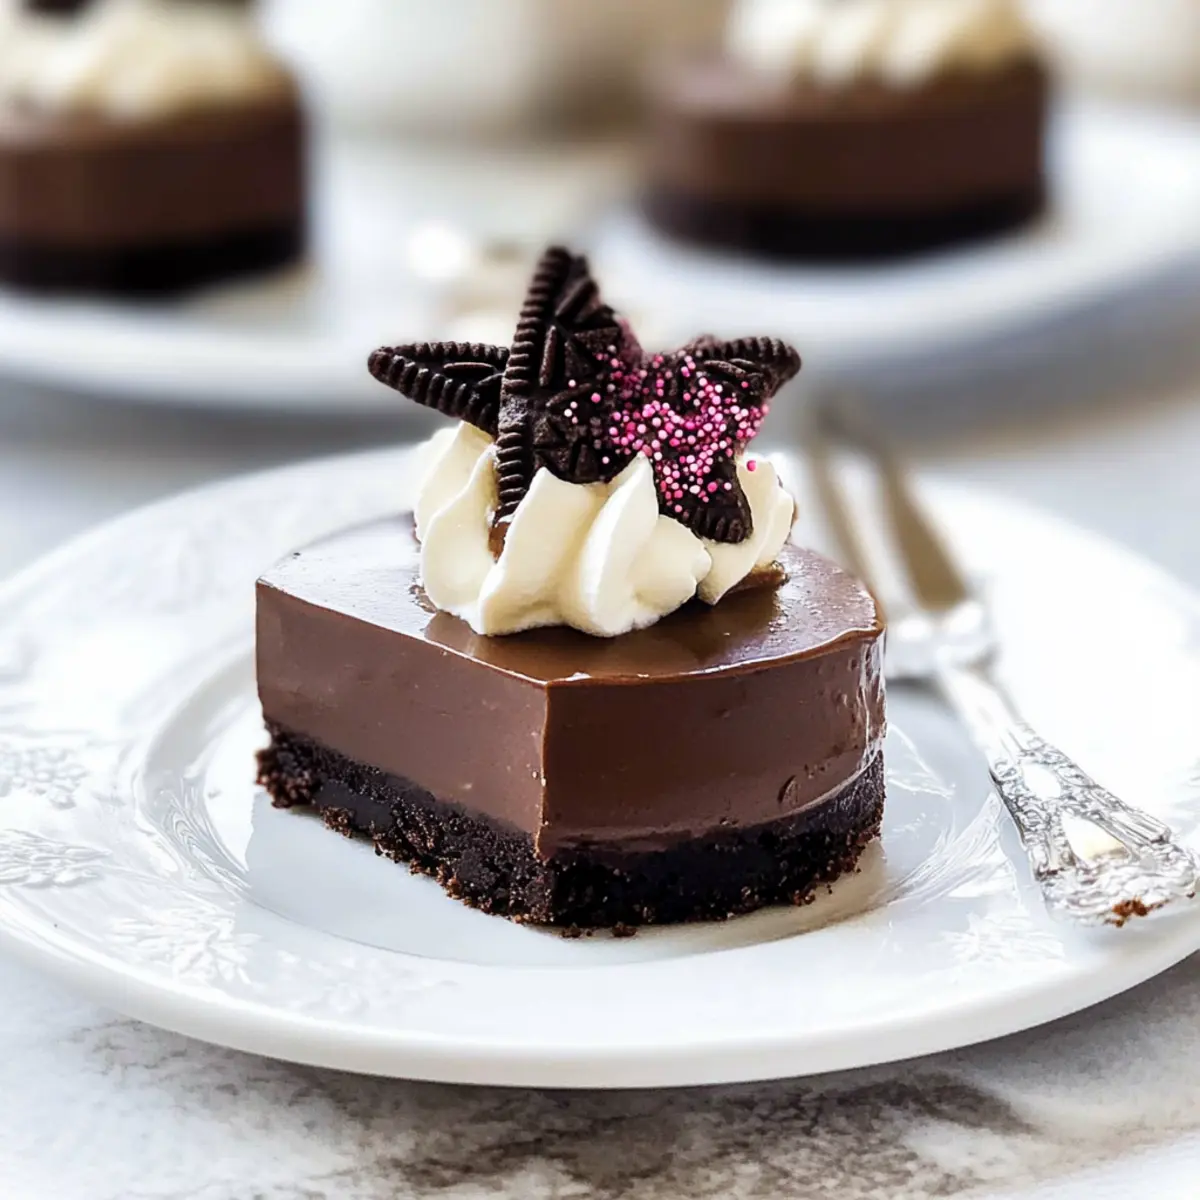
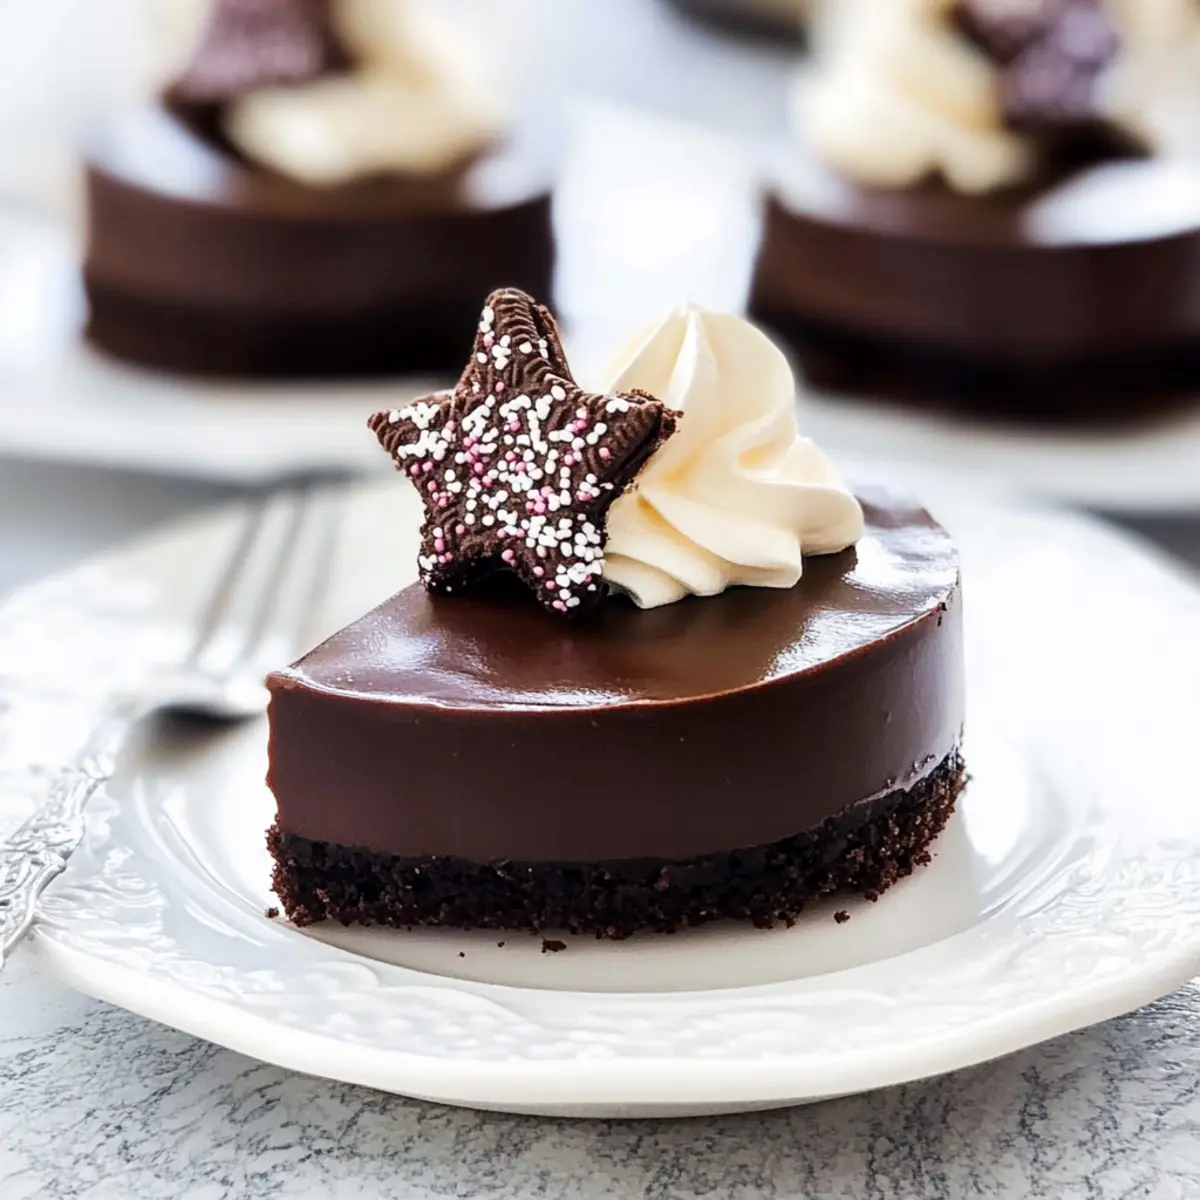
I never thought the simplest desserts could bring such joy—until I whipped up this Easy No-Bake Chocolate Dessert with an Oreo Base. It’s the kind of treat that instantly elevates any gathering, boasting a sophisticated layer of velvety chocolate ganache atop a crunchy cookie crust. Not only does it require just 15 minutes of prep, but it also offers a delightful escape from the heat of the oven, making it perfect for warm summer days or last-minute cravings. With zero baking involved and a recipe so simple that even novice cooks can shine, this chocolate dessert is bound to be a crowd-pleaser. Who’s ready to indulge in a slice of bliss?

Why is this dessert a must-try?
Decadence Awaits: Each bite of this Easy Chocolate Dessert offers an indulgent experience without the fuss of baking.
Quick Prep: Just 15 minutes of your time gets you a treat that looks and tastes gourmet.
Versatile Delight: Feel free to swap the Oreo base for your favorite cookies or even try a variety of toppings to cater to your cravings.
Crowd-Pleasing Flavor: The rich layer of chocolate ganache atop a crispy crust is guaranteed to impress guests at any gathering.
No-Bake Convenience: Perfect for hot days or spontaneous dessert cravings, you can whip it up without turning on the oven.
Pair it with a dollop of whipped cream and fresh berries to elevate your presentation, much like our Mini Dessert Cups or enjoy a comforting Grilled Cheese Burrito for a satisfying meal alongside!
Easy Chocolate Dessert Ingredients
• Dive into the delightful elements that make this Easy Chocolate Dessert a winner!
For the Crust
- Oreo Cookies – Use 20 Oreos (1½ cups crushed); try chocolate graham crackers for a fun twist.
- Butter – Use 6 tablespoons melted to bind the cookie crumbs together; coconut oil is a great dairy-free swap.
For the Ganache
- Semi-Sweet Chocolate – This dessert needs 12 oz (preferably 54% cocoa) for that rich chocolate flavor; dark chocolate can enhance its depth.
- Heavy Cream – Use 12 oz heated just until hot for smooth ganache; coconut cream works as a non-dairy alternative.
Feel free to mix things up with variations or toppings—this easy chocolate dessert is ready to impress!
Step‑by‑Step Instructions for Easy Chocolate Dessert
Step 1: Prepare the Oreos
Begin by crushing 20 Oreo cookies into fine crumbs using a food processor. If you don’t have one, simply place the cookies in a sealed plastic bag and use a rolling pin to crush them. You should aim for a consistency that resembles sand, which will provide a sturdy base for your Easy Chocolate Dessert.
Step 2: Mix Base
In a medium bowl, combine the crushed Oreo cookies with 6 tablespoons of melted butter. Stir well until all the crumbs are evenly coated and the mixture clumps together. This will create a rich and buttery crust that enhances the dessert’s chocolatey goodness.
Step 3: Set Base
Press the Oreo and butter mixture firmly into the bottom of a mini cheesecake pan or an 8 to 9-inch springform pan. Use the back of a measuring cup or your hands to ensure it’s packed tightly and evenly. The crust should be solid enough to hold the ganache once it’s poured on top for your Easy Chocolate Dessert.
Step 4: Make Ganache
In a small saucepan, heat 12 ounces of heavy cream over medium heat until it’s hot but not boiling, about 5 minutes. Remove from heat and pour the hot cream over 12 ounces of chopped semi-sweet chocolate in a mixing bowl. Whisk both together until the chocolate is fully melted and the mixture is smooth and glossy, forming a luxurious ganache.
Step 5: Assemble Dessert
Carefully pour the smooth ganache over the prepared Oreo crust, using a spatula to spread it evenly if needed. Make sure the ganache is at an even level all around to ensure uniform slicing once it’s set. This step is crucial for achieving the perfect look for your Easy Chocolate Dessert, so take your time.
Step 6: Chill
Cover the dessert with plastic wrap, ensuring it doesn’t touch the ganache. Place it in the refrigerator and allow it to set for at least 1-3 hours for mini desserts, or 6-8 hours if using a larger pan. The ganache will firm up and set nicely, creating a delicious contrast with the crunchy cookie base.
Step 7: Serve
Once chilled and set, carefully remove the sides of the springform pan. Slice into wedges and serve cold, optionally topping each slice with a dollop of whipped cream and fresh berries for added flair. This finishing touch elevates your Easy Chocolate Dessert beautifully, ready to impress everyone at your table!

Expert Tips for Easy Chocolate Dessert
-
Crust Consistency: Ensure your crushed Oreos are finely ground. Large chunks can make your crust crumbly and difficult to cut.
-
Proper Heating: Heat the cream until it’s hot but not boiling; this prevents the chocolate from seizing up when mixed for your Easy Chocolate Dessert.
-
Chilling Time: For a firmer ganache, chilling overnight is ideal. If you’re short on time, a minimum of 1-3 hours will do.
-
Fresh Ingredients: Use high-quality chocolate for the ganache to maximize flavor. The better the chocolate, the richer your dessert will taste.
-
Storage Tips: Make sure to cover the dessert well when refrigerating. It can last up to four days, but keeping it tightly wrapped prevents it from absorbing odors.
-
Creative Twists: Don’t hesitate to add your favorite mix-ins into the ganache or on top of your Easy Chocolate Dessert, like crushed nuts or a sprinkle of sea salt!
How to Store and Freeze Easy Chocolate Dessert
Fridge: Keep the Easy Chocolate Dessert covered in the refrigerator for up to 4 days. Use plastic wrap or a container to prevent it from absorbing any odors.
Freezer: You can also freeze the dessert for up to 1-2 months. Wrap it tightly with plastic wrap and then foil, ensuring no air pockets to prevent freezer burn.
Thawing: When ready to enjoy, move the dessert from the freezer to the fridge for several hours or overnight to thaw gently without compromising texture.
Reheating: There’s no need to reheat this dessert; simply serve it chilled and adorn with whipped cream or berries for a delightful presentation!
Easy Chocolate Dessert Variations
Feel free to add your own personality to this Easy Chocolate Dessert and make it even more delightful!
- Flavor Swap: Replace Oreo cookies with chocolate mint or peanut butter cookies for a fun twist. Each bite becomes a whole new experience!
- Dairy-Free Delight: Use coconut oil instead of butter and coconut cream for the ganache to make it completely dairy-free. Your guests will love the creamy, tropical vibe.
- Nutty Crunch: Mix in crushed nuts like walnuts or pecans into the crust for an added texture that complements the smooth chocolate perfectly. It’s a small change that packs a big punch!
- Berry Boost: Top the dessert with fresh berries like raspberries or strawberries before serving to add a refreshing burst of flavor that balances the richness of chocolate.
- Spiced Up: Add a pinch of cinnamon or cayenne pepper to the ganache for an exciting kick that surprises the palate. It’s sure to leave everyone guessing about your secret ingredient!
- Gourmet Dressing: Drizzle caramel or a homemade chocolate syrup over the top for added sweetness and an elegant presentation. Everyone appreciates a little extra indulgence!
- Mini Versions: Create individual servings in cupcake liners for a fun, portable treat perfect for parties. They’ll be a hit at any gathering, easy to grab and enjoy!
Feeling adventurous? Pair your dessert with a comforting Hobo Casserole Comfort for a cozy meal that warms the heart! Or enjoy a quick, satisfying Ground Beef Bowl to balance the sweet ending.
Make Ahead Options
These Easy Chocolate Desserts are perfect for meal prep enthusiasts! You can prepare the Oreo cookie base up to 24 hours in advance by mixing the crushed cookies with melted butter and pressing it into your pan. Additionally, the chocolate ganache can be made up to 3 days ahead; just store it in an airtight container in the refrigerator. To maintain quality, ensure the ganache is completely cooled before covering, preventing condensation. When you’re ready to finish the Easy Chocolate Dessert, simply pour the ganache over the crust, chill it for the recommended time, and serve with a dollop of whipped cream for a decadent treat that saves you time and impresses your guests!
What to Serve with Easy No-Bake Chocolate Dessert
Elevate your dessert experience as you discover the perfect companions to this luscious chocolate creation.
-
Fresh Berries: Pairing with strawberries or raspberries enhances the dessert’s richness with a burst of natural sweetness and color.
-
Whipped Cream: A dollop of airy, vanilla-scented whipped cream adds a light, creamy contrast that perfectly balances the dense ganache.
-
Chocolate Drizzle: For the chocolate lover, a drizzle of melted chocolate intensifies the dessert’s sweetness and brings a touch of elegance.
-
Ice Cream: A scoop of vanilla or coffee ice cream creates a delightful temperature contrast and creamy texture alongside the chocolate layers.
-
Coffee: Serving your dessert with a cup of freshly brewed coffee boosts the flavors and makes for a comforting, cozy experience.
-
Nutty Toppings: Crushed nuts, like hazelnuts or almonds, add a satisfying crunch and earthiness, elevating each bite with their rich flavor.
-
Mint Leaves: Garnishing with fresh mint adds a refreshing touch and aromatic contrast that brightens the whole dessert experience.
Experiment with these ideas to create a lavish spread that complements every slice of your Easy Chocolate Dessert!

Easy No-Bake Chocolate Dessert Recipe FAQs
How do I choose the right Oreos for the crust?
Absolutely! When selecting Oreo cookies, look for fresh packages without dark spots or cracks. You can also have fun by experimenting with different flavored Oreos, such as mint or peanut butter varieties, which can add a delightful twist to your Easy Chocolate Dessert.
How can I store the dessert and for how long?
Very good question! You can store your Easy Chocolate Dessert covered in the refrigerator for up to 4 days. Make sure to use plastic wrap or an airtight container to keep it fresh and prevent it from absorbing unwanted odors.
What’s the best way to freeze this dessert?
For freezing, wrap your Easy Chocolate Dessert tightly in plastic wrap and then in aluminum foil to prevent freezer burn. It can be stored in the freezer for up to 1-2 months. When you’re ready to enjoy it, simply transfer it to the refrigerator and allow it to thaw overnight.
Can I use other types of chocolate for the ganache?
Definitely! While semi-sweet chocolate is a great choice, you could also opt for dark chocolate for a richer flavor or even milk chocolate for a sweeter twist. However, be mindful of how sweet your overall dessert will be if you go with the latter.
What if my ganache doesn’t set properly?
No worries! If your ganache doesn’t set, it might be due to the cream not being hot enough when poured over the chocolate. To fix it, gently heat your dessert back up to room temperature, and then refrigerate it again for a few hours. It’s important to let it chill undisturbed so it can set properly!
Is this dessert suitable for people with dietary restrictions?
Absolutely! You can easily adapt this Easy Chocolate Dessert for various dietary needs. Use dairy-free butter and coconut cream to make it dairy-free, and simply check for gluten-free Oreo options if necessary. Plus, swap in different allergens as needed, ensuring it’s safe for everyone at your table.

Decadent Easy Chocolate Dessert You Can Make in 15 Minutes
Ingredients
Equipment
Method
- Begin by crushing 20 Oreo cookies into fine crumbs using a food processor. If you don’t have one, simply place the cookies in a sealed plastic bag and crush them.
- In a medium bowl, combine the crushed Oreo cookies with 6 tablespoons of melted butter. Stir well until all the crumbs are evenly coated.
- Press the mixture firmly into the bottom of a mini cheesecake pan or an 8 to 9-inch springform pan.
- In a small saucepan, heat 12 ounces of heavy cream over medium heat until hot but not boiling. Pour the hot cream over chopped semi-sweet chocolate and whisk until smooth.
- Carefully pour the smooth ganache over the prepared Oreo crust, ensuring it is at an even level all around.
- Cover with plastic wrap and refrigerate for at least 1-3 hours.
- Once set, carefully remove the sides of the springform pan and slice into wedges. Serve cold with optional toppings.

Leave a Reply